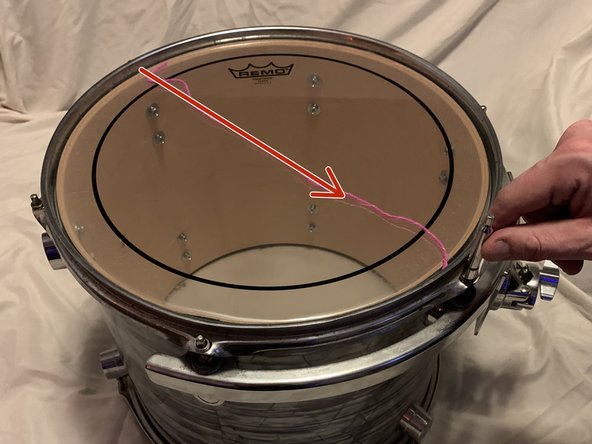
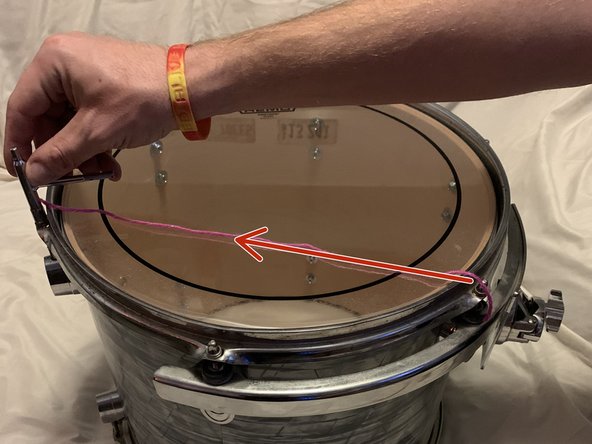
주요 콘텐츠로 건너뛰기

Drum Head Replacement

필요한 것

  1. Drum Head Replacement, Drum Head: 1 단계, 이미지 1개 중 1개
    • Loosen the tension rods until all rods are free from the drum.

    • The tension rods are universal for all drums and drum sets.

  2. Drum Head Replacement: 2 단계, 이미지 1개 중 1개
    • Remove the rim and drum head.

    • Keep track of the tension rods by leaving them in their holders on the rim.

  3. Drum Head Replacement: 3 단계, 이미지 1개 중 1개
    • Put on the new drum head first.

    • Put the rim on, making sure that the tension rods are properly aligned.

  4. Drum Head Replacement: 4 단계, 이미지 1개 중 1개
    • Tighten the tension rods with your fingers until you begin to feel tension.

    • You do not want them completely tightened yet. You just want to make sure the head is not wrinkled.

  5. Drum Head Replacement: 5 단계, 이미지 3개 중 1개 Drum Head Replacement: 5 단계, 이미지 3개 중 2개 Drum Head Replacement: 5 단계, 이미지 3개 중 3개
    • Begin to tighten the tension rods in a star pattern using a drum key.

    • Do not tighten the tension rods in a clockwise or counter clockwise pattern.

    • Tighten the rods until you find the sound you want from the drum.

  6. Drum Head Replacement: 6 단계, 이미지 1개 중 1개
    • While tightening the tension rods, tap a drumstick on the drum head about an inch from the tension rods.

    • This is how you will determine which tension rods need to be tightened, loosened, or left alone.

  7. Drum Head Replacement: 7 단계, 이미지 3개 중 1개 Drum Head Replacement: 7 단계, 이미지 3개 중 2개 Drum Head Replacement: 7 단계, 이미지 3개 중 3개
    • Once you have found the sound you like and the drum is in tune, push around the middle of the drum head, moving around the drum.

    • Repeat Steps 6 and 7 until the drum is in tune again.

결론

To reassemble your device, follow these instructions in reverse order.

작성자

2다른 기여자 명과 함께

Daniel Barry

회원 가입일: 11/28/21

145 평판

안내서 1개를 작성함

0가이드 댓글

댓글 쓰기

조회 통계:

지난 24시간: 0

지난 7일: 2

지난 30일: 13

전체 시간: 386