소개
Follow this guide to replace the touchpad on your Sony DualSense controller.
Note: This guide is for current DualSense controllers with FCC IDs that end with A. Check the back of your controller to verify your model. If yours ends in a 1, it is an early model and there will be internal differences. Follow these guides for the earlier version.
필요한 것
-
-
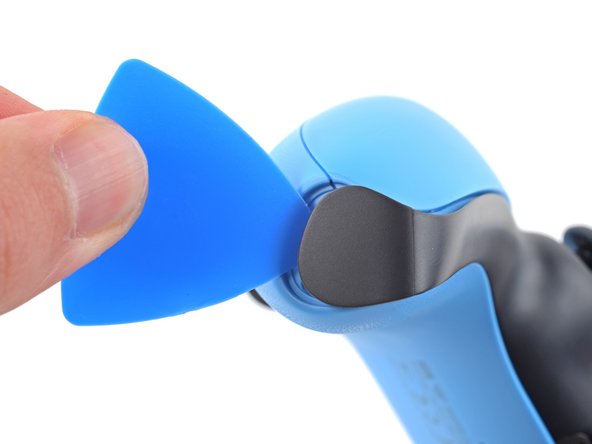
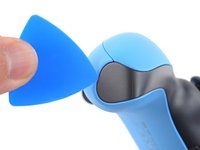
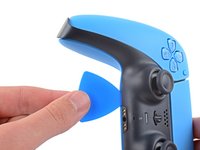
Insert an opening pick underneath the middle trim at the bottom-right corner of the controller to release the clips securing it to the case.
-
-
-
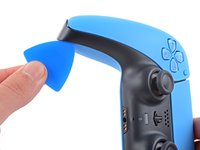
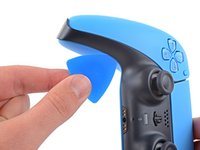
Slide the opening pick along the lower-right edge of the middle trim to release the clips securing it to the case.
-
-
-
Insert an opening pick underneath the middle trim at the bottom-left corner of the controller to release the clips securing it to the case.
-
-
-
Slide the opening pick along the lower-left edge of the middle trim to release the clips securing it to the case.
-
-
-
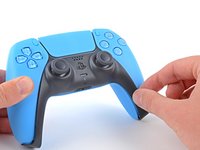
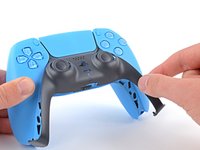
Use your fingers to lift up the bottom edge of the middle trim to release the remaining clips.
-
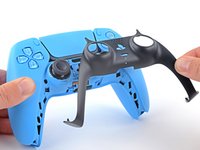
Lift the middle trim over the joysticks to remove it.
-
-
-
Insert the flat end of a spudger into the gap above the L1 button.
-
Pry the spudger upward to remove the L1 button.
-
-
-
Insert the flat end of a spudger into the gap above the R1 button.
-
Pry the spudger upward to remove the R1 button.
-
-
-
Use a Phillips screwdriver to remove the two 6.5 mm screws securing the bottom corners of the lower case.
-
-
-
Use the pointed edge of a spudger to unclip the two clips on either side of the headset jack.
-
-
-
-
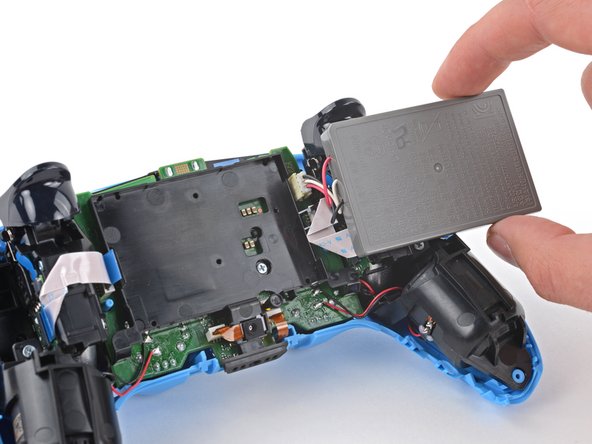
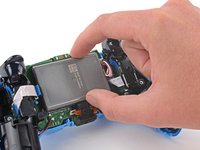
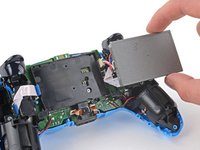
Lift the battery out of its bracket and reposition it to the right for better access to the battery connector.
-
-
이 단계에 사용된 도구:Tweezers$4.99
-
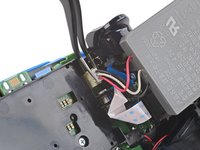
Use a pair of tweezers or your fingers to disconnect the battery from the motherboard.
-
-
-
Use the pointed end of a spudger to remove the lower microphone from its bracket next to the battery.
-
-
-
Use a Phillips screwdriver to remove the 6.5 mm screw securing the battery bracket.
-
-
-
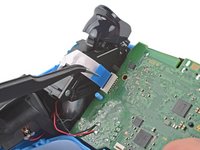
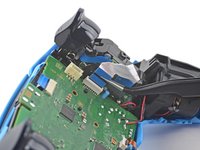
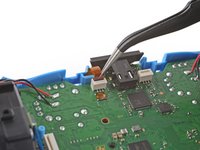
Grip the right trigger assembly cable with a pair of tweezers or your fingers and disconnect it from the motherboard.
-
Don't completely remove the ribbon cable yet.
-
-
-
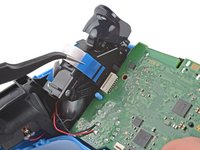
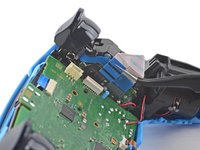
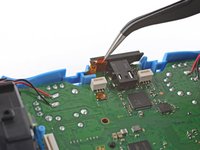
Grip the left trigger assembly cable with a pair of tweezers or your fingers to disconnect it from the motherboard.
-
Don't completely remove the ribbon cable yet.
-
-
-
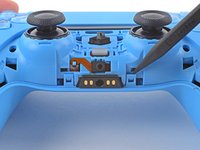
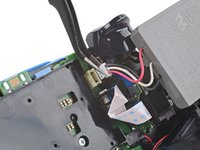
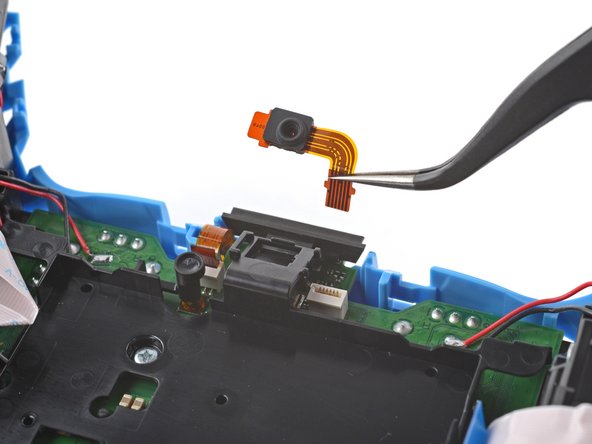
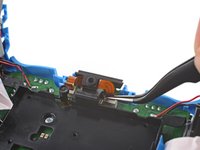
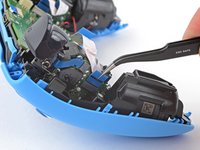
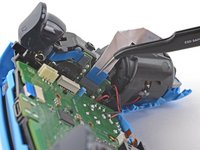
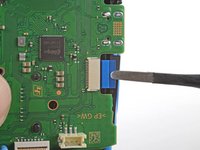
Use a pair of tweezers or your fingers to disconnect the upper microphone from the motherboard.
-
-
-
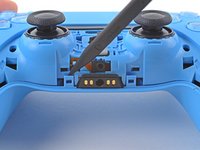
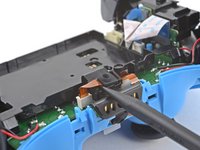
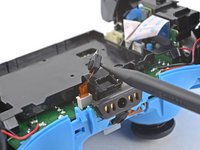
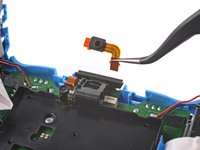
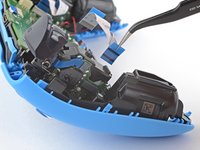
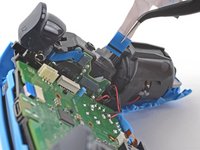
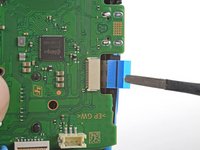
Use a pair of tweezers or your fingers to disconnect the touchpad cable from the motherboard.
-
-
-
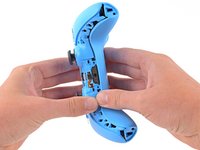
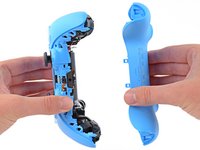
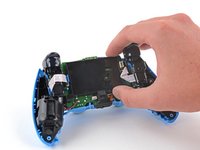
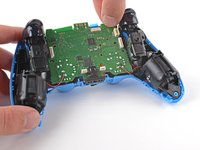
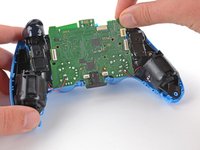
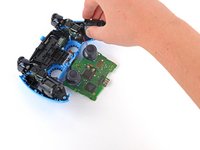
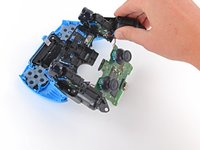
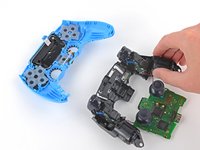
Carefully guide the joysticks through the front case and lift the motherboard out.
-
-
-
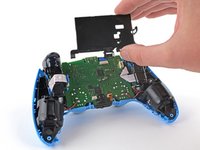
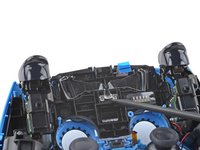
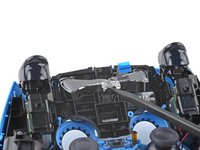
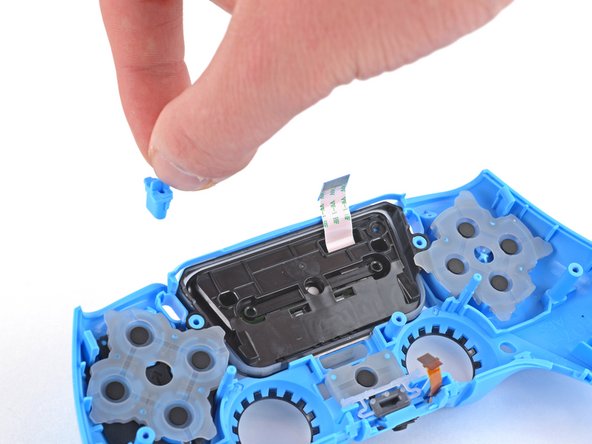
Use the pointed end of your spudger to lift the center of the light guide out of the controller.
-
Remove the light guide.
-
-
-
Use your Phillips driver to remove the two 6.5 mm screws securing the midframe to the front case.
-
-
-
Use your Phillips screwdriver to remove the 6.5 mm screw securing the touchpad to its bracket.
-


To reassemble your device, follow these instructions in reverse order.
Take your e-waste to an R2 or e-Stewards certified recycler.
Repair didn’t go as planned? Try some basic troubleshooting, or ask our Answers community for help.
다른 5명이 해당 안내서를 완성하였습니다.

2가이드 댓글
My touchpad is clicky (feels kinda stuck), followed the whole guide but it didn't fix the issue, what else could it be?
The white light under the touchpad isn’t turning on, and the touchpad itself isn’t working, neither the touch function nor the button. The touchpad ribbon cable is slightly torn. If I replace the ribbon cable, will all these functions start working?