소개
I will only be showing how to setup a Duet 2 WiFi/Fysetc Duet 2 WiFi clone running the latest stable version of Reprap Firmware v3 with a Windows 10 PC because I do not own a machine running Mac OSX or Linux.
Setup instructions can also be found here.
You will need to download the latest firmware versions from Duet3D's Github.
The latest version is 3.4.0
This step can be done before or after the board is mounted.
Note: During these steps disconnect everything from the board including the PSU
-
-
Connect your Duet to your PC with the USB cable provided. Do not connect any additional devices or PSU
-
Windows: Download and extract the USB files from here
-
Open Device Manager by right-clicking on the Start icon and click on "Device Manager".
-
Look for any device with a yellow triangle or "generic USB". This indicates the Duet driver is not installed.
-
Right click on the device. Click Install Driver and browse to where you extracted the downloaded driver files. Click "Next" until the driver is installed.
-
-
-
To set up the network, we must use a terminal emulation program to talk to the Duet via the USB cable.
-
It's recommend downloading YAT. Other terminal emulation programs may work, eg PuTTY, but we've found YAT the most reliable.
-
-
-
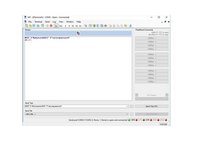
Download and Install YAT using default options, then open it. If the Terminal Settings screen doesn't open automatically, select "Terminal" menu, then "Settings"
-
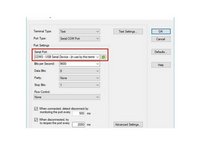
Select the COM port
-
If unsure of the COM port number, verify it with devmgmt.msc. Your Duet will be listed under Ports (COM & LPT) as USB Serial Device (COM#) or similar. Use COM# as the Serial Port in YAT
-
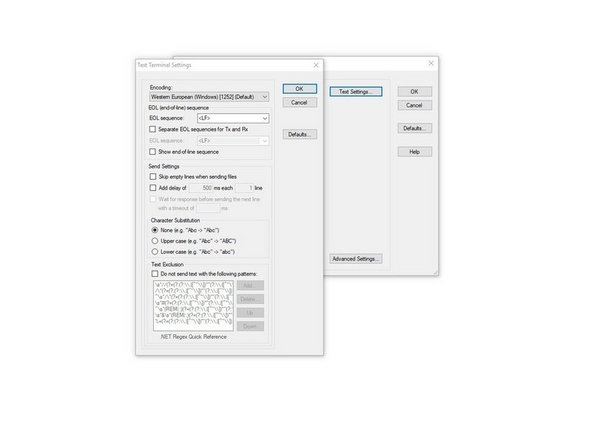
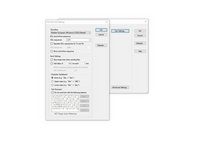
Set YAT to use <LF> as the end of line character. This will improve the readability of the messages coming from the Duet. Click "Text Settings" in the "Terminal Settings" and change "EOL sequence:" to <LF>. Click "OK" to close Text Settings. Click "OK" again to close Terminal Settings.
-
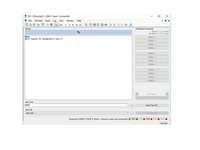
Select "Terminal" menu, then "Open/Start" to connect to your Duet. Or click the green tick in the tool bar. You may see lots of "WiFi reported error: no known networks found" messages. Don't worry, that's normal, and it means that the Duet is working!
-
-
-
Your Duet WiFi will either have a blue LED on the WiFi module, or a green LED next to the WiFi module. This flashes once when power is connected, and is lit permanently when connected to a WiFi network. Duet 2 WiFi with external antenna has no WiFi LED. If you have a Duet with external antenna, don't forget to plug in the external antenna!
-
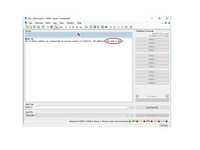
If you didn't turn off WiFi, you may find you are getting a lot of messages like "WiFi reported error: no known networks found". The default configuration turns on the WiFi, but it is not configured to connect to a network yet. To stop the WiFi, send M552 S-1
-
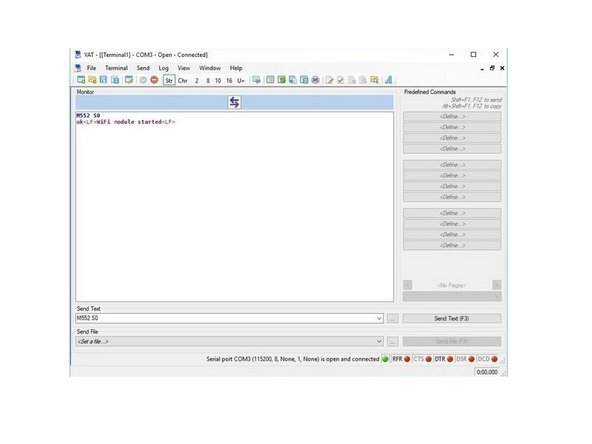
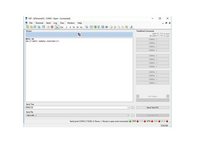
Send M552 to check the status. It should say "WiFi module is disabled". Now put it into idle mode by sending command M552 S0. Send M552 again to check it's in idle, then proceed.
-
-
-
-
Use the command M587 as shown below. Substitute the SSID and WiFi password for those of your network. Enter the exact characters of your network SSID and password, in the correct case. The simple double quote characters (not curly quotes) are needed. Once you press enter, wait for the 'ok' response.
-
M587 S"your-network-ssid" P"your-network-password"
-
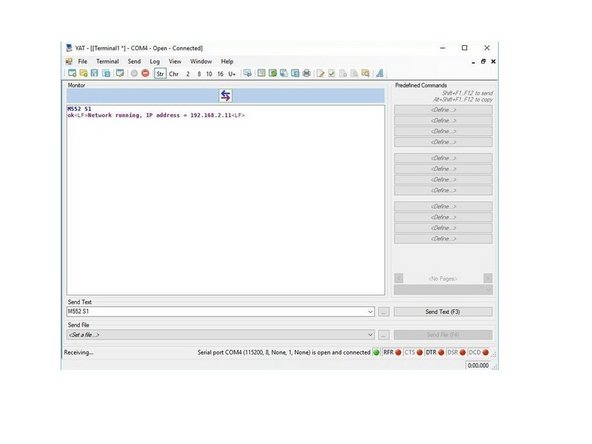
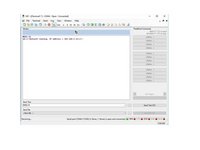
Send M552 S1 to connect to WiFi. The Duet will confirm the connection and the IP address of the Duet controller(note the IP address for later). The blue LED on the WiFi module will flash as it connects, then should be on constantly once connected. If your router's SSID is hidden, or you want to connect to a specific SSID, send M552 S1 P"my_SSID"
-
If you get an error, check the network SSID and password you entered with the M587 command. Make sure that the WiFi is in idle mode before sending M587, with M552 S0. Send M587 to get a list of remembered networks, though this does not show the password.
-
At this point your Duet should be on the wifi network. The next step is to connect to the Duet Web Control (DWC)
-
-
-
Duet Web Control (also known as DWC) is the user interface used over a network connection in a browser to configure and control a Duet. The manual for the use of the DWC is here: Duet Web Control v2 and v3 (DWC) Manual
-
Open your browser and type the IP address assigned to the Duet in step 5
-
Now that we have connected to WiFi and DWC we can update the firmware
-
-
-
Check the firmware version by running M115 in the terminal window
-
If your Firmware_Version is 3.0.0 or higher skip to step 9
-
If your Firmware_Version is older than v3 we need to update it to RRF v3.0.0 because the binaries are too large to be installed by the IAP program for RRF v1 and v2.
-
-
-
Download "Duet2and3Firmware-3.0.zip" from their github. Do not extract the file.
-
Upload and install that file through Duet Web Control.
-
When the install is finished send M115 to verify your firmware version is now RRF v3
-
Now that your board has RRF v3.0.0 we can proceed with installing the latest version. You should be able to update the firmware by uploading "Duet2and3Firmware-3.x.zip" in DWC and install the firmware update.
-
The latest release from their github
-
After you are finished installing your firmware verify RRF, DWC and Duet WiFi Server are the latest versions.
-
Upload the Duet config files from my github
-
-
-
Navigate to config.g by going to System tab > config.g
-
Check to make sure M552 S1 is near the beginning and doesn't have a ";" in the front. If there is a ";" that line will be ignored.
-
You can set the Duet to use a fixed IP address. Note that if you use a fixed address, care should be taken that it does not conflict with other devices on the network. Change the M552 P192.168.1.14 line to the IP address you want to use, eg M552 P192.168.0.15
-
Power cycle the board. The Duet should automatically connect to your WiFi and you should be able to access DWC
-
-
-
If you need additional help please go to [linkhttps://docs.duet3d.com/User_manual/RepR...]
-


다른 6명이 해당 안내서를 완성하였습니다.