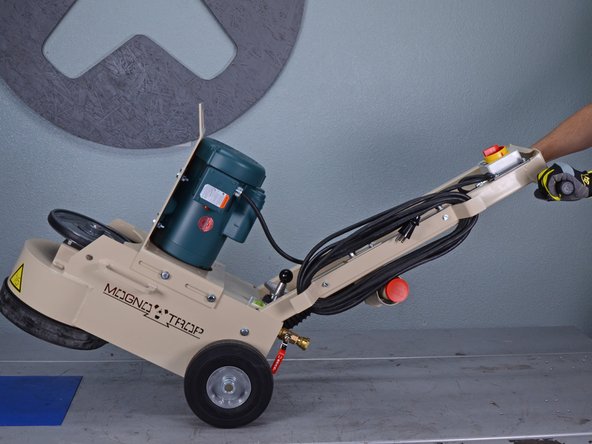
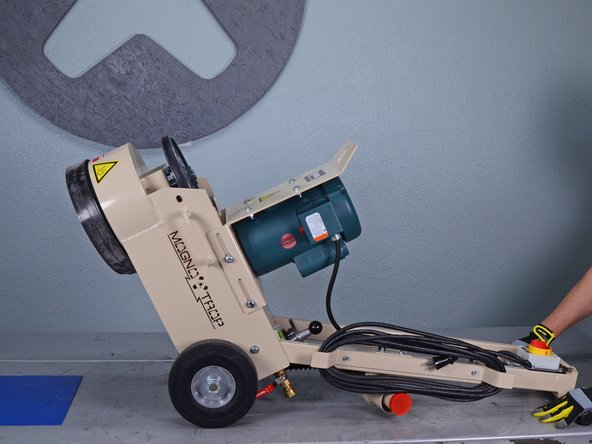
주요 콘텐츠로 건너뛰기

EDCO Disk Grinder 50200-HD Belt Replacement

필요한 것

  1. EDCO Disk Grinder 50200-HD Belt Replacement, Safety precautions: 1 단계, 이미지 1/1
    • Before you begin, ensure the device is powered down and cool to the touch.

    • Ensure the machine is unplugged.

    • Turn the power switch counterclockwise into the OFF position.

  2. EDCO Disk Grinder 50200-HD Belt Replacement, Remove the weighted hood: 2 단계, 이미지 1/3 EDCO Disk Grinder 50200-HD Belt Replacement, Remove the weighted hood: 2 단계, 이미지 2/3 EDCO Disk Grinder 50200-HD Belt Replacement, Remove the weighted hood: 2 단계, 이미지 3/3
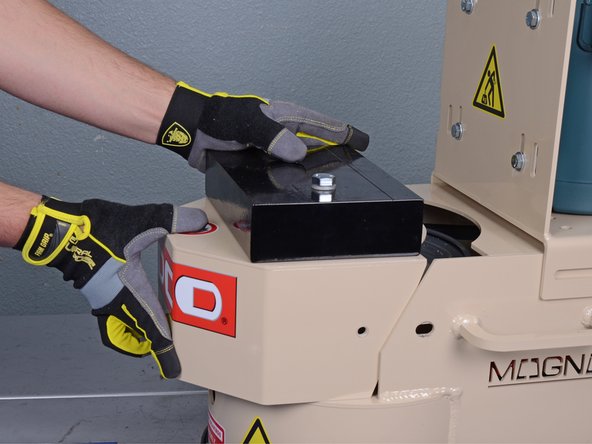
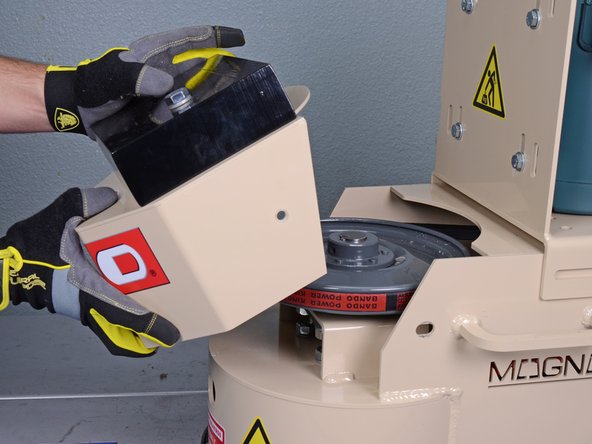
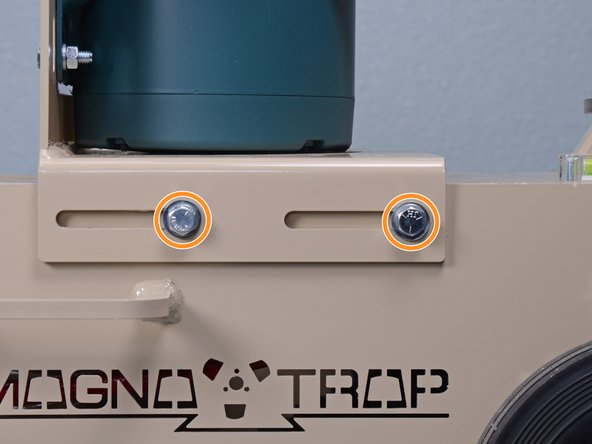
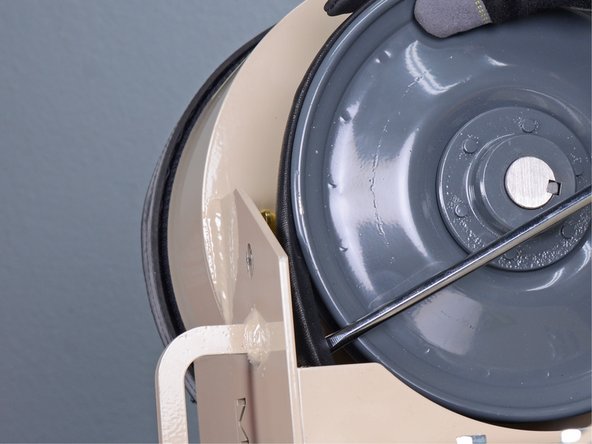
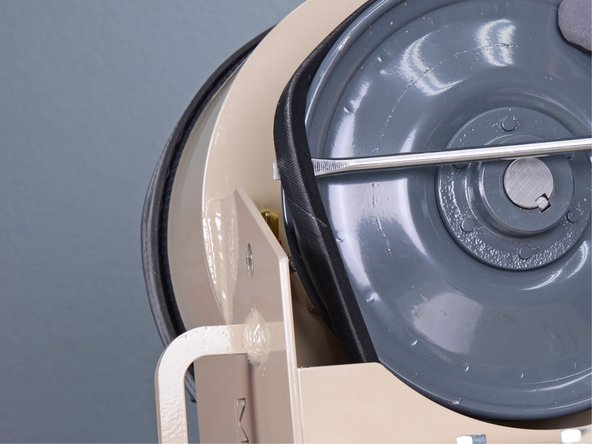
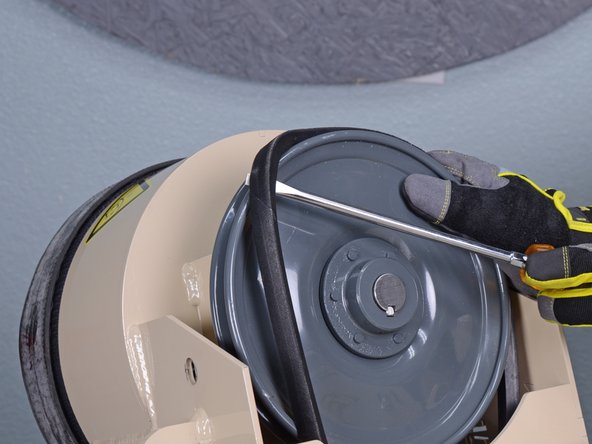
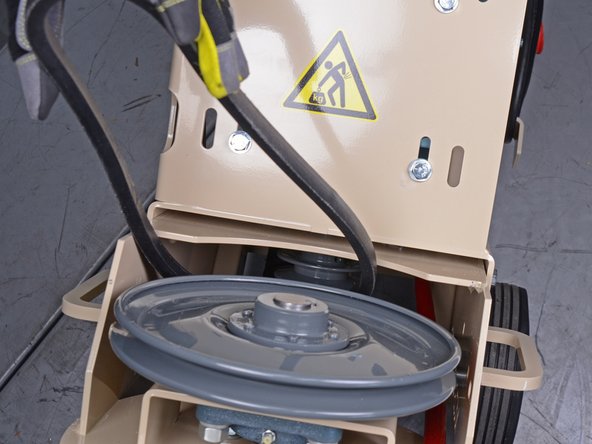
    • Use a 9/16 inch socket to remove the two bolts securing the weighted hood.

    • During reassembly, ensure the bolts are reinstalled with the washers and lock washers in the correct order.

  3. EDCO Disk Grinder 50200-HD Belt Replacement: 3 단계, 이미지 1/3 EDCO Disk Grinder 50200-HD Belt Replacement: 3 단계, 이미지 2/3 EDCO Disk Grinder 50200-HD Belt Replacement: 3 단계, 이미지 3/3
    • Remove the weighted hood.

    • The weighted hood weighs 37 pounds. Wear gloves and handle with caution.

  4. EDCO Disk Grinder 50200-HD Belt Replacement, Remove the belt: 4 단계, 이미지 1/2 EDCO Disk Grinder 50200-HD Belt Replacement, Remove the belt: 4 단계, 이미지 2/2
    • Use a 9/16 inch socket to loosen the bolts securing the motor mount.

    • Do not completely remove the bolts.

  5. EDCO Disk Grinder 50200-HD Belt Replacement: 5 단계, 이미지 1/2 EDCO Disk Grinder 50200-HD Belt Replacement: 5 단계, 이미지 2/2
    • Slide the motor towards the front of the machine as far as it will go to loosen the belt tension.

    • Use a 9/16 inch socket to tighten the four bolts back down to lock the motor in a position where there's the least belt tension.

    • During reassembly, have one person slide the motor mount towards the rear of the machine to tension the belt while the other person tightens the bolts.

  6. EDCO Disk Grinder 50200-HD Belt Replacement: 6 단계, 이미지 1/3 EDCO Disk Grinder 50200-HD Belt Replacement: 6 단계, 이미지 2/3 EDCO Disk Grinder 50200-HD Belt Replacement: 6 단계, 이미지 3/3
    • Tilt the front of the machine up and rest the handlebars on the ground.

    • Have someone hold down the handlebars to prevent tipping while working on the belt.

  7. EDCO Disk Grinder 50200-HD Belt Replacement: 7 단계, 이미지 1/3 EDCO Disk Grinder 50200-HD Belt Replacement: 7 단계, 이미지 2/3 EDCO Disk Grinder 50200-HD Belt Replacement: 7 단계, 이미지 3/3
    • Pinch a flathead screwdriver between the belt and sheave.

    • Rotate the sheave and pivot the belt up and away from its groove.

  8. EDCO Disk Grinder 50200-HD Belt Replacement: 8 단계, 이미지 1/2 EDCO Disk Grinder 50200-HD Belt Replacement: 8 단계, 이미지 2/2
    • Continue to rotate the sheave with once hand while holding the flathead screwdriver with the other to fully dislodge the belt from the groove.

  9. EDCO Disk Grinder 50200-HD Belt Replacement: 9 단계, 이미지 1/3 EDCO Disk Grinder 50200-HD Belt Replacement: 9 단계, 이미지 2/3 EDCO Disk Grinder 50200-HD Belt Replacement: 9 단계, 이미지 3/3
    • Remove the belt from the motor pulley, then fully remove it from the machine.

    • Reassembly tip: loop the belt around the motor pulley before placing it on the sheave.

  10. EDCO Disk Grinder 50200-HD Belt Replacement, Reassembly tip: 10 단계, 이미지 1/3 EDCO Disk Grinder 50200-HD Belt Replacement, Reassembly tip: 10 단계, 이미지 2/3 EDCO Disk Grinder 50200-HD Belt Replacement, Reassembly tip: 10 단계, 이미지 3/3
    • Reassembly tip: place the belt over the rim and rotate the sheave to guide the belt into the groove.

결론

To reassemble your device, follow these instructions in reverse order.

다른 한 분이 해당 안내서를 완성하였습니다.

Sam Omiotek

회원 가입일: 02/25/19

73,567 평판

안내서 288개 작성하였습니다

댓글 0개

댓글 쓰기

조회 통계:

24 시간 전: 0

7일 전: 5

30일 전: 10

전체 시간: 348