주요 콘텐츠로 건너뛰기

Electrical Wall Outlet Replacement

보관된 가이드
해당 안내서는 단지 역사적인 목적으로 보관됩니다. 최신 버전 안내서를 사용하여 수리 하십시오.

필요한 것

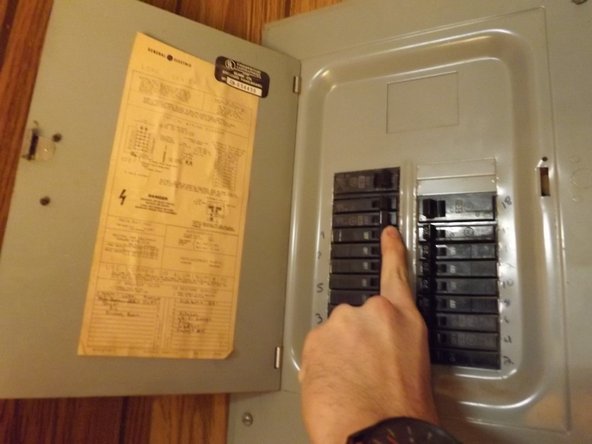
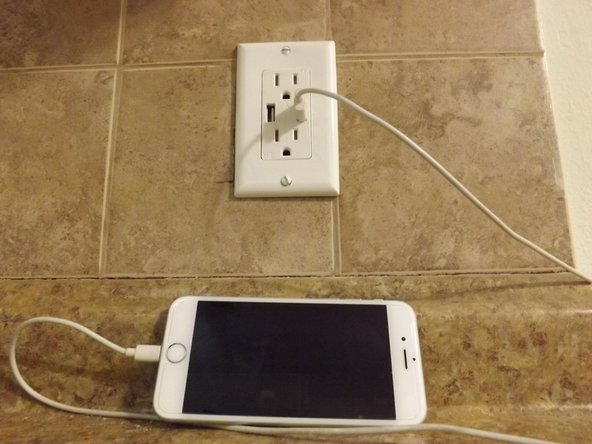
  1. Electrical Wall Outlet Replacement, Wall Outlet: 1 단계, 이미지 1/2 Electrical Wall Outlet Replacement, Wall Outlet: 1 단계, 이미지 2/2
    • Turn off electrical power from the breaker by switching off the breaker that is connected to the designated area.

    • Check power by plugging in rechargeable device and check if charging. If not charging, power to the wall is off.

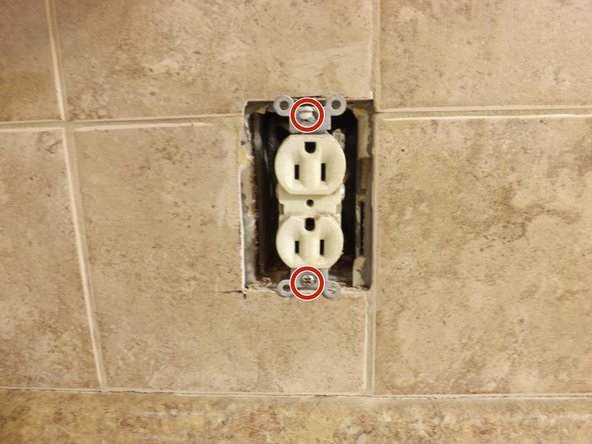
  2. Electrical Wall Outlet Replacement: 2 단계, 이미지 1/1
    • Remove the screw from the outlet plate using a flathead screwdriver.

  3. Electrical Wall Outlet Replacement: 3 단계, 이미지 1/1
    • Remove plate from outlet using a Phillips screwdriver.

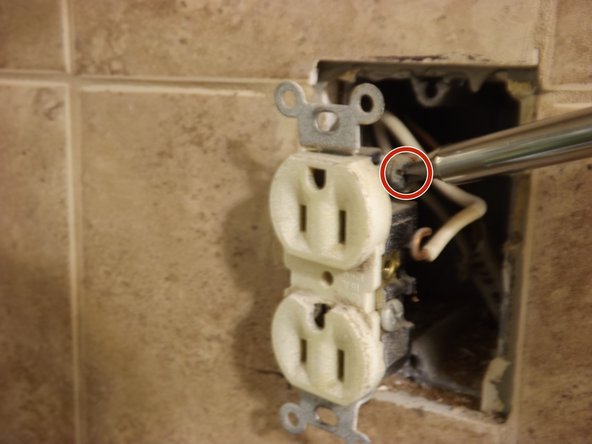
  4. Electrical Wall Outlet Replacement: 4 단계, 이미지 1/1
    • Remove screws from outlet that are connected to the wall using a Phillips screwdriver.

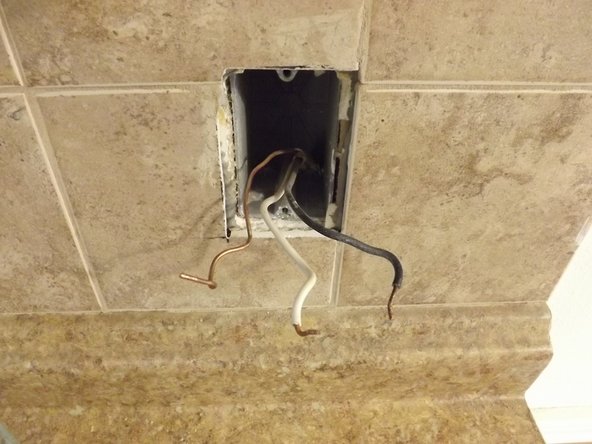
  5. Electrical Wall Outlet Replacement: 5 단계, 이미지 1/1
    • Remove wires from outlet by gently pulling them out of the outlet and wall.

  6. Electrical Wall Outlet Replacement: 6 단계, 이미지 1/2 Electrical Wall Outlet Replacement: 6 단계, 이미지 2/2
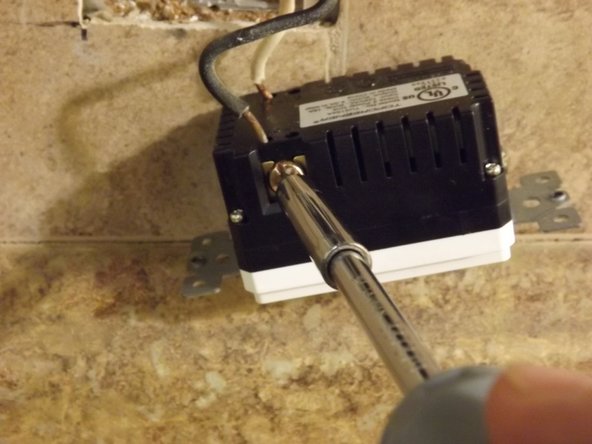
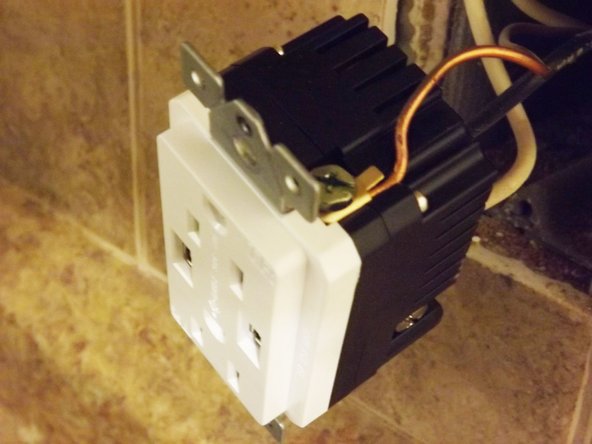
    • Connect wires to new outlet being sure to connected them to their designated port. They are labeled on the back of the outlet with: neutral, ground and hot.

    • Insert wire into the designated port and tighten with Phillips Screwdriver.

    • Neutral Wire- White

    • Ground Wire- Copper

    • Hot Wire- Black

  7. Electrical Wall Outlet Replacement: 7 단계, 이미지 1/3 Electrical Wall Outlet Replacement: 7 단계, 이미지 2/3 Electrical Wall Outlet Replacement: 7 단계, 이미지 3/3
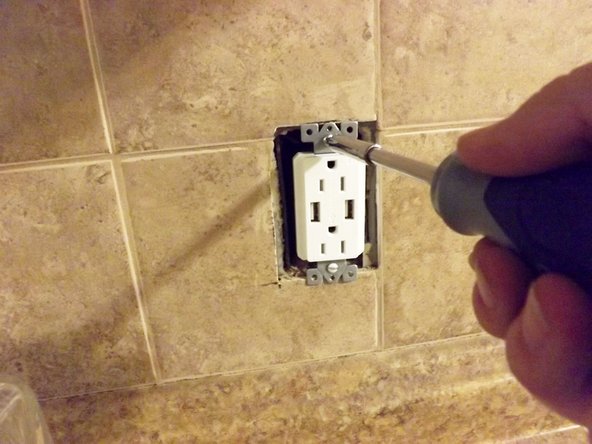
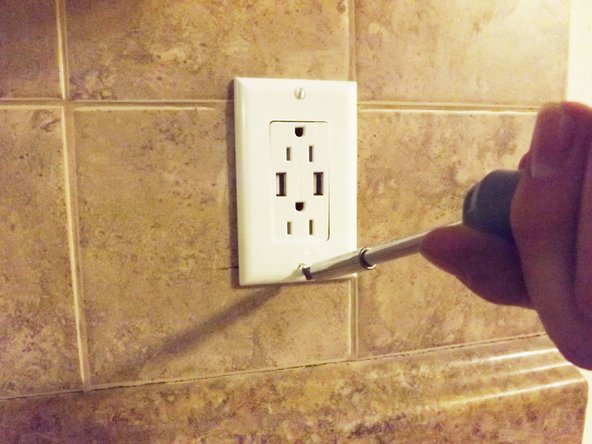
    • Reassemble the outlet as it was removed.

결론

To reassemble your device, follow these instructions in reverse order.

다른 5명이 해당 안내서를 완성하였습니다.

Allison Novelli

회원 가입일: 02/23/16

107 평판

안내서 1개 작성함

Texas Tech, Team 22-4, Rauch Spring 2016 Texas Tech, Team 22-4, Rauch Spring 2016 회원

TTU-RAUCH-S16S22G4

2 회원들

안내서 1개 작성하였습니다

댓글 0개

댓글 쓰기

조회 통계:

24 시간 전: 0

7일 전: 0

30일 전: 1

전체 시간: 1,209