주요 콘텐츠로 건너뛰기

Electrohome EAAC475 USB Port Replacement

필요한 것

  1. Electrohome EAAC475 USB Port Replacement, Battery: 1 단계, 이미지 1/2 Electrohome EAAC475 USB Port Replacement, Battery: 1 단계, 이미지 2/2
    • Remove the 10 mm Phillips #1 screw from the battery cover.

    • Remove the battery cover.

  2. Electrohome EAAC475 USB Port Replacement: 2 단계, 이미지 1/1
    • Remove the flat lithium battery.

  3. Electrohome EAAC475 USB Port Replacement, Buttons: 3 단계, 이미지 1/2 Electrohome EAAC475 USB Port Replacement, Buttons: 3 단계, 이미지 2/2
    • Disconnect the radio from all power sources.

    • Remove the two 10 mm Phillips #1 screws from the bottom of the device.

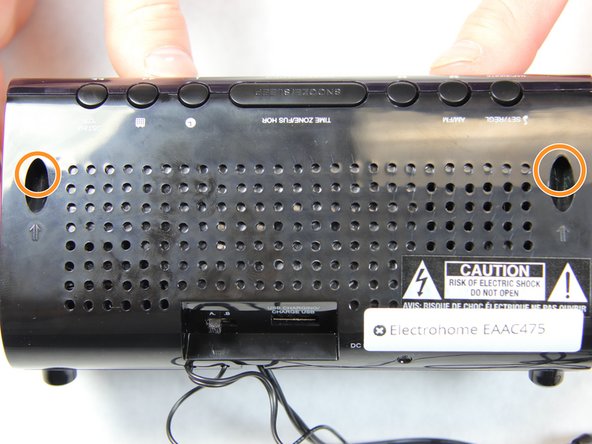
    • Remove two 10 mm Phillips #1 screws from the back side of the device.

  4. Electrohome EAAC475 USB Port Replacement: 4 단계, 이미지 1/3 Electrohome EAAC475 USB Port Replacement: 4 단계, 이미지 2/3 Electrohome EAAC475 USB Port Replacement: 4 단계, 이미지 3/3
    • Carefully and slowly pull the lower case away from the rest of the device.

    • Do not completely separate the lower case. There are several wires connecting the two halves of the device.

    • Flip the device over to access the button assembly.

    • Slowly remove the button contact board from the assembly.

  5. Electrohome EAAC475 USB Port Replacement: 5 단계, 이미지 1/2 Electrohome EAAC475 USB Port Replacement: 5 단계, 이미지 2/2
    • Remove the two 7 mm Phillips # 1 screws holding the buttons.

    • Remove the plastic buttons.

  6. Electrohome EAAC475 USB Port Replacement, USB Port: 6 단계, 이미지 1/1
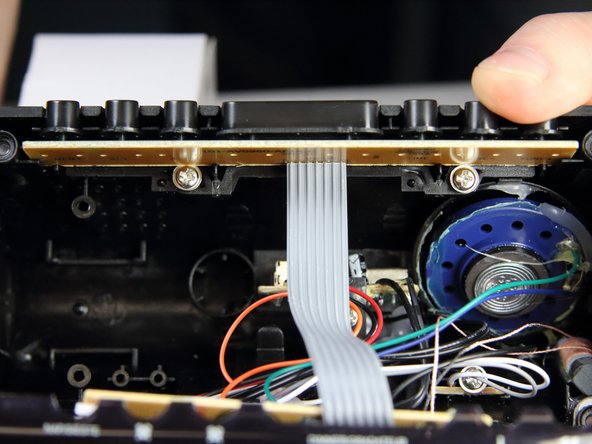
    • Locate the screw holding the USB circuit board in place.

    • Take a Philips head screwdriver and remove the 10 mm screw.

  7. Electrohome EAAC475 USB Port Replacement: 7 단계, 이미지 1/1
    • Upon removing the screw, the circuit board should slide right out to look like this.

    • The USB port is to the right in this picture.

  8. Electrohome EAAC475 USB Port Replacement: 8 단계, 이미지 1/1
    • Find the pins of the USB port that are soldered into the circuit board.

    • Compare the new port with the old port to be sure which pins to work with.

    • Take the soldering gun and heat up the pins one at a time.

    • If you are not familiar with soldering, consult a more skilled individual or at least a how-to guide.

    • Use solder wick with each pin to remove the solder.

    • Remove the USB port.

결론

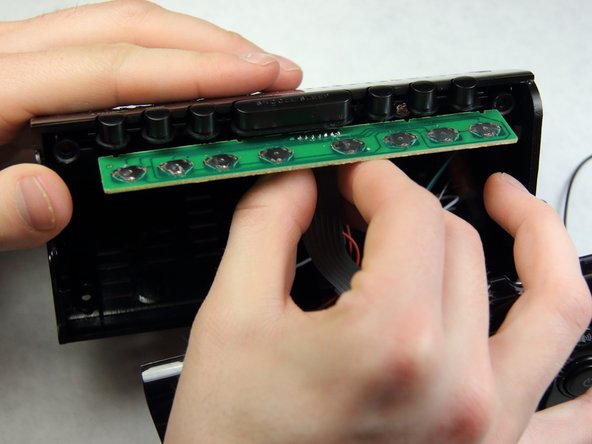
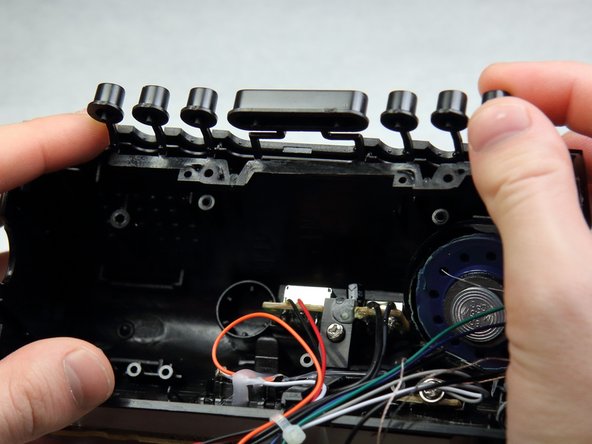
To reassemble your device, follow these instructions in reverse order.

다른 한 분이 해당 안내서를 완성하였습니다.

Sterling Fulk

회원 가입일: 02/16/16

264 평판

안내서 2개 작성하였습니다

IUPUI, Team 2-1, Harley Spring 2016 IUPUI, Team 2-1, Harley Spring 2016 회원

IUPUI-HARLEY-S16S2G1

4 회원들

안내서 6개 작성하였습니다

댓글 0개

댓글 쓰기

조회 통계:

24 시간 전: 1

7일 전: 2

30일 전: 5

전체 시간: 257