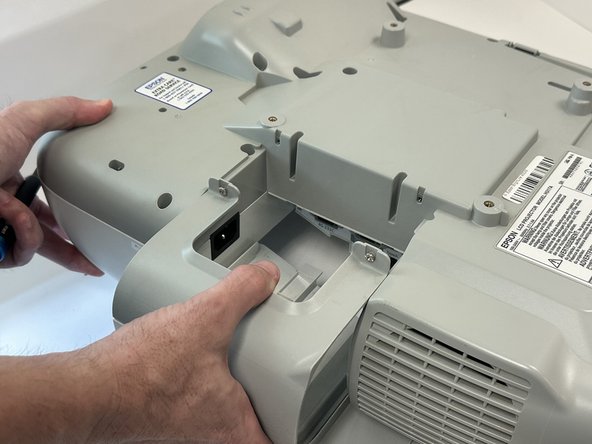
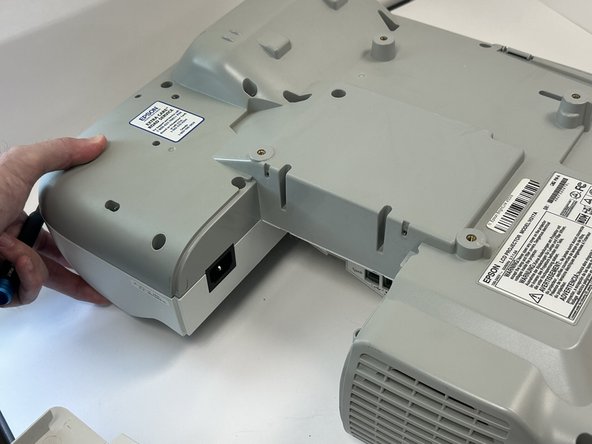
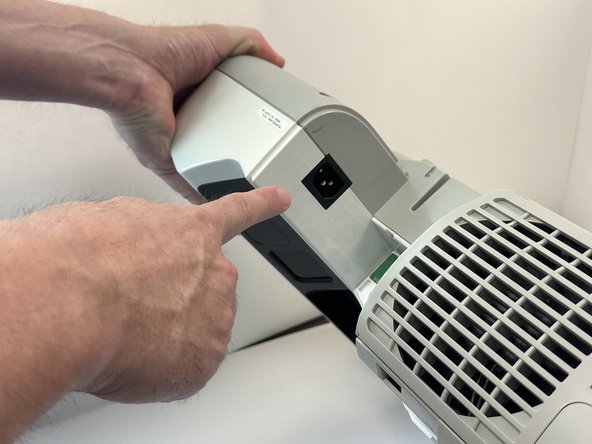
주요 콘텐츠로 건너뛰기

Epson BrightLink 450wi Power Cord Replacement

필요한 것

  1. Epson BrightLink 450wi Power Cord Replacement, Power Cord: 1 단계, 이미지 1/1
    • Flip projector upside-down.

    • The panel cover for the power source is on the projector's left side when upside-down.

  2. Epson BrightLink 450wi Power Cord Replacement: 2 단계, 이미지 1/2 Epson BrightLink 450wi Power Cord Replacement: 2 단계, 이미지 2/2
    • Begin unscrewing the two 11 mm screws that are attached to this cover plate. These screws will come loose and can be removed and placed in a safe location.

  3. Epson BrightLink 450wi Power Cord Replacement: 3 단계, 이미지 1/3 Epson BrightLink 450wi Power Cord Replacement: 3 단계, 이미지 2/3 Epson BrightLink 450wi Power Cord Replacement: 3 단계, 이미지 3/3
    • Once the screws are removed begin pulling the cover plate off gently.

    • It will come off in one smooth motion by pulling away towards the left of the projector.

  4. Epson BrightLink 450wi Power Cord Replacement: 4 단계, 이미지 1/3 Epson BrightLink 450wi Power Cord Replacement: 4 단계, 이미지 2/3 Epson BrightLink 450wi Power Cord Replacement: 4 단계, 이미지 3/3
    • Once the cover plate is removed, lift up the device and you will be able to see the plug for the power source.

    • To plug in, ensure the prongs on the plug are facing the right way to slot into the device power source port.

결론

To reassemble your device, follow these instructions in reverse order.

Evan Sandoval

회원 가입일: 09/11/23

441 평판

안내서 3개 작성하였습니다

Austin Community College, Team 9-1, Watkins Spring 2024 Austin Community College, Team 9-1, Watkins Spring 2024 회원

AUSTINCC-WATKINS-S24S9G1

4 회원들

안내서 3개 작성하였습니다

댓글 0개

댓글 쓰기

조회 통계:

24 시간 전: 0

7일 전: 0

30일 전: 0

전체 시간: 52