주요 콘텐츠로 건너뛰기

Epson EX90 Cooling Fan Replacement

필요한 것

  1. Epson EX90 Cooling Fan Replacement, Cooling Fan: 1 단계, 이미지 1/2 Epson EX90 Cooling Fan Replacement, Cooling Fan: 1 단계, 이미지 2/2
    • Place the projector so that the bottom side is facing upwards

    • Remove the eight screws pictured from the bottom of the device.

    • Open the cover.

    • Be careful when opening the cover; a ribbon cable is still connecting the cover to the motherboard.

  2. Epson EX90 Cooling Fan Replacement: 2 단계, 이미지 1/1
    • Carefully remove the two parallel wire connectors which connect the fan to the corner of the motherboard.

    • Take care to record the port which each wire comes from, so as not to get your wires crossed.

  3. Epson EX90 Cooling Fan Replacement: 3 단계, 이미지 1/1
    • Remove the three screws pictured, which hold the fan's frame in place.

  4. Epson EX90 Cooling Fan Replacement: 4 단계, 이미지 1/2 Epson EX90 Cooling Fan Replacement: 4 단계, 이미지 2/2
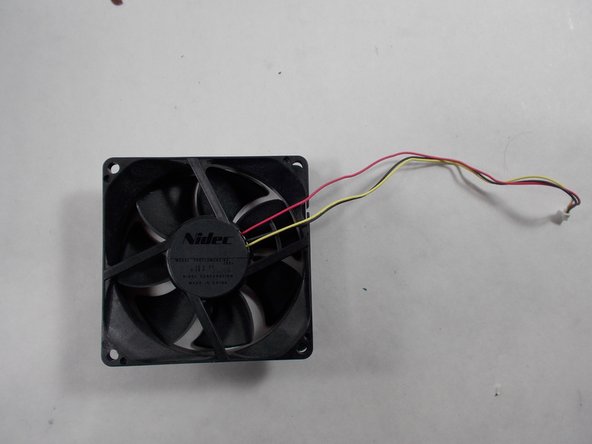
    • Remove fan and related assembly from projector.

    • Detach fan from housing.

    • If the fan is still in good condition, use a paper towel or cloth and clean out all the dust on your fan before reassembling.

결론

To reassemble your device, follow these instructions in reverse order.

Lucas Ketchie

회원 가입일: 04/01/22

160 평판

안내서 1개 작성함

UMass Dartmouth, Team 2-3, Mellen Spring 2022 UMass Dartmouth, Team 2-3, Mellen Spring 2022 회원

UMASSD-MELLEN-S22S2G3

4 회원들

안내서 3개 작성하였습니다

댓글 0개

댓글 쓰기

조회 통계:

24 시간 전: 0

7일 전: 0

30일 전: 3

전체 시간: 122