소개
If your Epson PowerLite Home Cinema 1040 (model V11H772020 or H772A) is casting dull or dim images, your lamp may need replacing. Follow this guide for lamp replacement instructions.
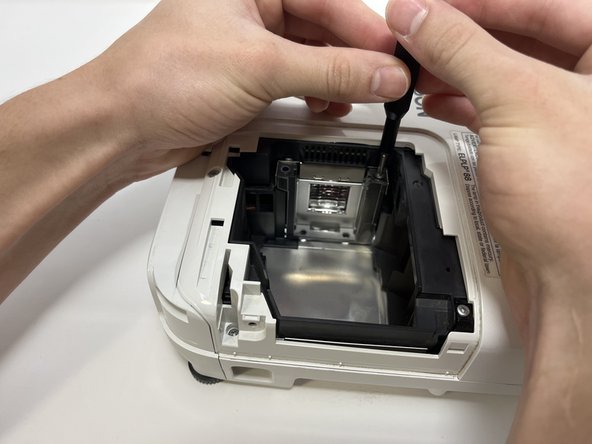
The lamp is the source of light that casts images to the screen. The lamp inside the Epson PowerLite Home Cinema 1040 has an estimated life of around 5,000 hours in Normal mode and 10,000 hours in ECO mode. As the lamp life deteriorates, it will not project images as bright as before. If the lamp blows entirely, it will not project any images at all.
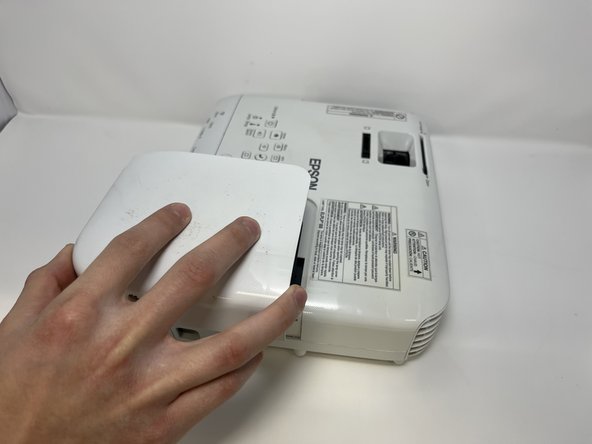
Before beginning, make sure to turn off the projector and unplug the power cord. Allow the projector to fully cool down (up to an hour). Note that the projector lamp could be broken, and glass fragments may be loose inside the compartment containing the lamp. Be careful when removing broken glass. If the projector is mounted to the ceiling, stand to the side of the projector instead of underneath it to prevent glass falling into your eyes or mouth.
필요한 것


To reassemble your device, follow these instructions in reverse order.
To reassemble your device, follow these instructions in reverse order.

팀

Utah Tech University, Team 1-6, McMurrin Spring 2023 Utah Tech University, Team 1-6, McMurrin Spring 2023 회원
UTAHTECH-MCMURRIN-S23S1G6
3 회원들
안내서 6개 작성하였습니다