이 버전에는 잘못된 편집 사항이 있을 수 있습니다. 최신 확인된 스냅샷으로 전환하십시오.
필요한 것
-
이 단계는 번역되지 않았습니다. 번역을 도와주십시오
-
Using a Phillips screwdriver, remove the top screw.
-
Repeat for other two screws located on the lower right and left sides of the clock.
-
-
이 단계는 번역되지 않았습니다. 번역을 도와주십시오
-
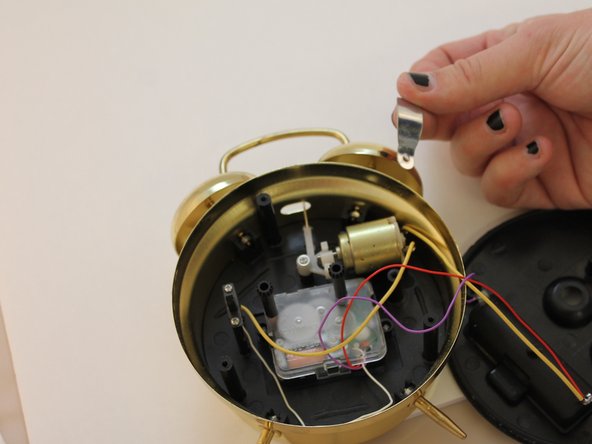
Using a Phillips screwdriver, remove the silver base located on top of cellinoid in upper right hand of inner clock.
-
-
-
이 단계는 번역되지 않았습니다. 번역을 도와주십시오
-
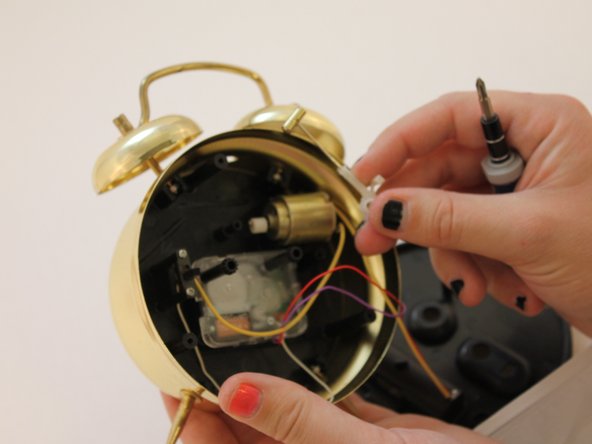
Cellinoid is located below Silver Base. Remove Cellinoid with your fingers and pull it up from the inner clock apparatus.
-
-
이 단계는 번역되지 않았습니다. 번역을 도와주십시오
-
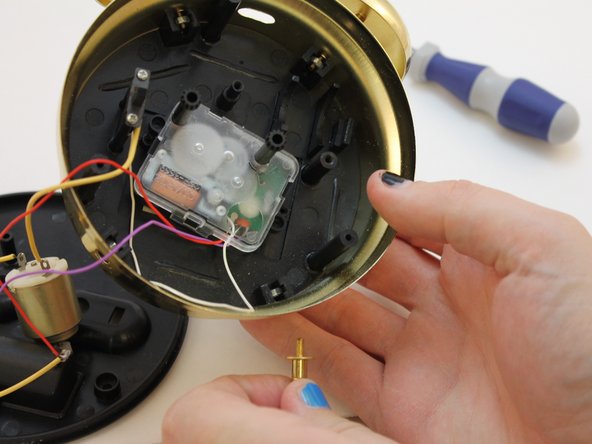
Remove the bottom legs of the clock by unscrewing them with your fingers.
-
Caution: you may need to use a pair of pliers if bottom legs are attached too tight.
-
-
이 단계는 번역되지 않았습니다. 번역을 도와주십시오
-
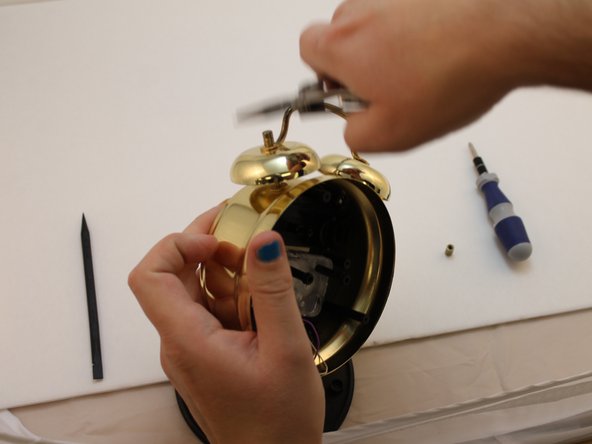
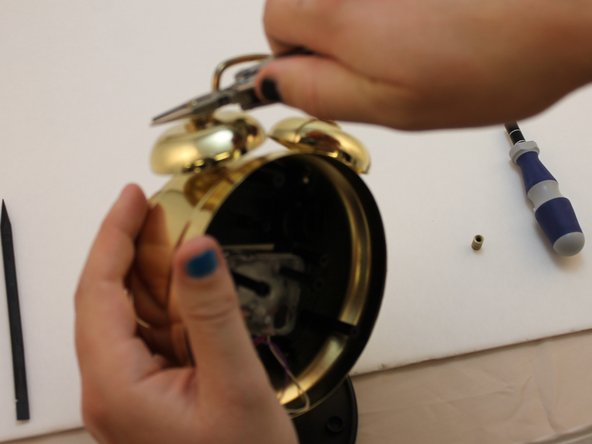
Using your hands, unscrew top screw located on top of the right bell.
-
Caution: You may need to use a pair of pliers to loosen the screw.
-
-
이 단계는 번역되지 않았습니다. 번역을 도와주십시오
-
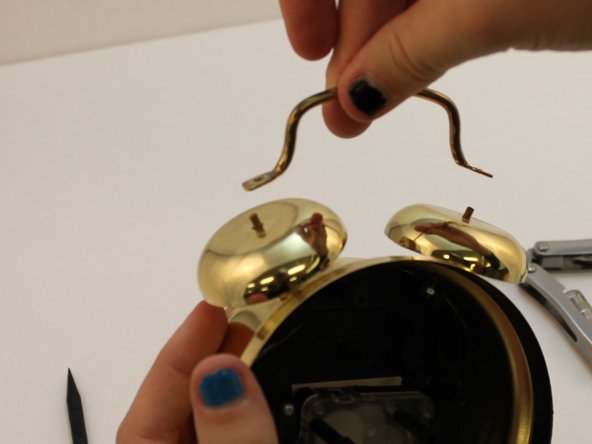
Repeat Directions in Step 6 but on the left bell screw.
-
Caution: You may need to use a pair of pliers.
-
-
이 단계는 번역되지 않았습니다. 번역을 도와주십시오
-
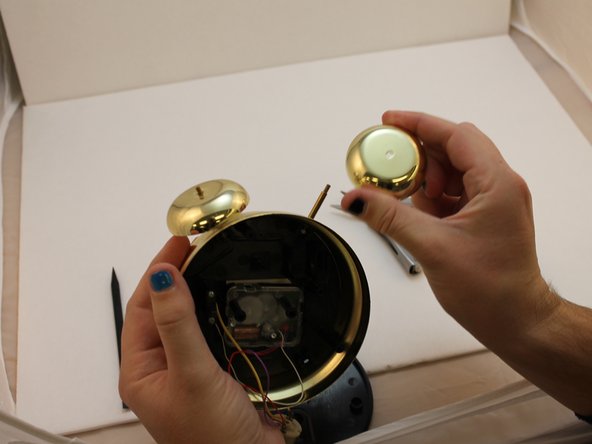
After you remove the screws for both bells, both of the two bells and the bar connecting the two bells will easily come off. Remove these three components with your fingers.
-
-
이 단계는 번역되지 않았습니다. 번역을 도와주십시오
-
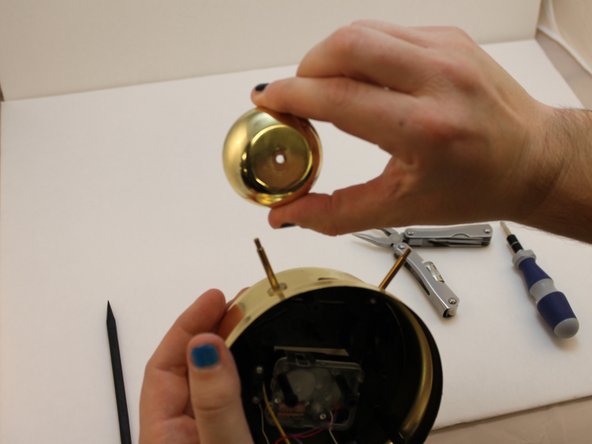
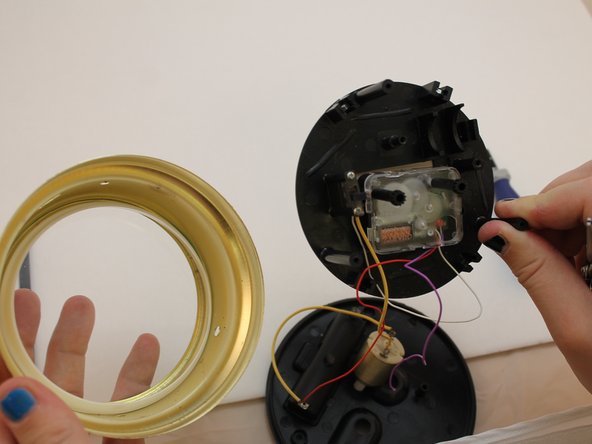
Using your hand, remove the entire black, inner apparatus of clock. The golden ridge of the clock is attached to the glass screen.
-
-
이 단계는 번역되지 않았습니다. 번역을 도와주십시오
-
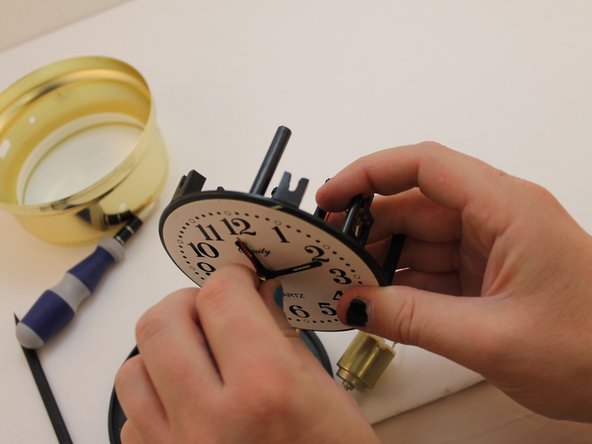
In the front of the clock apparatus are the twelve numbers, minute hand, second hand, and hour hand.
-
-
이 단계는 번역되지 않았습니다. 번역을 도와주십시오
-
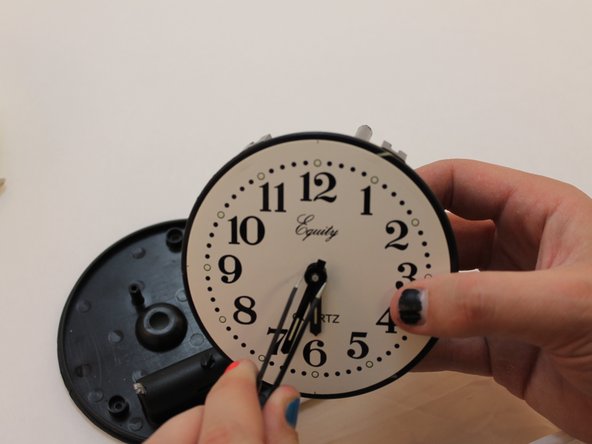
Using a pair of tweezers, remove the golden peg in the center of the clock. This attaches the minute, hour and second hands.
-
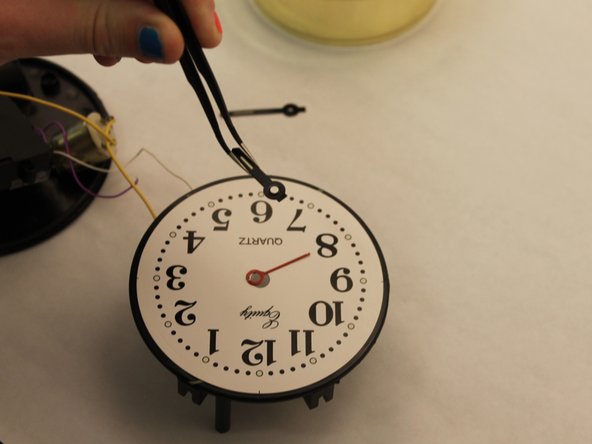
After you have removed the golden peg, use the pair of tweezers to remove hour, minute and second hands.
-


다른 3명이 해당 안내서를 완성하였습니다.

팀

Eastern Washington University, Team 1-6, Carnegie Fall 2014 Eastern Washington University, Team 1-6, Carnegie Fall 2014 회원
EWU-CARNEGIE-F14S1G6
6 회원들
안내서 6개 작성하였습니다