주요 콘텐츠로 건너뛰기

Eureka AirSpeed Bagless Zuum Vacuum Cyclone Replacement

필요한 것

  1. Eureka AirSpeed Bagless Zuum Vacuum Cyclone Replacement, Cyclone: 1 단계, 이미지 1/2 Eureka AirSpeed Bagless Zuum Vacuum Cyclone Replacement, Cyclone: 1 단계, 이미지 2/2
    • Press the grey dust cup release button and gently pull the dust cup towards you.

  2. Eureka AirSpeed Bagless Zuum Vacuum Cyclone Replacement: 2 단계, 이미지 1/1
    • Twist the large, black portion of the cyclone/dust cup to the right to unlock the black cover and cyclone from the clear dust cup.

  3. Eureka AirSpeed Bagless Zuum Vacuum Cyclone Replacement: 3 단계, 이미지 1/1
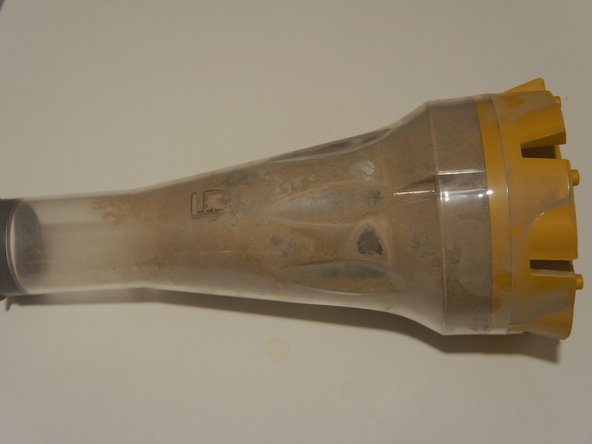
    • Twist the clear collar to release the wash screen and small circular collar exposing the cyclone attached to the black head.

  4. Eureka AirSpeed Bagless Zuum Vacuum Cyclone Replacement: 4 단계, 이미지 1/1
    • Lift the latch on the top of the black cyclone head to open. You can now see the foam filter inside the cyclone portion of the dust cup.

  5. Eureka AirSpeed Bagless Zuum Vacuum Cyclone Replacement: 5 단계, 이미지 1/1
    • Remove the white filter by lifting the gray foam filter handle, exposing the screws attaching cyclone to the black head.

  6. Eureka AirSpeed Bagless Zuum Vacuum Cyclone Replacement: 6 단계, 이미지 1/1
    • Using a T15 Security Torx Screwdriver, remove the 8 screws.

  7. Eureka AirSpeed Bagless Zuum Vacuum Cyclone Replacement: 7 단계, 이미지 1/2 Eureka AirSpeed Bagless Zuum Vacuum Cyclone Replacement: 7 단계, 이미지 2/2
    • Upon removal of the screws, the cyclone and black head cover will come apart.

결론

To reassemble your device, follow these instructions in reverse order.

다른 한 분이 해당 안내서를 완성하였습니다.

Celina Burchett

회원 가입일: 10/13/14

1,122 평판

안내서 8개 작성하였습니다

Clemson, Team 2-2, Benson Fall 2014 Clemson, Team 2-2, Benson Fall 2014 회원

CLEM-BENSON-F14S2G2

4 회원들

안내서 18개 작성하였습니다

댓글 0개

댓글 쓰기

조회 통계:

24 시간 전: 0

7일 전: 3

30일 전: 6

전체 시간: 1,546