소개
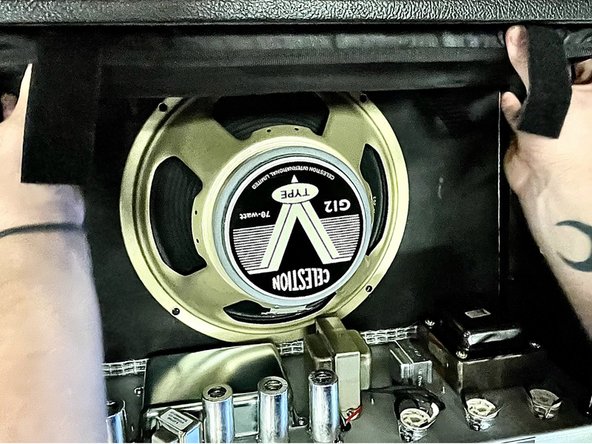
Replacing a speaker in a tube amp is a straightforward process that most people can accomplish relatively easily at home.
If your amplifier is malfunctioning, you might need to replace the speaker.
A functional speaker provides optimal sound, which is essential to the proper functioning of the amplifier. If you notice that your speaker sounds damaged, consider troubleshooting the other parts of the amplifier to confirm that the speaker is the problem.
A damaged speaker can cause damage to connected parts. If your speaker is overheating, shorting, or water-damaged, do not attempt to power on and take appropriate precautions.
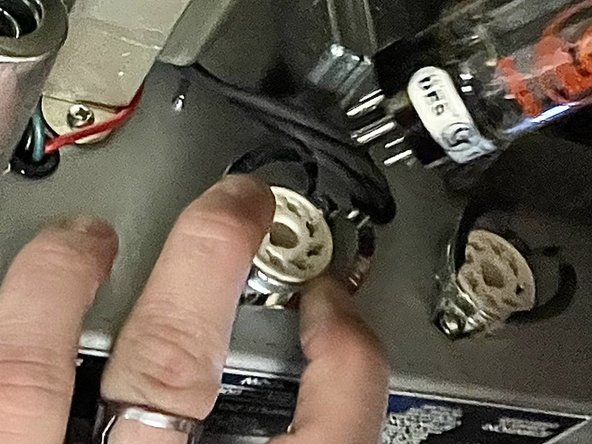
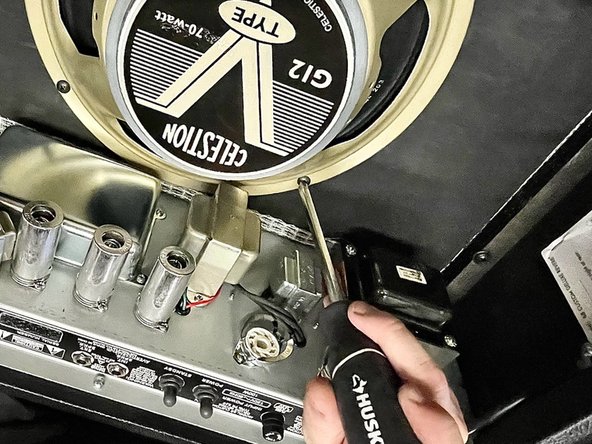
Make sure to disconnect your device from power before you begin.
필요한 것


To reassemble your device, follow these instructions in reverse order.
To reassemble your device, follow these instructions in reverse order.
다른 한 분이 해당 안내서를 완성하였습니다.

팀

California State University Bakersfield, Team 74-12, Chiang Fall 2023 California State University Bakersfield, Team 74-12, Chiang Fall 2023 회원
CSUB-CHIANG-F23S74G12
1 회원
안내서 2개 작성하였습니다