이 버전에는 잘못된 편집 사항이 있을 수 있습니다. 최신 확인된 스냅샷으로 전환하십시오.
필요한 것
-
이 단계는 번역되지 않았습니다. 번역을 도와주십시오
-
Take off the back panel by unscrewing the four Phillips head screws on the back of the amplifier. You will find the six preamp tubes are the smaller ones on the right. (The picture only shows five of the six.)
-
-
이 단계는 번역되지 않았습니다. 번역을 도와주십시오
-
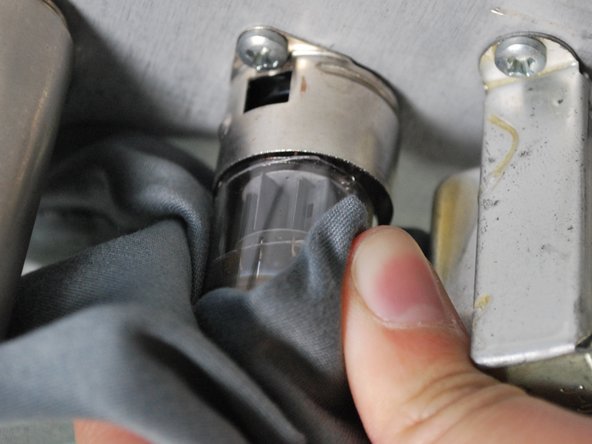
Remove the metal casing by gently pressing up against the case and twisting to the right.
-
-
-
이 단계는 번역되지 않았습니다. 번역을 도와주십시오
-
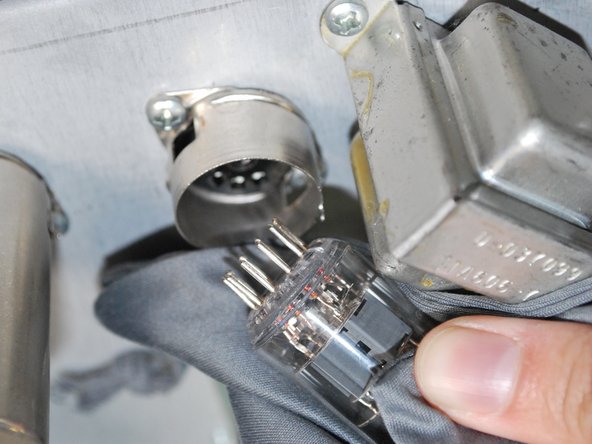
Using the cloth, remove one tube by firmly grasping and gently pulling downwards.
-
Pulling directly downwards prevents damage to the hookup prongs at the bottom of the tube.
-
-
이 단계는 번역되지 않았습니다. 번역을 도와주십시오
-
Check the tube for any cracks in the glass. Also check to make sure the filaments are not burnt out.
-
If the tube is still functioning or to insert the replacement or, proceed to step five.
-
-
이 단계는 번역되지 않았습니다. 번역을 도와주십시오
-
Take the new replacement tube and insert it into the appropriate slot, making sure that the prongs at the end line up with the correct holes.
-
You should hear a click when the tube is secured in place.
-
Repeat these steps with the other three tubes if necessary.
-


다른 2명이 해당 안내서를 완성하였습니다.

팀

Cal Poly, Team 9-27, Maness Winter 2014 Cal Poly, Team 9-27, Maness Winter 2014 회원
CPSU-MANESS-W14S9G27
5 회원들
안내서 7개 작성하였습니다