이 버전에는 잘못된 편집 사항이 있을 수 있습니다. 최신 확인된 스냅샷으로 전환하십시오.
필요한 것
-
이 단계는 번역되지 않았습니다. 번역을 도와주십시오
-
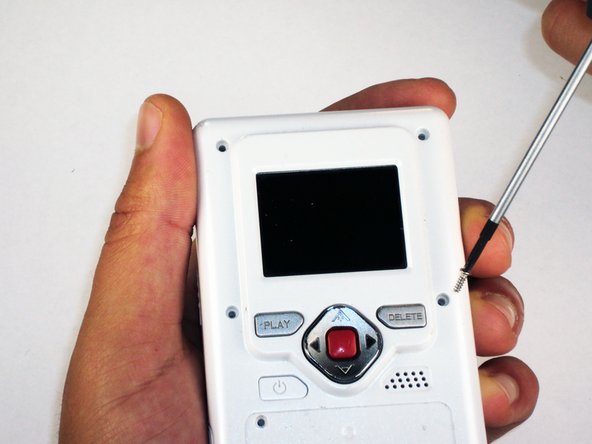
Remove the 4 gray screw caps with the spudger. These cover the screw heads and protect from dirt or grime.
-
-
이 단계는 번역되지 않았습니다. 번역을 도와주십시오
-
Remove the 5 10mm screws with the #00 Phillips screwdriver. These connect the back of the outer shell to the front of the outer shell.
-
-
이 단계는 번역되지 않았습니다. 번역을 도와주십시오
-
Open battery door. This can be done by gently depressing and sliding the battery down downward.
-
-
이 단계는 번역되지 않았습니다. 번역을 도와주십시오
-
Use the spudger to separate outer shells.
-
The spudger must be inserted between the shell halves to pry the edges apart.
-
Slowly work around the outside to separate the halves.
-
-
-
이 단계는 번역되지 않았습니다. 번역을 도와주십시오
-
Remove the 3 5mm screws securing the circuit board to the front shell with the #00 Phillips screwdriver.
-
-
이 단계는 번역되지 않았습니다. 번역을 도와주십시오
-
Slide out the battery contacts.
-
Battery contacts
-
Slot where battery contacts were located
-
-
이 단계는 번역되지 않았습니다. 번역을 도와주십시오
-
With the LCD screen facing away from you, remove the 2 bronze 3 mm screws securing the LCD using the #00 Phillips screwdriver.
-
-
이 단계는 번역되지 않았습니다. 번역을 도와주십시오
-
Flip over the circuit board and unlock the two black tabs on the ribbon connector by sliding them upwards.
-
-
이 단계는 번역되지 않았습니다. 번역을 도와주십시오
-
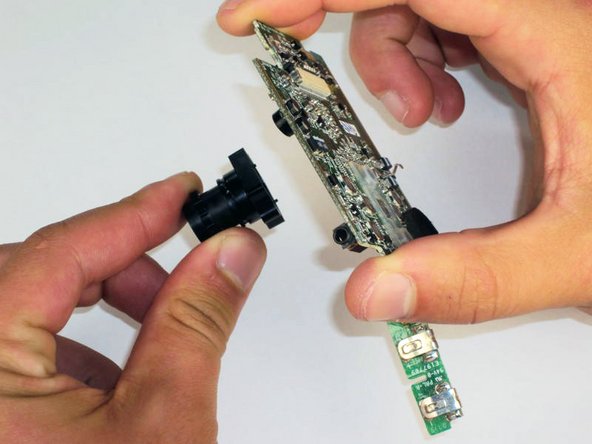
Flip over circuit board so the ribbon connector is facing up.
-
Remove the 2 stainless steel 3mm screws securing the lens to circuit board with the #00 Phillips screwdriver.
-


다른 한 분이 해당 안내서를 완성하였습니다.
팀

Cal Poly, Team 26-21, Regan Spring 2010 Cal Poly, Team 26-21, Regan Spring 2010 회원
CPSU-REGAN-S10S26G21
4 회원들
안내서 12개 작성하였습니다