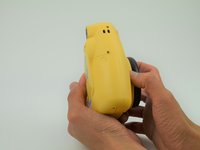
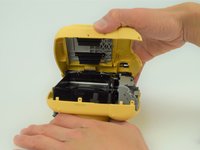
주요 콘텐츠로 건너뛰기

Fujifilm Instax Minion Camera Shell Replacement

필요한 것

  1. Fujifilm Instax Minion Camera Shell Replacement, Camera Shell: 1 단계, 이미지 1/3 Fujifilm Instax Minion Camera Shell Replacement, Camera Shell: 1 단계, 이미지 2/3 Fujifilm Instax Minion Camera Shell Replacement, Camera Shell: 1 단계, 이미지 3/3
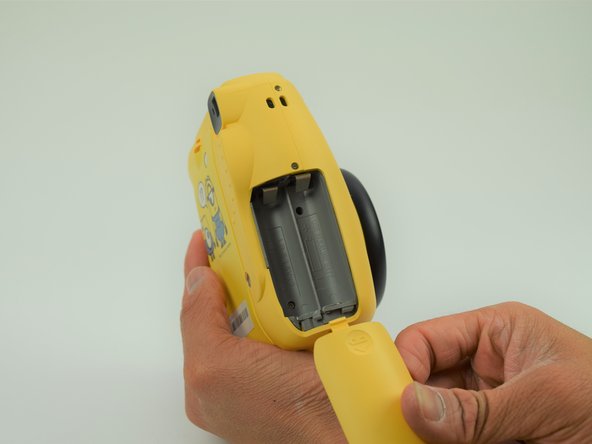
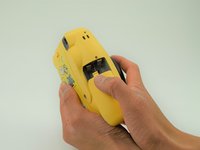
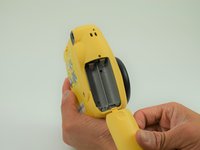
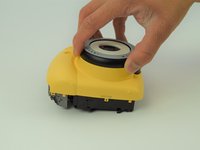
    • Remove the six 4.5 mm #00 Phillips screws from the bottom, left, and right sides.

  2. Fujifilm Instax Minion Camera Shell Replacement: 2 단계, 이미지 1/3 Fujifilm Instax Minion Camera Shell Replacement: 2 단계, 이미지 2/3 Fujifilm Instax Minion Camera Shell Replacement: 2 단계, 이미지 3/3
    • Use a spudger to remove the film slot guard on the top of the camera.

    • Remove the one 4.5 mm #00 Phillips screw under the slot guard.

  3. Fujifilm Instax Minion Camera Shell Replacement: 3 단계, 이미지 1/3 Fujifilm Instax Minion Camera Shell Replacement: 3 단계, 이미지 2/3 Fujifilm Instax Minion Camera Shell Replacement: 3 단계, 이미지 3/3
    • Press the release tab on the back of the camera to open the film compartment.

    • Remove the film cartridge within this compartment.

  4. Fujifilm Instax Minion Camera Shell Replacement: 4 단계, 이미지 1/3 Fujifilm Instax Minion Camera Shell Replacement: 4 단계, 이미지 2/3 Fujifilm Instax Minion Camera Shell Replacement: 4 단계, 이미지 3/3
    • Press the battery cover in and down to remove it.

    • Remove any batteries within.

  5. Fujifilm Instax Minion Camera Shell Replacement: 5 단계, 이미지 1/3 Fujifilm Instax Minion Camera Shell Replacement: 5 단계, 이미지 2/3 Fujifilm Instax Minion Camera Shell Replacement: 5 단계, 이미지 3/3
    • Use a plastic opening tool to help pry the front and back shells apart.

    • With the camera facing down, remove only the back shell.

  6. Fujifilm Instax Minion Camera Shell Replacement: 6 단계, 이미지 1/3 Fujifilm Instax Minion Camera Shell Replacement: 6 단계, 이미지 2/3 Fujifilm Instax Minion Camera Shell Replacement: 6 단계, 이미지 3/3
    • Carefully peel the front side of the shell away.

    • As you lift the front shell, be careful to not pull too hard since there is a spring attached to the shell and the camera body.

    • Using a set of tweezers, detach the spring from the body. The spring will retract into the black and gray ring on the front shell.

결론

To reassemble your device, follow these instructions in reverse order.

Jonnah Lee

회원 가입일: 04/18/18

473 평판

안내서 3개 작성하였습니다

Cal Poly, Team S18-G6, Livingston Spring 2018 Cal Poly, Team S18-G6, Livingston Spring 2018 회원

CPSU-LIVINGSTON-S18S18G6

4 회원들

안내서 11개 작성하였습니다

댓글 0개

댓글 쓰기

조회 통계:

24 시간 전: 0

7일 전: 8

30일 전: 44

전체 시간: 1,994