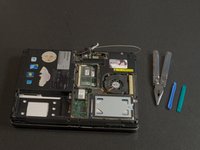
필요한 것
-
-
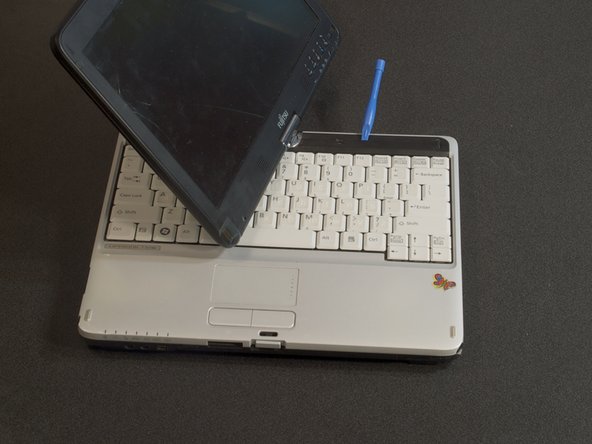
Power the system off if it is running.
-
Flip the computer upside down.
-
Release the battery by pressing the two tabs on the right-underside of the laptop.
-
-
-
Two black stickers conceal the screws. These are easily pulled up.
-
Use a Philips #1 driver to remove the two screws.
-
-
-
Using your fingernails or a spudger, gently pry free the more forward section of the bezel. There are snap points holding it in place at either end.
-
Once it is free, press down the F-key row on the keyboard and carefully work the bezel over the keys to remove it.
-
-
-
There are four clip points at the bezel's rear, release each one and remove the bezel.
-
-
-
-
Remove the screw holding the interconnect board in place with a #1 Philips driver.
-
The interconnect board has an electrical connector under the right hand side.
-
Lift the rear edge of the keyboard then slide the whole keyboard to the rear and lift it out. There was a small piece of double sided tape on the underside of the keyboard, so you may feel a bit of resistance when sliding it out.
-
-
-
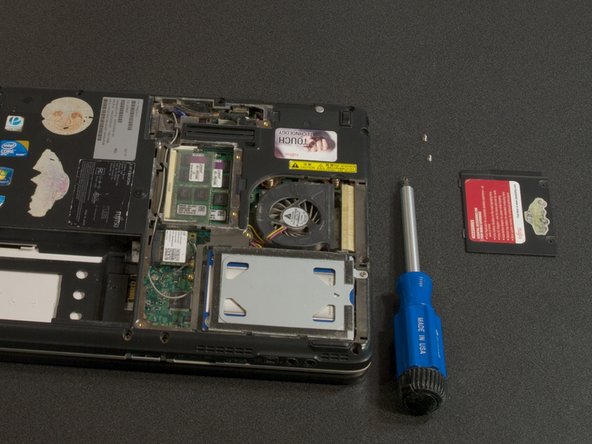
Remove the CPU heat vent dust clean out clip, by pushing in on the rear tab.
-
Remove the two screws marked with icons using a #1 Philips driver.
-
Slide the hard drive cove to the right and lift it free.
-
-
-
Remove the cable cover screw using a #1 Philips driver.
-
Slide the cover to the left and remove it.
-
-
-
Remove the two screws using a #1 Philips driver.
-
Lift out the RAM cover.
-
-
-
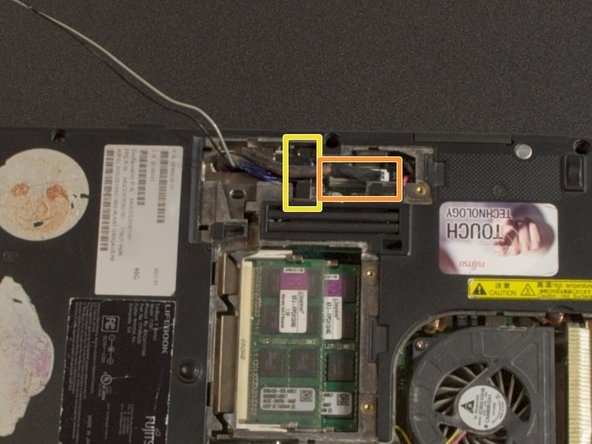
Disconnect the wifi and bluetooth antennas. The gray wire is slightly longer and connects to the socket labeled with a "1". The black wire connects to the socket labeled "2". Notice the routing of the cables under the metal tabs so you can replace them correctly.
-
Disconnect the composite cable. It is difficult to remove. Carefully use spudgers to pry up the ends of the connector evenly. Small needle nosed pliers may be helpful in disconnecting it. The fabric tape on top of the connector is NOT a pull-tab. It is there to help hold the very fine wires together.
-
Disconnect the LVDS video cable. The LVDS connector has a pull-tab making it easy to disconnect.
-
-
-
Remove the two hinge screws from the rear of the machine using a Philips #1.
-
Remove the two hinge screws from the top side near the main hinge using a Philips #1.
-
-
-
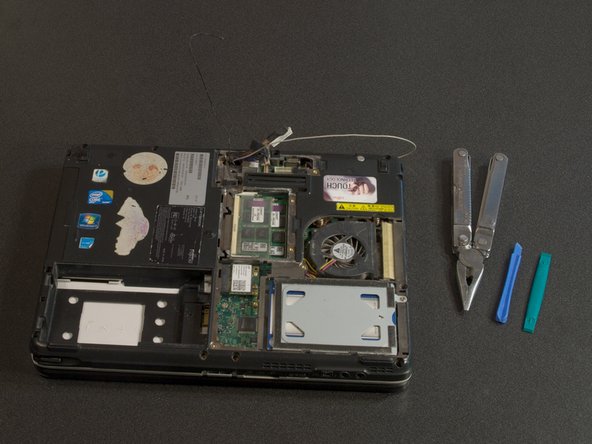
The display is now free. Carefully feed the delicate cables and connectors through the hole on the underside of the machine. Lift the hinge out of the laptop body. Be careful not to catch the cables near the hinge on the upper surface. These cables can be removed if you do not want to deal with working around them.
-
-
-
Putting it back together is about the same as taking it apart. Watch the small boards and wires around the hinge area. Also be sure to route the cables correctly.
-
Be careful with the connectors, but be sure they are seated properly and completely.
-
If you want to test before finishing reassembly, remember that the lower covers and the keyboard are needed to channel the airflow for cooling.
-
The adhesive on the screw covers for the screen/keyboard bezel was worn out, so I used double sided tape to put them back into place.
-


If your repair was successful, then congratulations! If not, then don't hesitate to ask for help.
A few days of effort went into making this guide so we hope you find it useful!
