소개
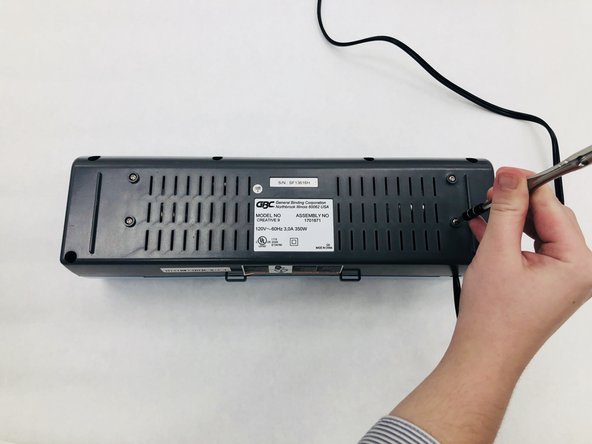
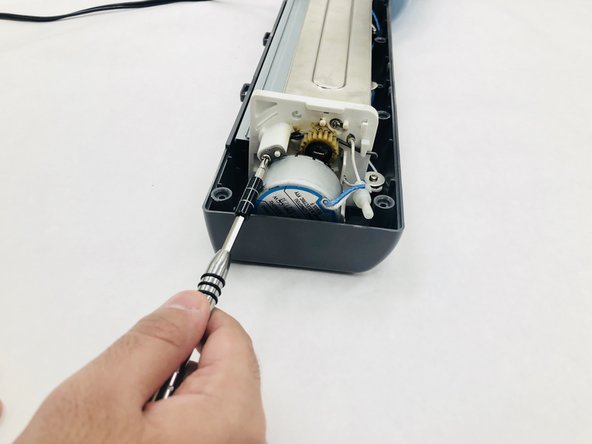
If your Laminator does not work currently, for example the paper stuck in the device, one thing to do is to check the gears. Since the gears are inside of the device, you need to disassemble the Laminator. For this guide, you will need to open the top of the device using a Phillips #2 screwdriver to remove the screws. It is not difficult to replace the gears, but some of the components may be difficult to pull apart.
필요한 것


To reassemble your device, follow these instructions in reverse order.
To reassemble your device, follow these instructions in reverse order.
다른 4명이 해당 안내서를 완성하였습니다.
팀

IUPUI, Team S1-G1, Wilson Summer 2018 IUPUI, Team S1-G1, Wilson Summer 2018 회원
IUPUI-WILSON-SU18S1G1
5 회원들
안내서 4개 작성하였습니다
댓글 한 개
Can you tell me where I might find a replacement gear for my GBC H200? I would like to find a brass gear but mine melted and need to find a replacement but no info for the gear. I think it is 17 teeth but not sure about the rest.
Jim Pruitt - 답글