주요 콘텐츠로 건너뛰기

GG airsoft m14 AEG Hop-up Reassembly

필요한 것

  1. GG airsoft m14 AEG Hop-up Reassembly, GG airsoft m14 AEG Hop-up Reassembly: 1 단계, 이미지 1/3 GG airsoft m14 AEG Hop-up Reassembly, GG airsoft m14 AEG Hop-up Reassembly: 1 단계, 이미지 2/3 GG airsoft m14 AEG Hop-up Reassembly, GG airsoft m14 AEG Hop-up Reassembly: 1 단계, 이미지 3/3
    • In first half of the guide will focus on just removing the bucking. Afterwords you will see how to completely disassemble the hop-up.

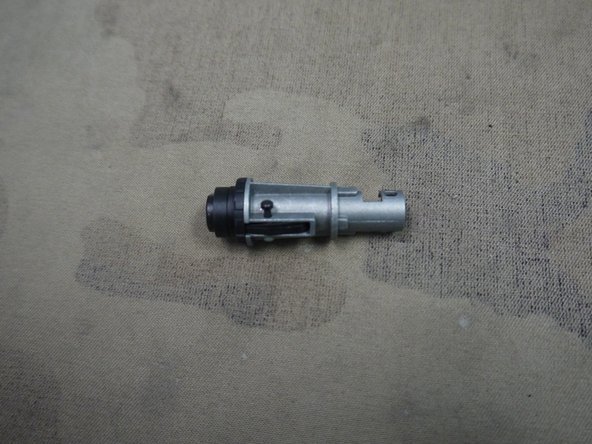
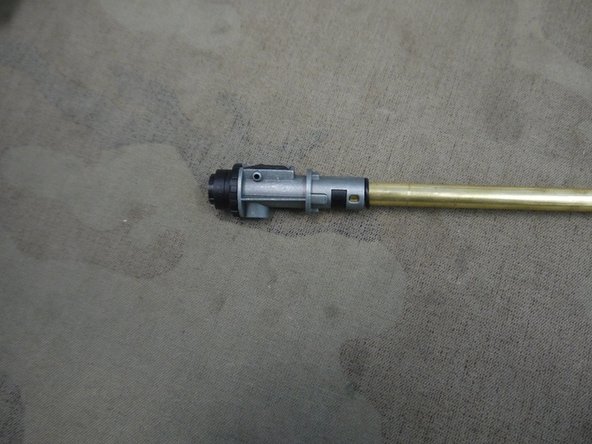
    • Start by turning the hop-up all the way down. This will reduce the risk that the nub might pop out.

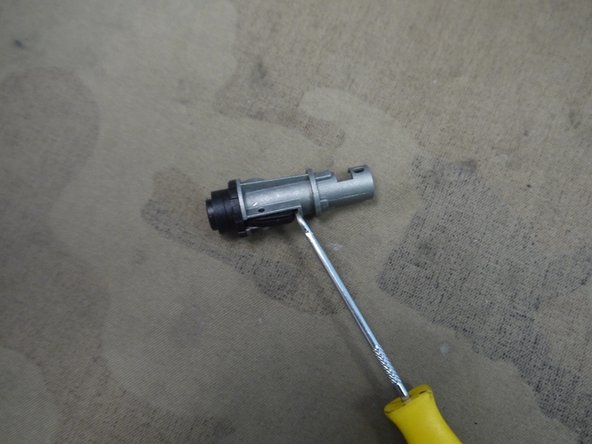
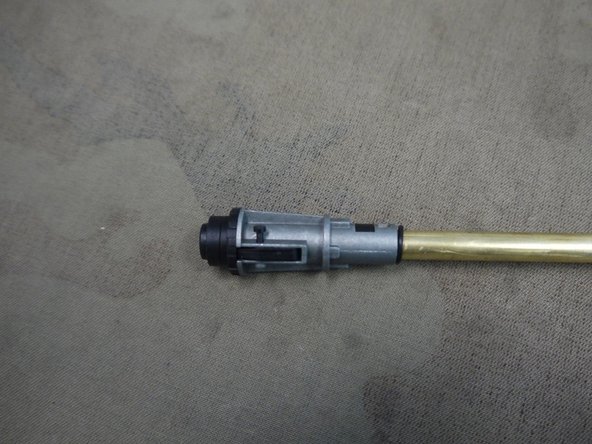
    • Next remove the black plastic clip in the front of the gearbox.

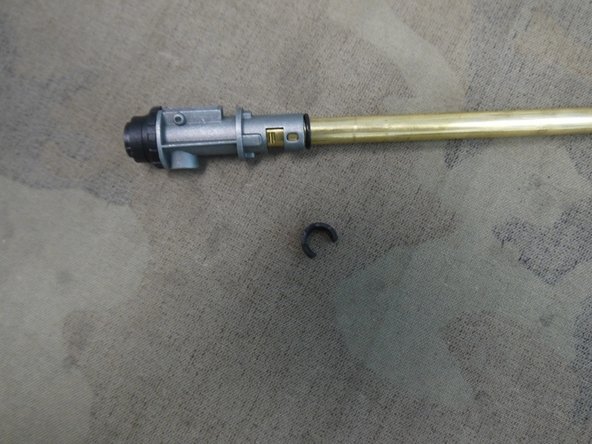
    • Then with the hop-up upside down slide the barrel and the bucking out of the hop-up.

  2. GG airsoft m14 AEG Hop-up Reassembly: 2 단계, 이미지 1/3 GG airsoft m14 AEG Hop-up Reassembly: 2 단계, 이미지 2/3 GG airsoft m14 AEG Hop-up Reassembly: 2 단계, 이미지 3/3
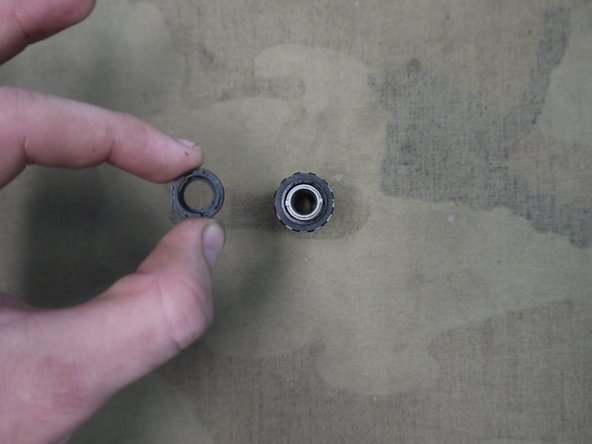
    • Even with the precautions make sure not to loose the nub this piece is just a long tiny cylindrical piece made out of rubber.

    • This piece rests on the hop-up arm and is most likely still in the hop-up arm however loosing this piece is the most common mistake done by people disassembling their hop-up for the first time.

    • This is now a good time remove the bucking if you desire.

    • When you go to add the bucking to the barrel make sure the long protruding section of the inside of the bucking with the slot of the outside of the inner barrel.

  3. GG airsoft m14 AEG Hop-up Reassembly: 3 단계, 이미지 1/3 GG airsoft m14 AEG Hop-up Reassembly: 3 단계, 이미지 2/3 GG airsoft m14 AEG Hop-up Reassembly: 3 단계, 이미지 3/3
    • Now if the nub did fall out the best way to put it back in place is to remove the arm and add it to the arm directly.

    • Start by removing the pin the hold the arm in place.

    • With the pin removed you can take thin tool and gently pry the arm out of the hop-up body.

  4. GG airsoft m14 AEG Hop-up Reassembly: 4 단계, 이미지 1/3 GG airsoft m14 AEG Hop-up Reassembly: 4 단계, 이미지 2/3 GG airsoft m14 AEG Hop-up Reassembly: 4 단계, 이미지 3/3
    • If you want to remove the wheel of the hop-up you can do so by turning the retention piece and have it so that it will come right off.

    • To get the wheel back on just revers the process.

    • Although this should not be necessary for maintenance or upgrades.

  5. GG airsoft m14 AEG Hop-up Reassembly: 5 단계, 이미지 1/2 GG airsoft m14 AEG Hop-up Reassembly: 5 단계, 이미지 2/2
    • Now for re-assemble and nub installation start by sliding the barrel and bucking back into the hop-up body made sure the long track on the barrel is facing downward.

    • Then install the hop-up clip to keep the barrel in position.

  6. GG airsoft m14 AEG Hop-up Reassembly: 6 단계, 이미지 1/3 GG airsoft m14 AEG Hop-up Reassembly: 6 단계, 이미지 2/3 GG airsoft m14 AEG Hop-up Reassembly: 6 단계, 이미지 3/3
    • Now you can take the hop-up arm and place the numb in the gap on the front of the arm.

    • It can make it easier to take a rubber safe crease and use it to hold the nub in place.

    • Once this done the arm can be set back into place and the metal pin can be added.

  7. GG airsoft m14 AEG Hop-up Reassembly: 7 단계, 이미지 1/1
    • Now you can slide the barrel and hop-up unit back into your gun.

    • You have now completed the hop-up disassemble and re-assemble.

결론

To reassemble your device, follow these instructions in reverse order.

다른 2명이 해당 안내서를 완성하였습니다.

101 Tech USA

회원 가입일: 08/06/12

4,127 평판

안내서 17개 작성하였습니다

댓글 0개

댓글 쓰기

조회 통계:

24 시간 전: 0

7일 전: 0

30일 전: 9

전체 시간: 4,680