소개
In this guide, we will show you how to remove and replace the motherboard and LCD.
필요한 것
-
-
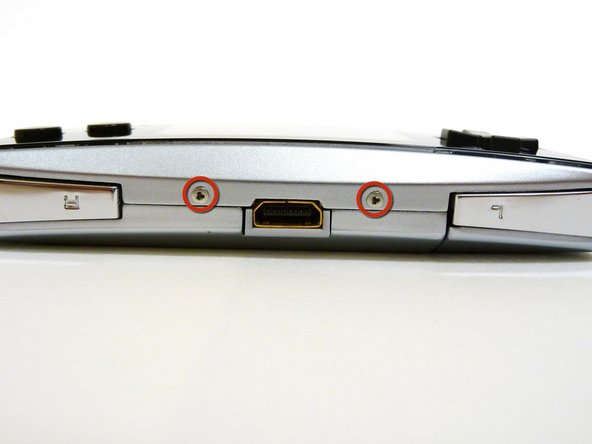
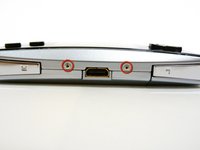
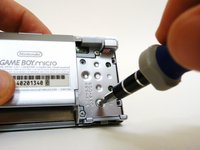
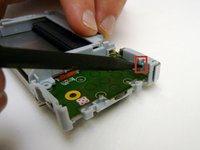
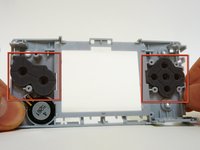
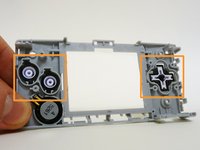
Locate the two circular holes on the side of the Game Boy nearest to the directional pad.
-
-
-
Remove the Phillips #00 screw on the side of the Game Boy closest to the directional pad.
-
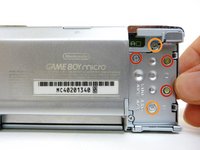
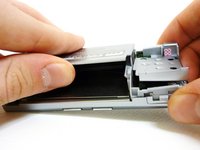
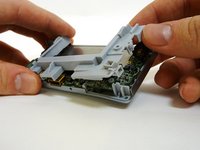
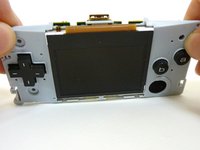
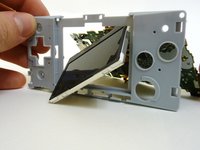
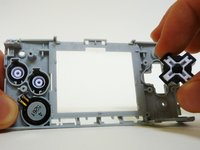
Once the screw has been loosened, lift the cover off the back of the device.
-
-
-
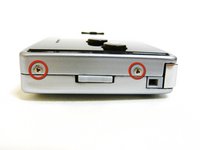
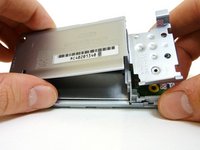
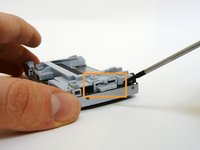
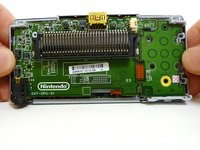
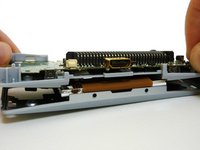
Remove the two tri-wing screws on the top of the Game Boy and the two screws next to the volume/contrast switch.
-
-
-
-
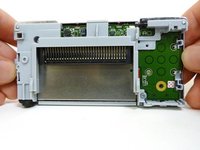
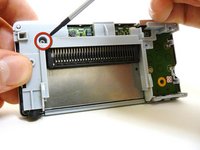
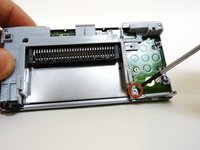
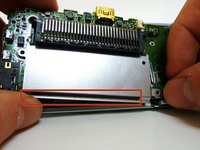
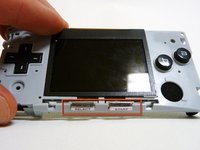
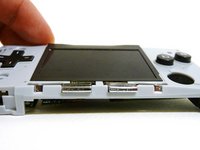
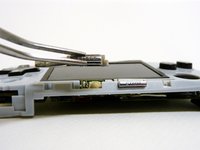
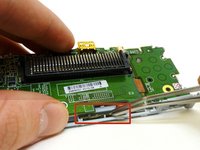
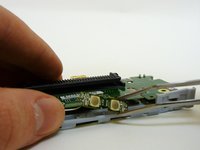
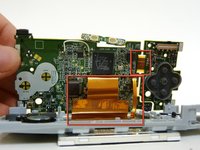
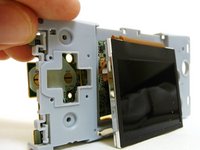
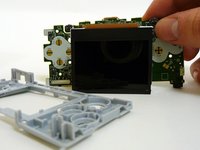
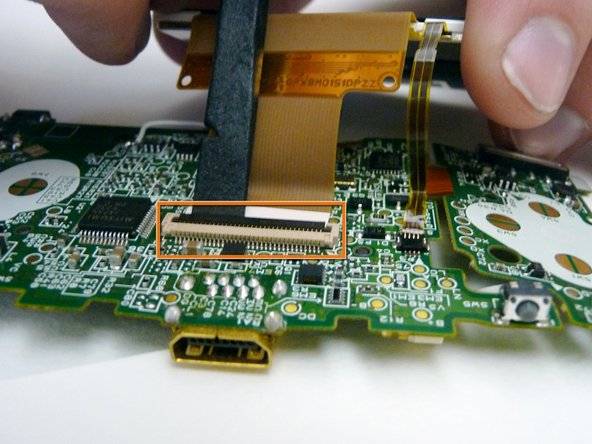
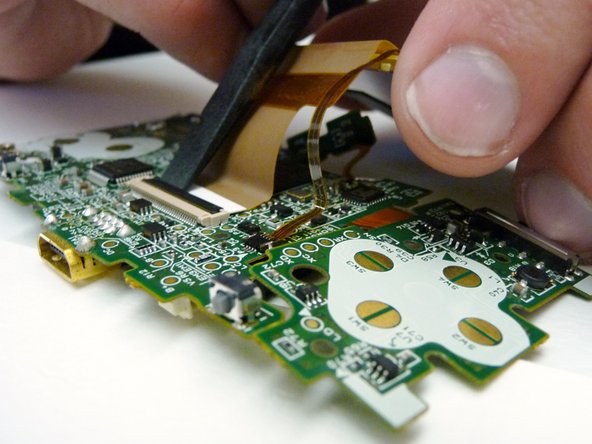
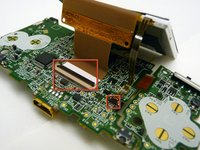
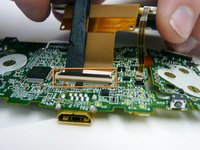
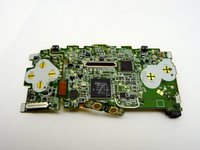
The LCD screen is connected to the motherboard by two ribbon cables.
-
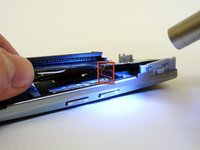
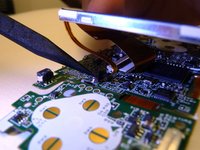
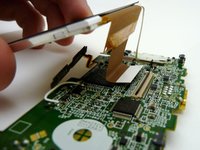
Use a plastic spudger to disconnect the LCD's ZIF connector.
-


To reassemble your device, follow these instructions in reverse order.
다른 20명이 해당 안내서를 완성하였습니다.
팀

Cal Poly, Team 8-46, Regan Winter 2010 Cal Poly, Team 8-46, Regan Winter 2010 회원
CPSU-REGAN-W10S8G46
5 회원들
안내서 25개를 작성함
1가이드 댓글
Ich wollte vorne das Cover wechseln bei dem gameboy micro und ich habe zu doll in die Löcher reingestochen so das es in drinnen gebrochen ist... Wer kann das reparieren?? Hilfe