소개
If you need to replace the face buttons on a Game Boy Pocket (model MGB-001) due to worn-out buttons or to customize your console, use this guide to remove and replace the buttons. No prior experience or soldering is required.
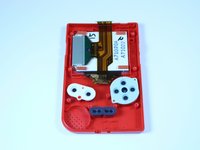
The Game Boy Pocket has five buttons located on the front of the device:
- Directional Pad (D-Pad)
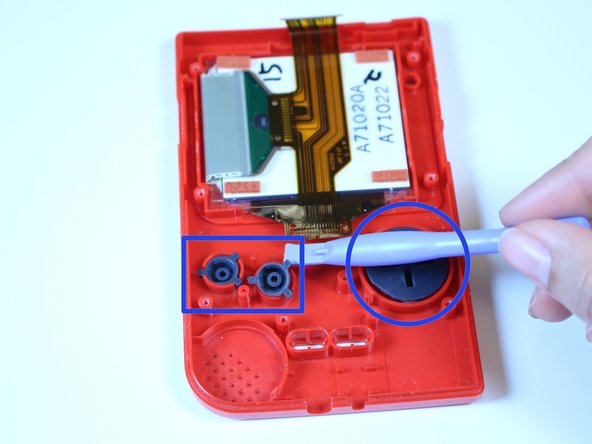
- A
- B
- Start
- Select
Before beginning, ensure that the console is powered off by moving the power switch located on the top left corner to the left position. It is recommended that you remove the two AAA batteries located on the lower backside of the console as well as any game cartridges from the slot on the top of the console.
필요한 것
-
-
Place the Game Boy Pocket face-down on a clean, flat surface.
-
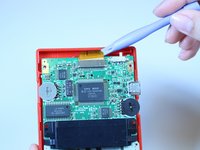
Use a Y1 tri-wing screwdriver and turn counterclockwise to remove the four external screws.
-
Use a Y1 tri-wing screwdriver and turn counterclockwise to remove the two screws inside the battery compartment.
-
-


To reassemble your device, follow these instructions in reverse order.
다른 3명이 해당 안내서를 완성하였습니다.
팀

USF Tampa, Team 1-1, Leahy Fall 2014 USF Tampa, Team 1-1, Leahy Fall 2014 회원
USFT-LEAHY-F14S1G1
4 회원들
안내서 19개를 작성함