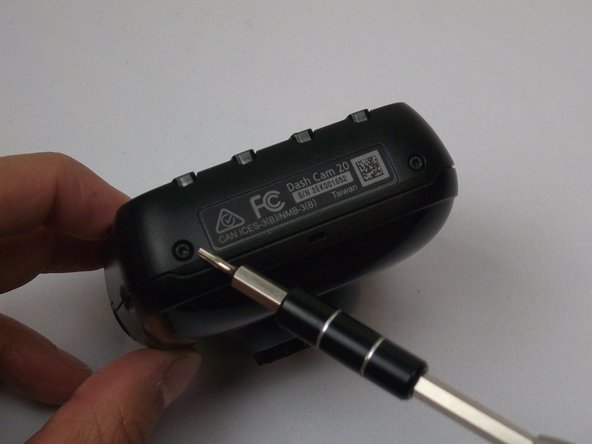
주요 콘텐츠로 건너뛰기

Garmin Dash Cam 20 Internal Assembly

단지 전제 조건
이 안내서는 다른 가이드의 선행 작업으로 사용하기 위한 것입니다. 그 자체로는 불완전합니다.

필요한 것

  1. Garmin Dash Cam 20 Internal Assembly, Internal Assembly: 1 단계, 이미지 1/2 Garmin Dash Cam 20 Internal Assembly, Internal Assembly: 1 단계, 이미지 2/2
    • Be sure to turn off the Dash Cam by pressing the power button.

  2. Garmin Dash Cam 20 Internal Assembly: 2 단계, 이미지 1/2 Garmin Dash Cam 20 Internal Assembly: 2 단계, 이미지 2/2
    • Rotate the Dash Cam to where the socket faces you.

    • Remove the 9 mm screw using the Torx T6 screwdriver.

  3. Garmin Dash Cam 20 Internal Assembly: 3 단계, 이미지 1/2 Garmin Dash Cam 20 Internal Assembly: 3 단계, 이미지 2/2
    • Remove the Dash Cam socket piece.

  4. Garmin Dash Cam 20 Internal Assembly: 4 단계, 이미지 1/2 Garmin Dash Cam 20 Internal Assembly: 4 단계, 이미지 2/2
    • Rotate the Dash Cam to where the product information faces you.

    • Remove the two 5 mm screws using the Torx T5 screwdriver.

  5. Garmin Dash Cam 20 Internal Assembly: 5 단계, 이미지 1/3 Garmin Dash Cam 20 Internal Assembly: 5 단계, 이미지 2/3 Garmin Dash Cam 20 Internal Assembly: 5 단계, 이미지 3/3
    • Remove top case from the bottom case.

    • The compact nature of the casing requires use of the metal spudger for needed leverage.

  6. Garmin Dash Cam 20 Internal Assembly: 6 단계, 이미지 1/3 Garmin Dash Cam 20 Internal Assembly: 6 단계, 이미지 2/3 Garmin Dash Cam 20 Internal Assembly: 6 단계, 이미지 3/3
    • Remove the two 5mm screws using the Torx T5 screwdriver

    • By removing the screws, the metal battery frame will now become free from the rest of the device.

결론

To reassemble your device, follow these instructions in reverse order.

다른 한 분이 해당 안내서를 완성하였습니다.

Jesse Hillman

회원 가입일: 10/04/16

757 평판

안내서 5개 작성하였습니다

USF Tampa, Team 2-1, Cagle Fall 2016 USF Tampa, Team 2-1, Cagle Fall 2016 회원

USFT-CAGLE-F16S2G1

4 회원들

안내서 5개 작성하였습니다

댓글 0개

댓글 쓰기

조회 통계:

24 시간 전: 0

7일 전: 0

30일 전: 0

전체 시간: 57