소개
The motherboard on the Garmin Nuvi 200W is a circuit board in the device that operates the whole device. The motherboard occasionally has a component fail, preventing the device from working. Should this happen, the entire Nuvi 200W unit will be inoperable.
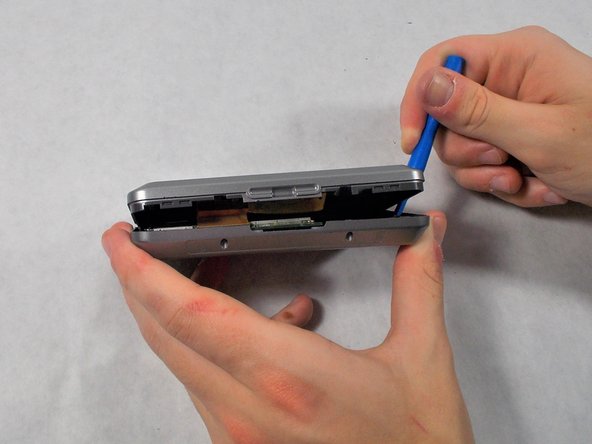
This repair is best done in a clean, dust-free environment. The sensitive electronics inside the Nuvi 200W will not respond will to sand and other small particles. It is also important to leave yourself ample time to effectively navigate the motherboard removal process.
필요한 것
-
-
-
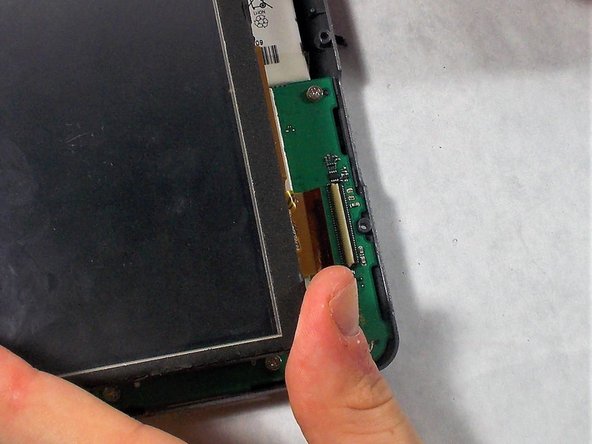
Carefully use the black spudger to lift the white retaining clamp on the display cable ZIF connector.
-
Slide the orange ribbon cable away from the ZIF connector.
-
-
-
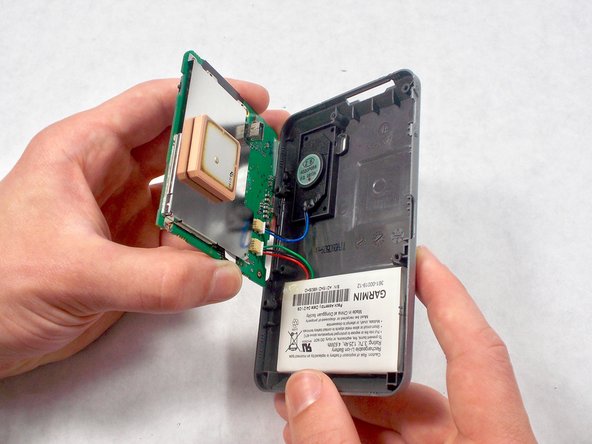
Using a screw driver, unscrew the four 2mm screws holding the motherboard in place.
-


To reassemble your device, follow these instructions in reverse order.
To reassemble your device, follow these instructions in reverse order.
다른 한 분이 해당 안내서를 완성하였습니다.
팀

UMass Dartmouth, Team S5-G4, Botvin Spring 2017 UMass Dartmouth, Team S5-G4, Botvin Spring 2017 회원
UMASSD-BOTVIN-S17S5G4
3 회원들
안내서 6개 작성하였습니다