소개
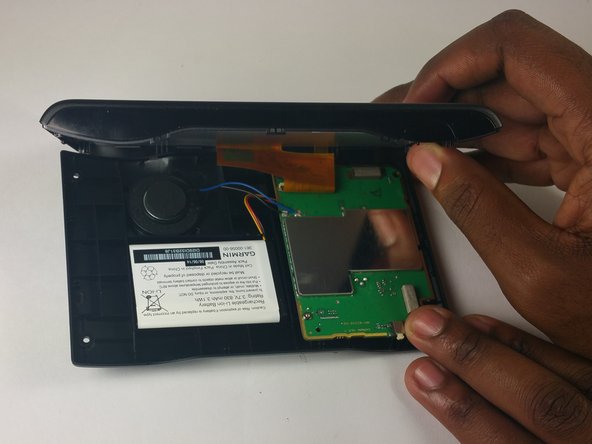
The Garmin Nuvi 2455LMT is an easy device to open and access. The only small parts to be aware of are the four 2.5mm Torx #04 screws on the back panel assembly. Opening up the GPS will only take 5-10 minutes and requires a plastic opening tool and the Torx 4 screwdriver.
필요한 것
-
-
Remove the four 2.5mm screws from the back assembly with a Torx #04 Screwdriver.
-
Holding the GPS with a free hand while unscrewing the small screws will help stabilize the device.
-
-


To reassemble your device, follow these instructions in reverse order.
To reassemble your device, follow these instructions in reverse order.
다른 2명이 해당 안내서를 완성하였습니다.
팀

USF Tampa, Team 2-3, Blackwell Fall 2016 USF Tampa, Team 2-3, Blackwell Fall 2016 회원
USFT-BLACKWELL-F16S2G3
4 회원들
안내서 5개 작성하였습니다