소개
Before replacing the battery, visit this device's troubleshooting page to determine whether you need to replace the battery. Follow the steps in this guide if you need to replace the battery.
필요한 것


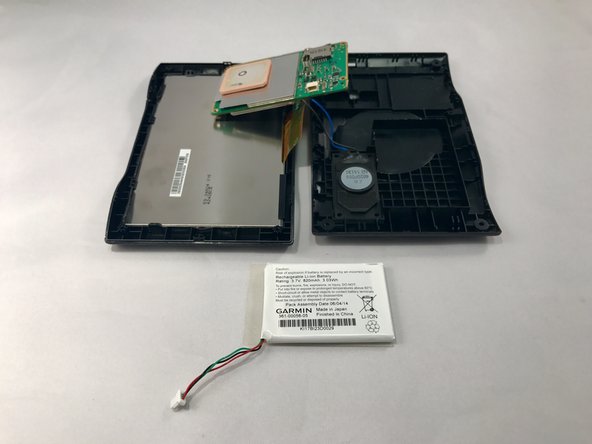
거의 끝나갑니다!
To reassemble your device, follow these instructions in reverse order.
결론
To reassemble your device, follow these instructions in reverse order.
다른 한 분이 해당 안내서를 완성하였습니다.

팀

Eastern Washington University, Team 2-1, Crane Winter 2017 Eastern Washington University, Team 2-1, Crane Winter 2017 회원
EWU-CRANE-W17S2G1
4 회원들
안내서 6개 작성하였습니다