주요 콘텐츠로 건너뛰기

Garmin STRIKER 4 Digital Display Replacement

필요한 것

  1. Garmin STRIKER 4 Digital Display Replacement, Backing: 1 단계, 이미지 1/3 Garmin STRIKER 4 Digital Display Replacement, Backing: 1 단계, 이미지 2/3 Garmin STRIKER 4 Digital Display Replacement, Backing: 1 단계, 이미지 3/3
    • Flip the device so the back is facing up.

  2. Garmin STRIKER 4 Digital Display Replacement: 2 단계, 이미지 1/3 Garmin STRIKER 4 Digital Display Replacement: 2 단계, 이미지 2/3 Garmin STRIKER 4 Digital Display Replacement: 2 단계, 이미지 3/3
    • Remove all six 6 mm screws using a Phillips #0 screwdriver.

    • Detach and flip the backside to open the device.

  3. Garmin STRIKER 4 Digital Display Replacement, Motherboard: 3 단계, 이미지 1/2 Garmin STRIKER 4 Digital Display Replacement, Motherboard: 3 단계, 이미지 2/2
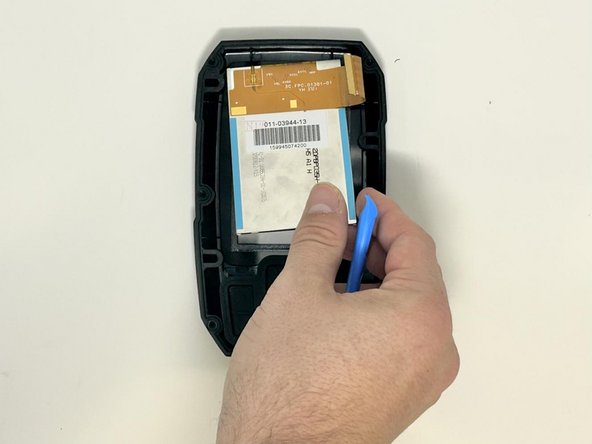
    • Slide out the screen cable from the motherboard using the iFixit opening tool or your fingernail.

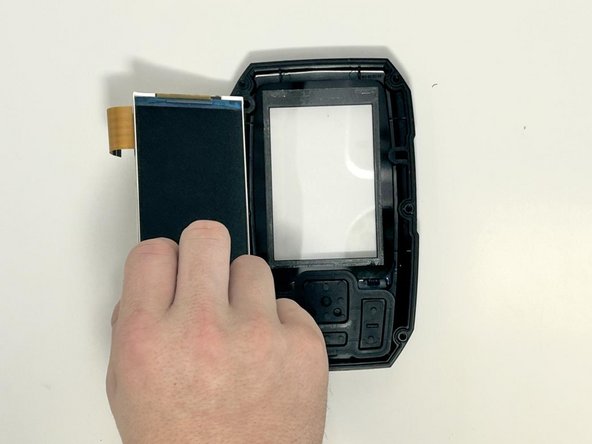
    • Remove the motherboard from the device.

  4. Garmin STRIKER 4 Digital Display Replacement, Digital Display: 4 단계, 이미지 1/3 Garmin STRIKER 4 Digital Display Replacement, Digital Display: 4 단계, 이미지 2/3 Garmin STRIKER 4 Digital Display Replacement, Digital Display: 4 단계, 이미지 3/3
    • Use the iFixit opening tool to gently lift the screen from the casing.

결론

To reassemble your device, follow these instructions in reverse order.

다른 2명이 해당 안내서를 완성하였습니다.

Kylie Buchanan

회원 가입일: 09/18/23

100 평판

안내서 1개 작성함

Utah Tech University, Team 1-5, McMurrin Fall 2023 Utah Tech University, Team 1-5, McMurrin Fall 2023 회원

UTAHTECH-MCMURRIN-F23S1G5

3 회원들

안내서 4개 작성하였습니다

댓글 0개

댓글 쓰기

조회 통계:

24 시간 전: 1

7일 전: 2

30일 전: 4

전체 시간: 120