이 버전에는 잘못된 편집 사항이 있을 수 있습니다. 최신 확인된 스냅샷으로 전환하십시오.
필요한 것
-
이 단계는 번역되지 않았습니다. 번역을 도와주십시오
-
Unlock the tab located in the top left corner of the netbook.
-
The red tab indicated that the battery has been properly unlocked.
-
Remove the battery.
-
-
-
이 단계는 번역되지 않았습니다. 번역을 도와주십시오
-
Remove the two (2) 5mm screws holding the cover down using the Phillips #0 screwdriver.
-
-
이 단계는 번역되지 않았습니다. 번역을 도와주십시오
-
Using a Phillips #0 screwdriver, remove a third 5mm screw that holds the second cover that is directly protecting the hard drive.
-
-
이 단계는 번역되지 않았습니다. 번역을 도와주십시오
-
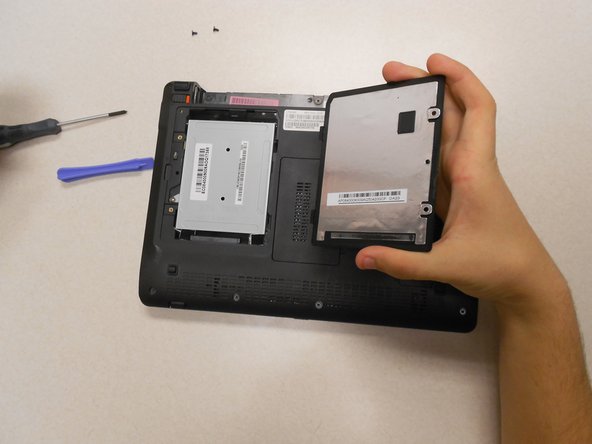
Slide the silver cover up; the hole on the cover and the hole for the screw will no longer match up.
-
Lift the silver cover; this will expose the hard drive.
-


팀

Clemson, Team 14-3, Benson Fall 2013 Clemson, Team 14-3, Benson Fall 2013 회원
CLEM-BENSON-F13S14G3
3 회원들
안내서 22개 작성하였습니다