소개
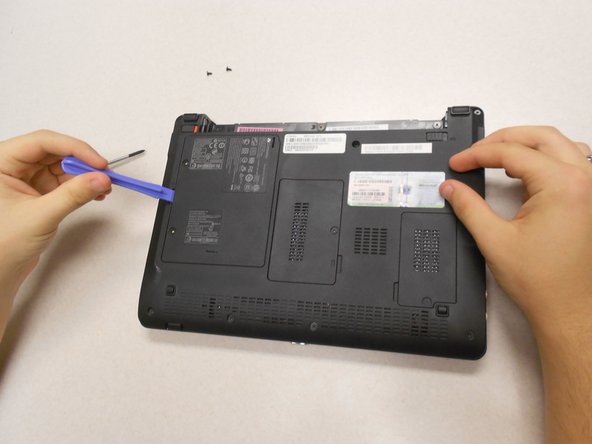
This is a guide on how to remove and replace the hard drive on the Gateway KAV60 LT2016U Netbook. Reasons for removal include:
- Current hard drive no longer works
- Hard drive upgrade
필요한 것


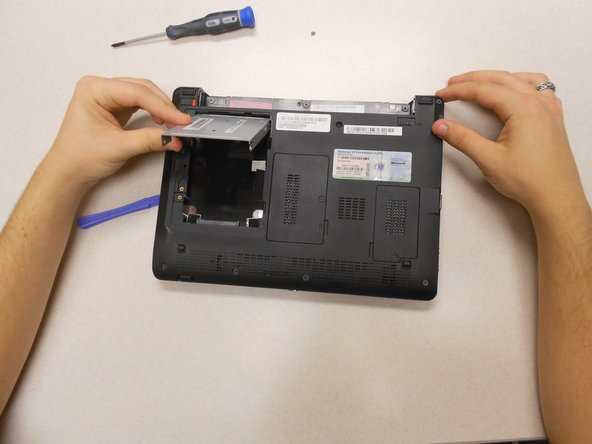
거의 끝나갑니다!
To reassemble your device, follow these instructions in reverse order.
결론
To reassemble your device, follow these instructions in reverse order.
다른 한 분이 해당 안내서를 완성하였습니다.
팀

UMass Dartmouth, Team 3-2, Calaway Spring 2014 UMass Dartmouth, Team 3-2, Calaway Spring 2014 회원
UMASSD-CALAWAY-S14S3G2
4 회원들
안내서 6개 작성하였습니다