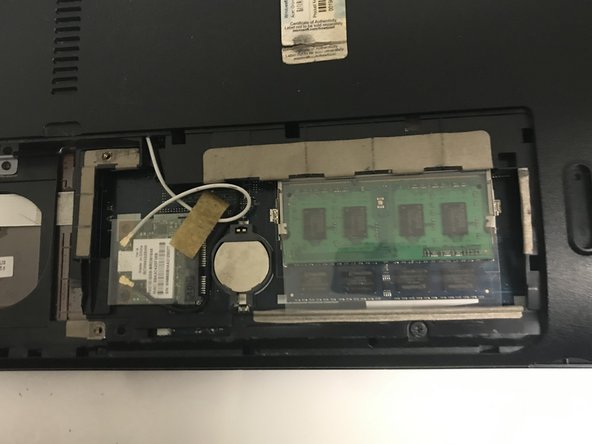
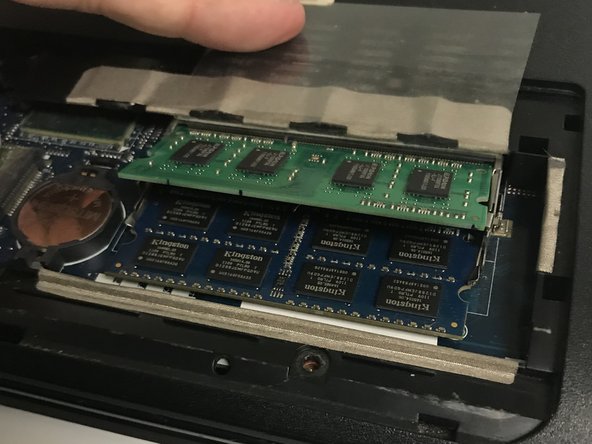
주요 콘텐츠로 건너뛰기

Gateway NV55C49u RAM Replacement

필요한 것

  1. Gateway NV55C49u RAM Replacement, RAM: 1 단계, 이미지 1/1
    • Flip the laptop bottom side up.

  2. Gateway NV55C49u RAM Replacement: 2 단계, 이미지 1/1
    • Slide the battery lock to show the red background.

  3. Gateway NV55C49u RAM Replacement: 3 단계, 이미지 1/2 Gateway NV55C49u RAM Replacement: 3 단계, 이미지 2/2
    • Push the battery slider to the other side. This will automatically eject the battery.

    • You can now remove the battery.

  4. Gateway NV55C49u RAM Replacement: 4 단계, 이미지 1/1
    • Remove the two 6.0mm Phillips #00 screws from the back cover.

  5. Gateway NV55C49u RAM Replacement: 5 단계, 이미지 1/3 Gateway NV55C49u RAM Replacement: 5 단계, 이미지 2/3 Gateway NV55C49u RAM Replacement: 5 단계, 이미지 3/3
    • Remove the back cover by placing the plastic opening tool in the indention, and prying upwards.

  6. Gateway NV55C49u RAM Replacement: 6 단계, 이미지 1/2 Gateway NV55C49u RAM Replacement: 6 단계, 이미지 2/2
    • Hold back the plastic that protects the RAM so you can access the clips underneath.

    • Gently push the holding clips outwards. The RAM will angle itself upwards.

    • Gently remove the RAM from the laptop

    • Make sure not to touch any part of the RAM except the sides.

    • When reassembling, insert the RAM into the connector, and then push it down until the clips lock it into place

결론

To reassemble your device, follow these instructions in reverse order.

다른 한 분이 해당 안내서를 완성하였습니다.

Matthew

회원 가입일: 09/23/18

385 평판

안내서 2개 작성하였습니다

댓글 0개

댓글 쓰기

조회 통계:

24 시간 전: 0

7일 전: 2

30일 전: 3

전체 시간: 244