소개
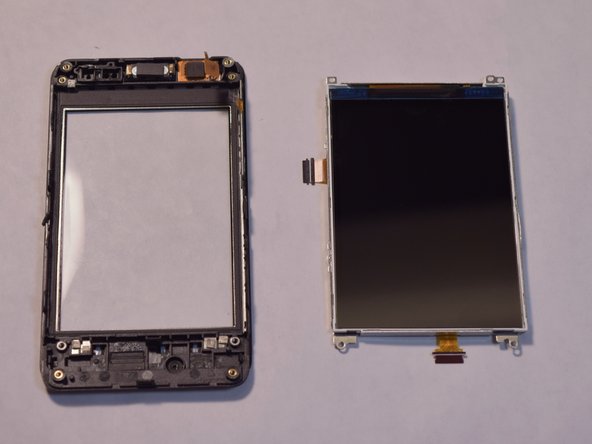
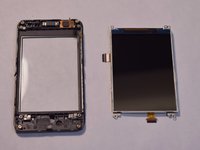
If your screen is cracked or non-responsive, use this guide to replace the screen.
필요한 것
-
-
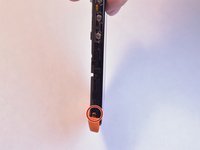
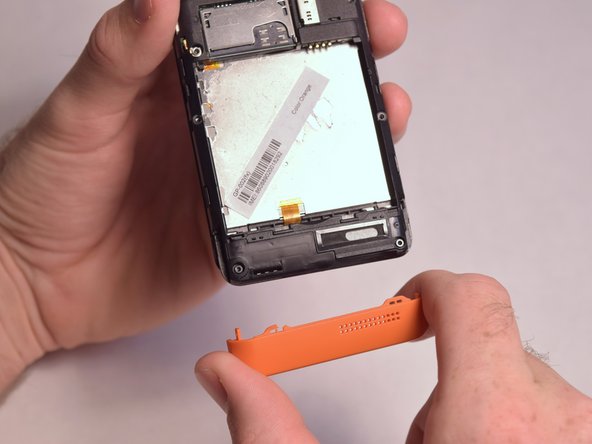
Insert the plastic opening tool into the seam between the front of the device and the rear cover.
-
Slide the plastic opening tool from the bottom of the phone to the top.
-
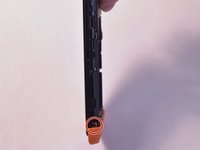
Use the plastic opening tool to free all the clips attached to the phone.
 FixBot에 문의하기
-
-
-
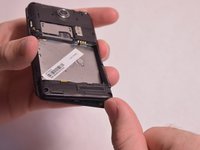
Insert the plastic opening tool into the groove between the bottom of the phone and the battery.
-
Lift the battery with the plastic opening tool and finish removing battery by hand.
-
-
-
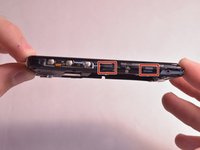
Remove the two 5mm T4 screws on the sides of the small orange plate.
-
-
-
-
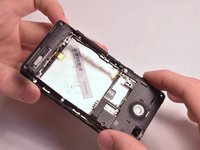
Remove the following screws securing the back plate to the device:
-
Two silver 2mm T3 screws
-
Five black 3mm T3 screws
-
-
-
Slightly lift up the bottom corner of the backplate.
-
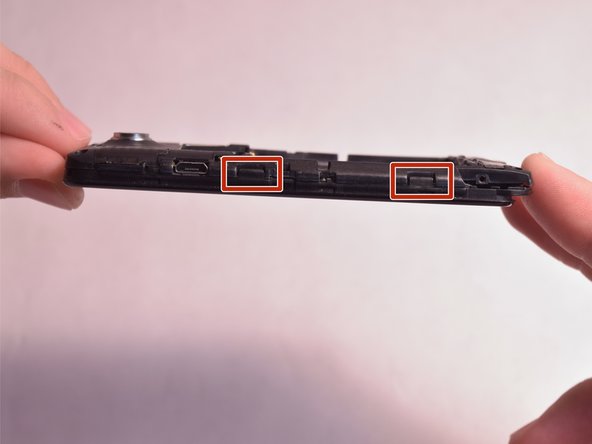
Release the four clips on both sides by pulling them away from the device.
-
-
-
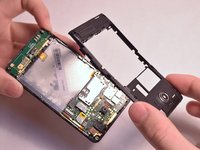
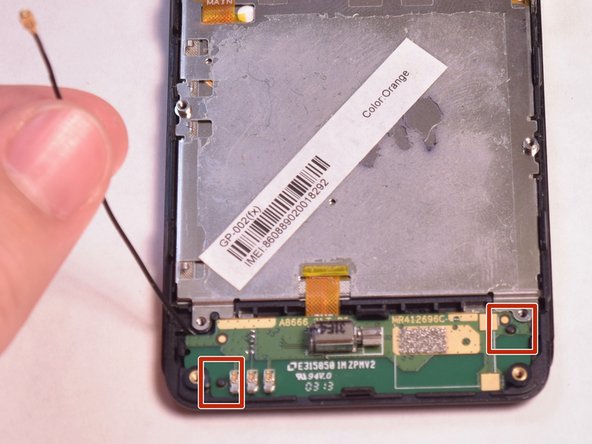
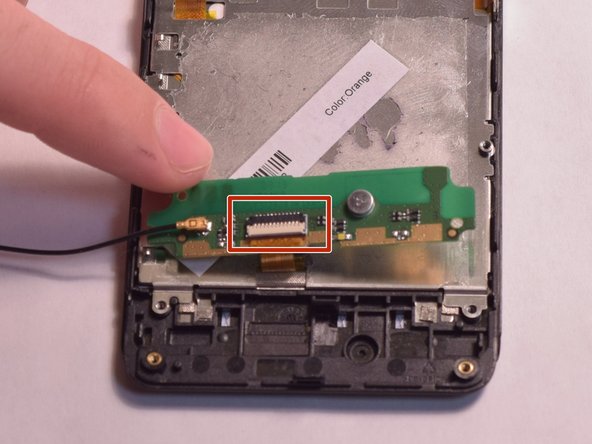
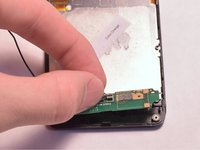
Remove the three connections from the back of the motherboard by using the tip of a spudger or your fingernail to flip up the small retaining flap. Then pull the ribbon cable out.
-
Remove the wire from the bottom left of the motherboard by lifting it away from the device.
-
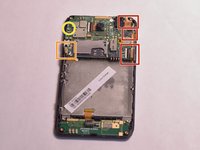
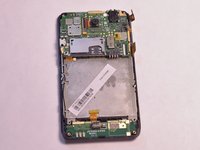
Remove the 2mm T3 screw in the upper left corner of the motherboard.
-
-
-
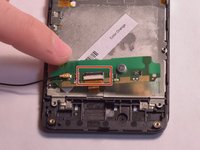
Lift the motherboard and remove the connector on the back by using the tip of a spudger or your fingernail to flip up the small retaining flap. Then pull the ribbon cable out.
-
-
-
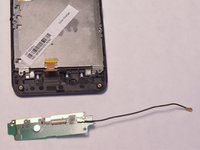
Unfasten the black wire from the metal clamps by hand and lift the black wire away from the device.
-
Unfasten the plastic clamps attached to the antenna.
-
-
-
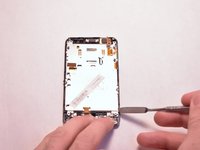
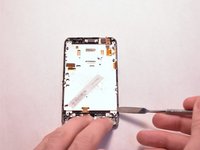
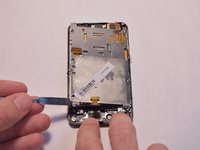
Gently lift the antenna and flip it over to reveal a ZIF connector on the back.
-
Flip up the small retaining flap on the ZIF connector and pull the ribbon cable out.
-


To reassemble your device, follow these instructions in reverse order.
다른 한 분이 해당 안내서를 완성하였습니다.
팀

USF Tampa, Team 3-5, Eyestone Fall 2015 USF Tampa, Team 3-5, Eyestone Fall 2015 회원
USFT-EYESTONE-F15S3G5
4 회원들
안내서 12개를 작성함