주요 콘텐츠로 건너뛰기

General Pipe Cleaners Drain Cleaner PMEBO 2016 Reverse Switch Replacement

필요한 것

  1. General Pipe Cleaners Drain Cleaner PMEBO 2016 Reverse Switch Replacement, Reverse Switch: 1 단계, 이미지 1/1
    • Before you begin, make sure the drain cleaner is disconnected from power.

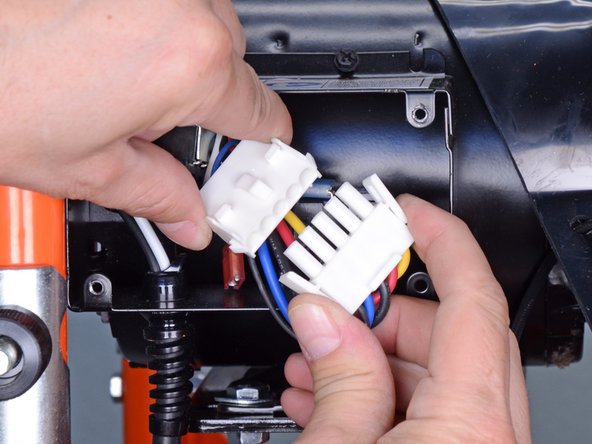
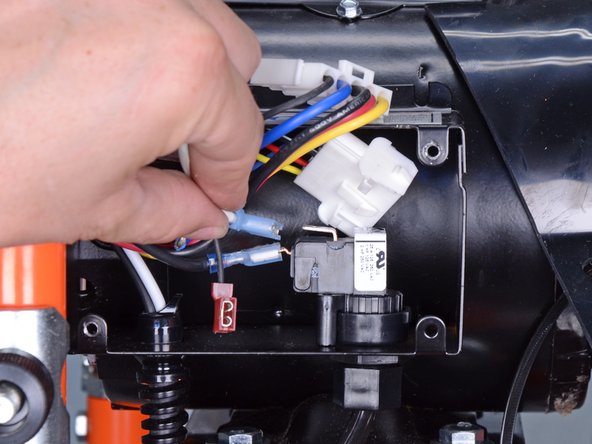
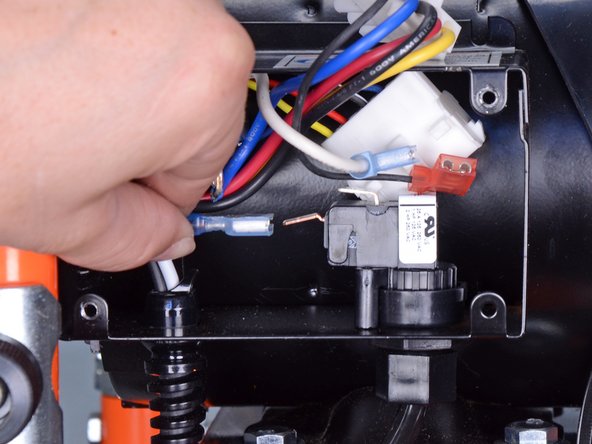
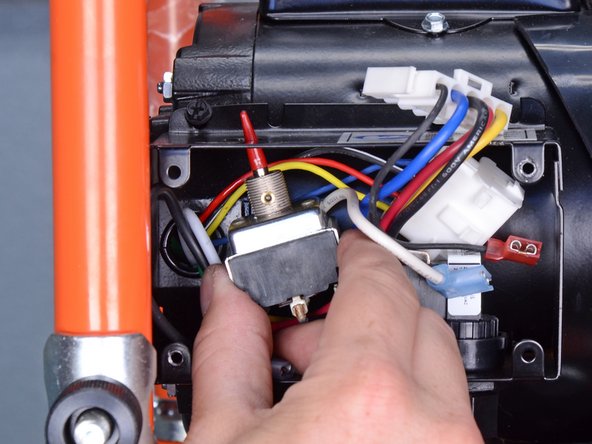
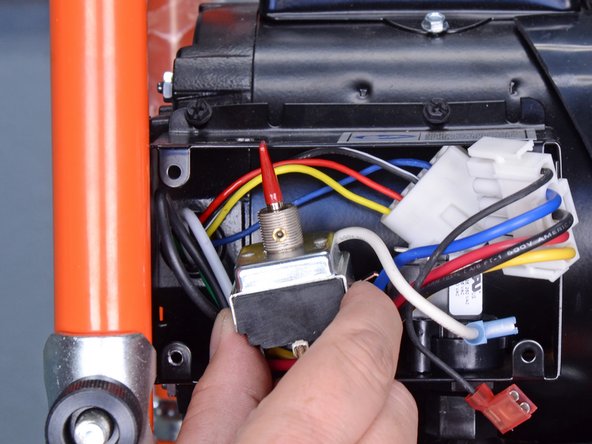
    • Use a Phillips #2 driver to remove the two screws securing the control box cover.

  2. General Pipe Cleaners Drain Cleaner PMEBO 2016 Reverse Switch Replacement: 2 단계, 이미지 1/1
    • Remove the control box cover.

  3. General Pipe Cleaners Drain Cleaner PMEBO 2016 Reverse Switch Replacement: 3 단계, 이미지 1/1
    • Use a 9/16 inch deep socket and ratchet to remove the nut securing the reverse switch.

  4. General Pipe Cleaners Drain Cleaner PMEBO 2016 Reverse Switch Replacement: 4 단계, 이미지 1/1
    • Remove the reverse switch guard.

  5. General Pipe Cleaners Drain Cleaner PMEBO 2016 Reverse Switch Replacement: 5 단계, 이미지 1/2 General Pipe Cleaners Drain Cleaner PMEBO 2016 Reverse Switch Replacement: 5 단계, 이미지 2/2
    • Squeeze the tabs on either side of the reverse switch connector.

    • Pull the two halves of the connector apart to disconnect it.

    • Take note of where everything is connected in the control box before disconnecting anything else.

  6. General Pipe Cleaners Drain Cleaner PMEBO 2016 Reverse Switch Replacement: 6 단계, 이미지 1/2 General Pipe Cleaners Drain Cleaner PMEBO 2016 Reverse Switch Replacement: 6 단계, 이미지 2/2
    • Pull the white cable straight off of its spade connector on the power switch diaphragm.

  7. General Pipe Cleaners Drain Cleaner PMEBO 2016 Reverse Switch Replacement: 7 단계, 이미지 1/2 General Pipe Cleaners Drain Cleaner PMEBO 2016 Reverse Switch Replacement: 7 단계, 이미지 2/2
    • Pull the black cable straight off of its spade connector on the power switch diaphragm.

  8. General Pipe Cleaners Drain Cleaner PMEBO 2016 Reverse Switch Replacement: 8 단계, 이미지 1/3 General Pipe Cleaners Drain Cleaner PMEBO 2016 Reverse Switch Replacement: 8 단계, 이미지 2/3 General Pipe Cleaners Drain Cleaner PMEBO 2016 Reverse Switch Replacement: 8 단계, 이미지 3/3
    • Slide the switch assembly down out of its hole in the control box and pull it out of the control box.

    • Be careful not to snag the switch on any cables during removal.

결론

To reassemble your device, follow these instructions in reverse order.

Adam O'Camb

회원 가입일: 04/11/15

196,683 평판

안내서 416개 작성하였습니다

댓글 0개

댓글 쓰기

조회 통계:

24 시간 전: 0

7일 전: 2

30일 전: 13

전체 시간: 520