주요 콘텐츠로 건너뛰기

Gipo H369e Screen Replacement

필요한 것

  1. Gipo H369e Screen Replacement, Screen: 1 단계, 이미지 1/2 Gipo H369e Screen Replacement, Screen: 1 단계, 이미지 2/2
    • Insert your thumb into the groove on the back lefthand corner of the phone to unsnap the back cover.

  2. Gipo H369e Screen Replacement: 2 단계, 이미지 1/1
    • Remove the battery from the back of the phone.

  3. Gipo H369e Screen Replacement: 3 단계, 이미지 1/2 Gipo H369e Screen Replacement: 3 단계, 이미지 2/2
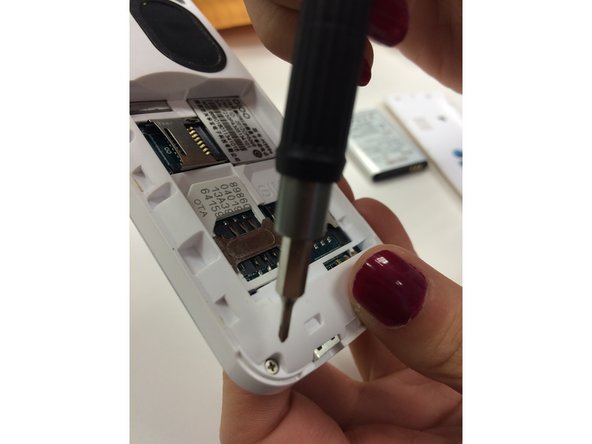
    • Unscrew the 6 screws on the back of the phone using the Philips Head 000 screwdriver.

    • You can use the back cover as a tray to hold the loose screws.

  4. Gipo H369e Screen Replacement: 4 단계, 이미지 1/2 Gipo H369e Screen Replacement: 4 단계, 이미지 2/2
    • Use the plastic opening tool to pry the front of the phone away from the back of the phone.

  5. Gipo H369e Screen Replacement: 5 단계, 이미지 1/1
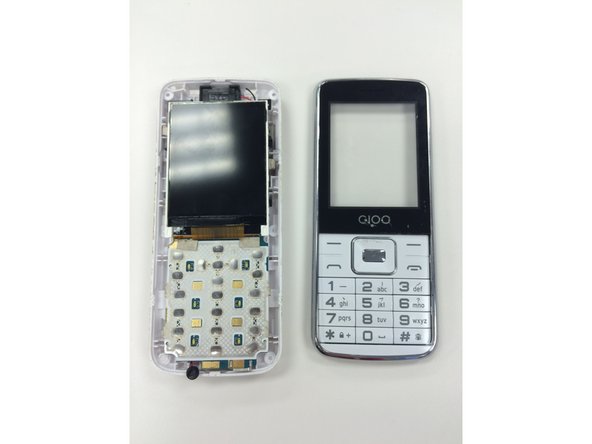
    • Once the front and back of the phone are separated, push the keypad out of the front portion of the phone.

  6. Gipo H369e Screen Replacement: 6 단계, 이미지 1/3 Gipo H369e Screen Replacement: 6 단계, 이미지 2/3 Gipo H369e Screen Replacement: 6 단계, 이미지 3/3
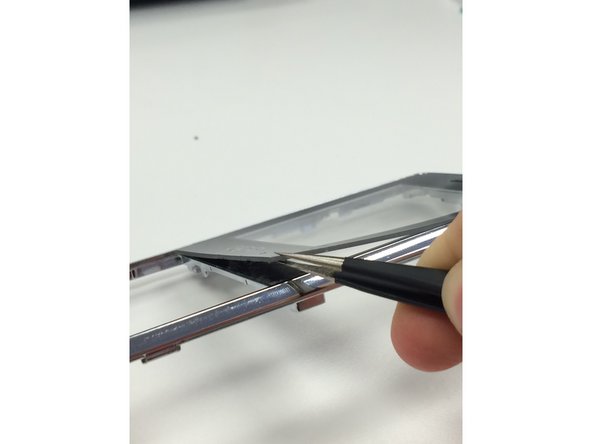
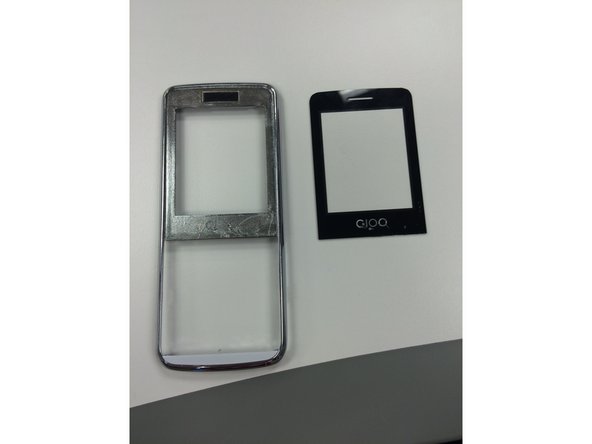
    • Use the needle nose pliers to pull the screen away from the front of the disassembled phone. Replace it with your new screen.

결론

To reassemble your device, follow these instructions in reverse order.

다른 6명이 해당 안내서를 완성하였습니다.

Janelle Norris

회원 가입일: 09/25/15

173 평판

안내서 2개 작성하였습니다

Ohio State, Team 1-4, Garvin Fall 2015 Ohio State, Team 1-4, Garvin Fall 2015 회원

OSU-GARVIN-F15S1G4

3 회원들

안내서 4개 작성하였습니다

댓글 0개

댓글 쓰기

조회 통계:

24 시간 전: 0

7일 전: 0

30일 전: 4

전체 시간: 507