이 버전에는 잘못된 편집 사항이 있을 수 있습니다. 최신 확인된 스냅샷으로 전환하십시오.
필요한 것
-
이 단계는 번역되지 않았습니다. 번역을 도와주십시오
-
Remove the faceplate by carefully prying around the edge using a plastic opening tool. Loosen the clips on the edge, then pull the faceplate off.
-
Use the tweezers to lift the faceplate from the rest of the device.
-
-
이 단계는 번역되지 않았습니다. 번역을 도와주십시오
-
Using a #00 Phillips head screwdriver, remove the following screws:
-
One 4.6 mm screw
-
Three 8.2 mm screws
-
Two 6.1 mm screws
-
-
이 단계는 번역되지 않았습니다. 번역을 도와주십시오
-
Insert a metal spudger between the back plastic housing and the camera board assembly. Working around the edge to be careful of the inner components, carefully remove the camera.
-
-
-
이 단계는 번역되지 않았습니다. 번역을 도와주십시오
-
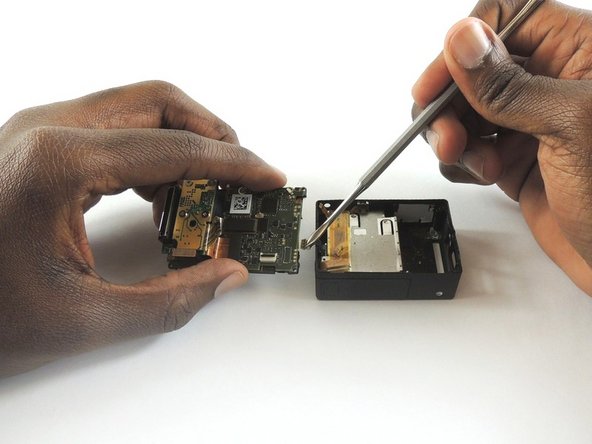
Using tweezers, remove the ribbon strip by pulling on it. This will remove the connection.
-
Push down on the three wires with the metal spudger and the clip will disconnect from the motherboard.
-
-
이 단계는 번역되지 않았습니다. 번역을 도와주십시오
-
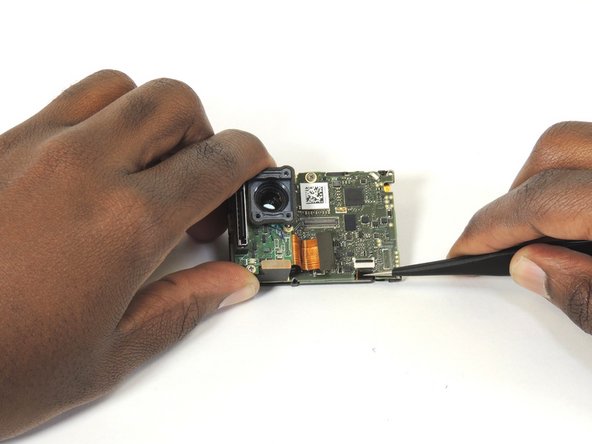
Open the clip that is located on the motherboard
-
Use a pair of tweezers to pull the ribbon from the clip
-
-
이 단계는 번역되지 않았습니다. 번역을 도와주십시오
-
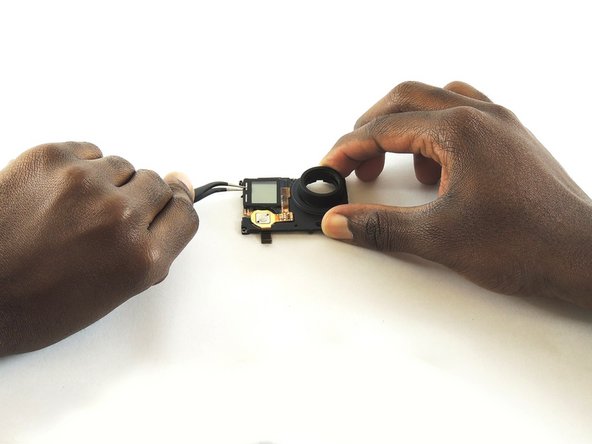
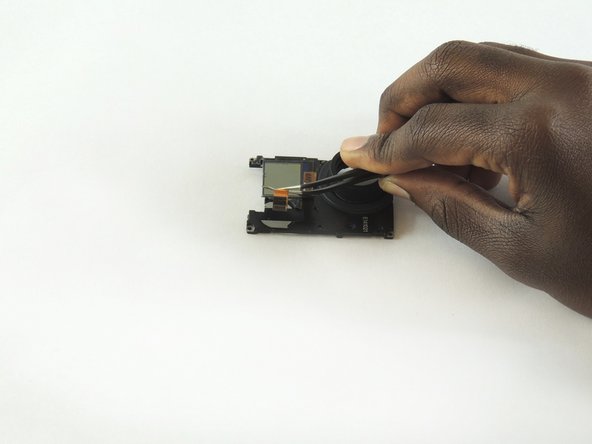
Place the iOpener on the LCD screen cover to release the glue
-
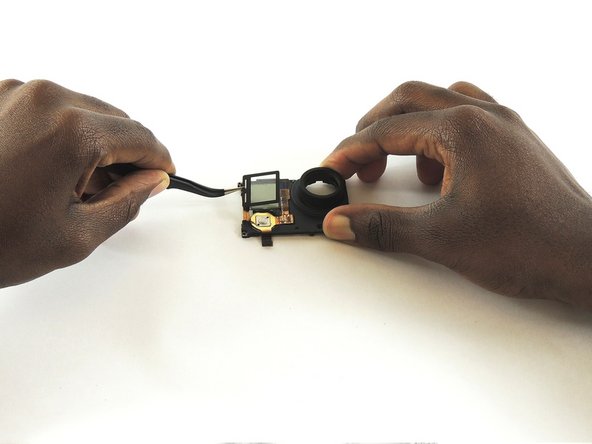
Lift the covering of the LCD screen cover off with a pair of tweezers
-
-
이 단계는 번역되지 않았습니다. 번역을 도와주십시오
-
Use a pair of tweezers to lift the ribbon through the opening and lift all the way up to the LCD screen
-
-
이 단계는 번역되지 않았습니다. 번역을 도와주십시오
-
Place the iOpener on the LCD screen to remove the glue
-
Use a pair of tweezers to left the LCD screen off the device
-
다른 5명이 해당 안내서를 완성하였습니다.
댓글 2개
You got the screw locations on the front wrong. Bottom left is the shortest screw, where the battery compartment is. If you try putting one of the longer screws through their it'll bust into the battery compartment. Ask me how I know. And that's the one reason why I came to this, the one thing I couldn't remember.


