이 버전에는 잘못된 편집 사항이 있을 수 있습니다. 최신 확인된 스냅샷으로 전환하십시오.
필요한 것
-
이 단계는 번역되지 않았습니다. 번역을 도와주십시오
-
Remove the faceplate by carefully prying around the edge using a plastic opening tool. Loosen the clips on the edge, then pull the faceplate off.
-
Use the tweezers to lift the faceplate from the rest of the device.
-
-
이 단계는 번역되지 않았습니다. 번역을 도와주십시오
-
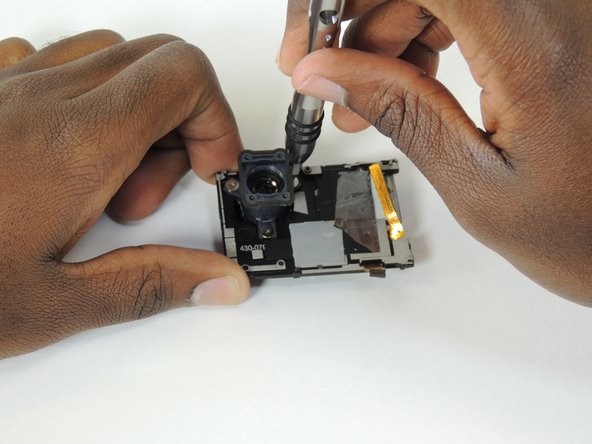
Using a #00 Phillips head screwdriver, remove the following screws:
-
One 4.6 mm screw
-
Three 8.2 mm screws
-
Two 6.1 mm screws
-
-
이 단계는 번역되지 않았습니다. 번역을 도와주십시오
-
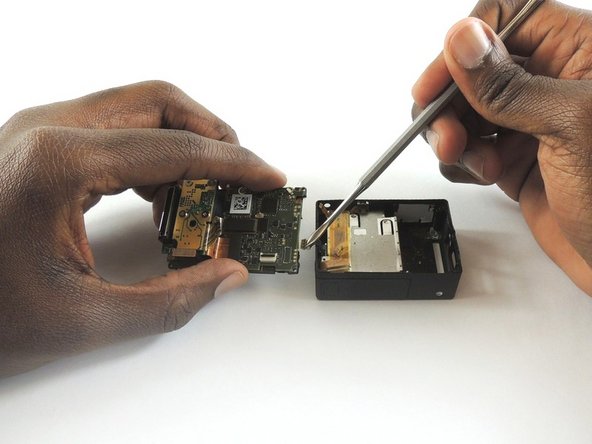
Insert a metal spudger between the back plastic housing and the camera board assembly. Working around the edge to be careful of the inner components, carefully remove the camera.
-
-
-
이 단계는 번역되지 않았습니다. 번역을 도와주십시오
-
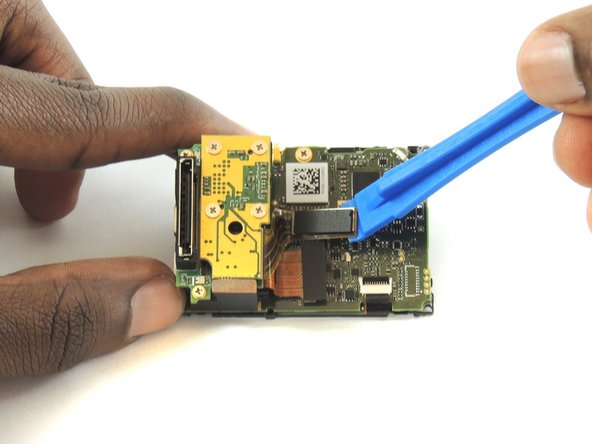
Using tweezers, remove the ribbon strip by pulling on it. This will remove the connection.
-
Push down on the three wires with the metal spudger and the clip will disconnect from the motherboard.
-
-
이 단계는 번역되지 않았습니다. 번역을 도와주십시오
-
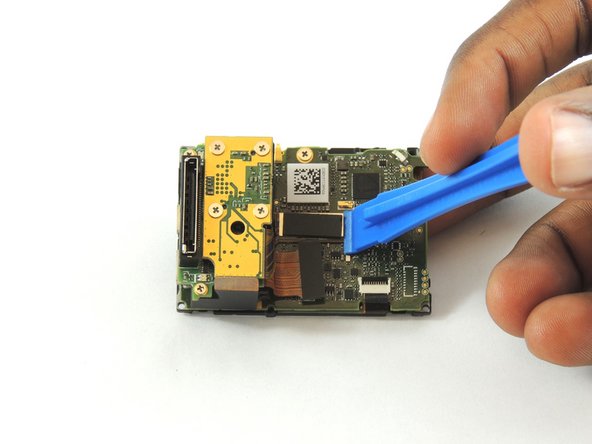
Using a plastic opening tool, separate the camera sensor's connector from the motherboard.
-
-
이 단계는 번역되지 않았습니다. 번역을 도와주십시오
-
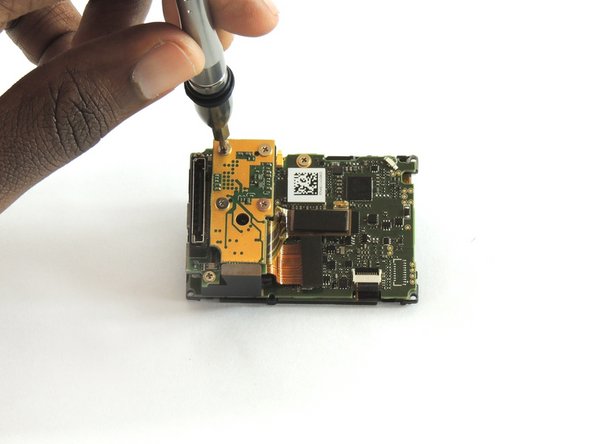
Using a #00 Phillips head screwdriver, remove the four 3.0mm screws holding the camera sensor.
-
-
이 단계는 번역되지 않았습니다. 번역을 도와주십시오
-
Using a #00 Phillips head screwdriver, remove the following screws:
-
Three 2 mm screw
-


다른 5명이 해당 안내서를 완성하였습니다.
팀

USF Tampa, Team S2-G1, Sullivan Spring 2017 USF Tampa, Team S2-G1, Sullivan Spring 2017 회원
USFT-SULLIVAN-S17S2G1
4 회원들
안내서 12개 작성하였습니다