이 안내서에는 최근 변경 사항이 더 있습니다. 최신 비검증 버전으로 전환하십시오.
소개
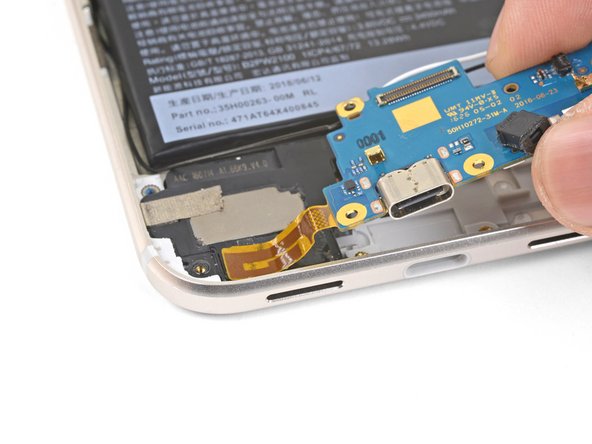
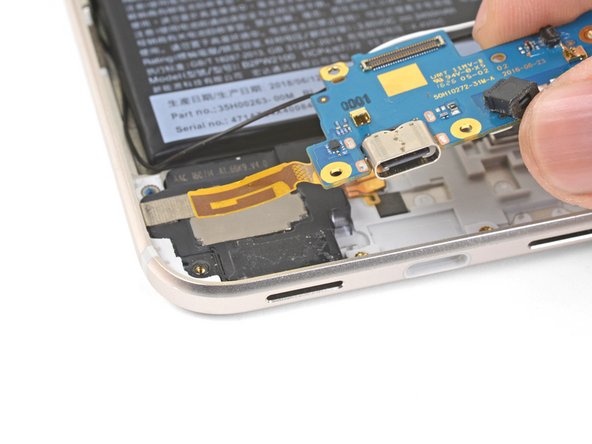
Follow this guide to replace the daughterboard (otherwise known as the charging assembly or charging port board) for the Google Pixel XL.
The Pixel XL’s unreinforced display panel is fragile and is attached to the frame with strong adhesive, making repairs difficult. There is a considerable chance of breaking the display, especially if it already has micro-fractures. Be sure to apply plenty of heat and be extremely careful during the prying stage.
필요한 것
-
-
Heat an iOpener and apply it to the top edge of the display for two minutes.
-
Take note of the following regions before you begin prying:
-
Thin adhesive lined against the display panel
-
Thick adhesive
-
The OLED display panel, which is very prone to damage
-
The display cable, which can be damaged during prying
-
-
-
Heat an iOpener and apply it to the right edge of the phone for two minutes.
-
Insert an opening pick near the top edge of the phone, where you have already sliced the adhesive.
-
Slowly guide the pick around the right corner.
-
Carefully slide the pick down the right edge of the phone to slice through the adhesive.
-
Repeat the step for the left edge of the phone.
-
-
-
-
Remove the following screws that secure the midframe to the back:
-
Seven black 4 mm T5 screws
-
Two silver 3 mm T5 screws
-
-
-
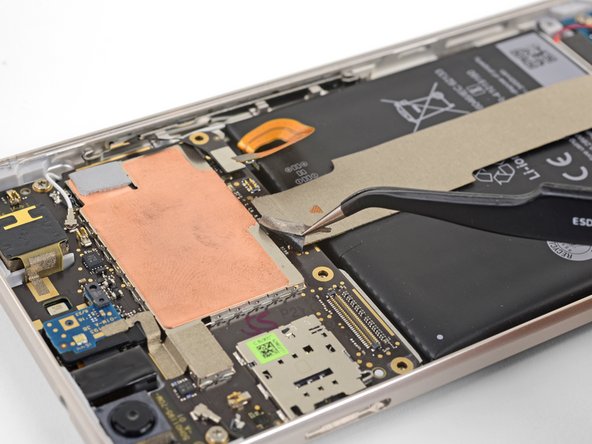
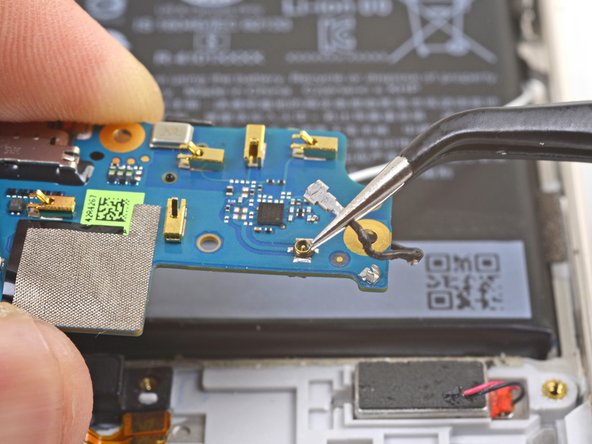
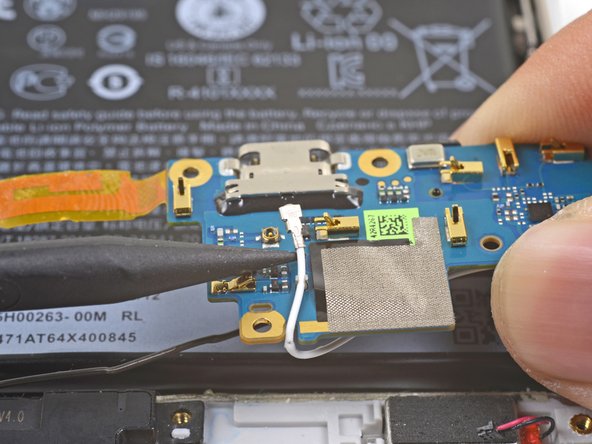
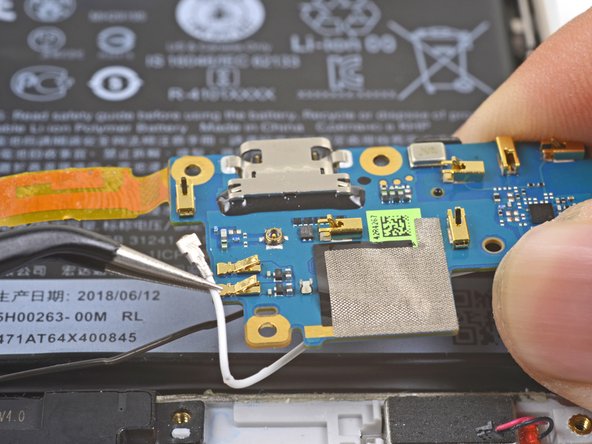
Use the point of a spudger to pry up and disconnect the battery connector.
-
Bend the battery flex cable slightly so that it will not accidentally touch the motherboard.
-


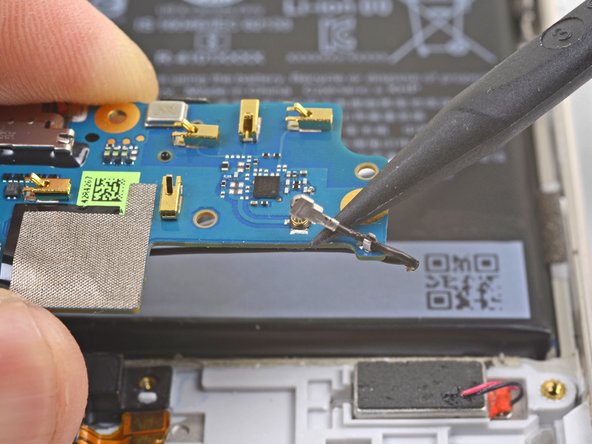


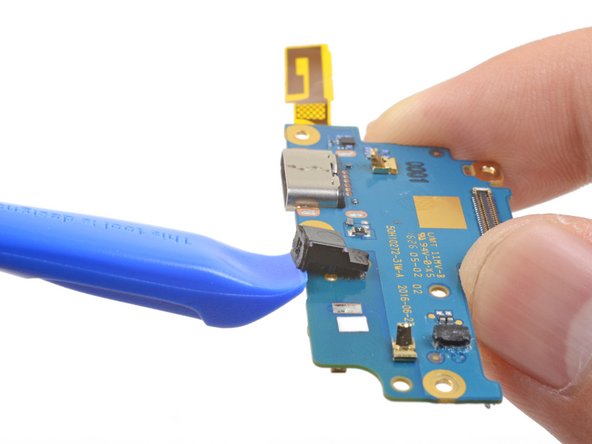
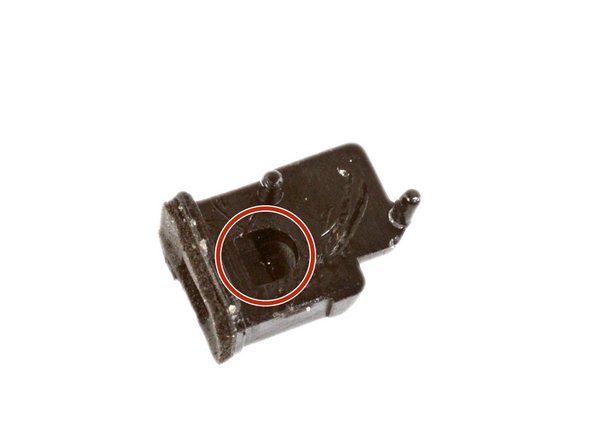
Compare your new replacement part to the original part. You may need to transfer remaining components or remove adhesive backings from the new part before installing.
To reassemble your device, follow these instructions in reverse order.
Repair didn’t go as planned? Check out our Google Pixel XL Answers community for troubleshooting help.
다른 17명이 해당 안내서를 완성하였습니다.


댓글 6개
There’s no reason to mess with the battery for this repair! Also, the screen breaks more easily than you think, so be super careful. I thought i was being careful and broke the screen.
This guide has been updated!
Arthur Shi - 답글
When reattaching the screen, plug the screen in first, then the battery disconnect. if not, the screen won’t turn on.