이 버전에는 잘못된 편집 사항이 있을 수 있습니다. 최신 확인된 스냅샷으로 전환하십시오.
필요한 것
-
이 단계는 번역되지 않았습니다. 번역을 도와주십시오
-
Turn the adjusting knob to the right until the cloth clamp is extended as far as it can go.
-
-
이 단계는 번역되지 않았습니다. 번역을 도와주십시오
-
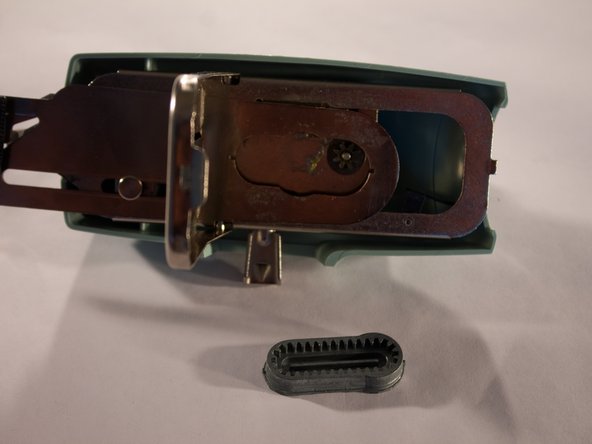
Located on the bottom, pull the lip of the retainer plate away from The Buttonholer, and then open the plate.
-
-
-
이 단계는 번역되지 않았습니다. 번역을 도와주십시오
-
Since the clamp is extended as far as it can go, the template should come out easily.
-
-
이 단계는 번역되지 않았습니다. 번역을 도와주십시오
-
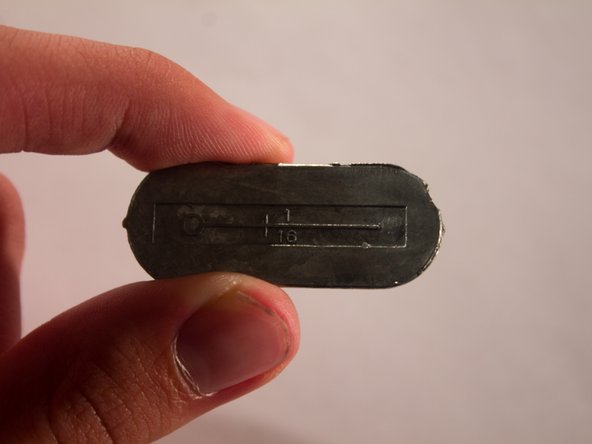
4 additional templates are included with The Buttonholer. Each template creates a different size button hole.
-
If you are unsure which template is right for your project, check the back of each template for the diameter of the holes that they make.
-
-
이 단계는 번역되지 않았습니다. 번역을 도와주십시오
-
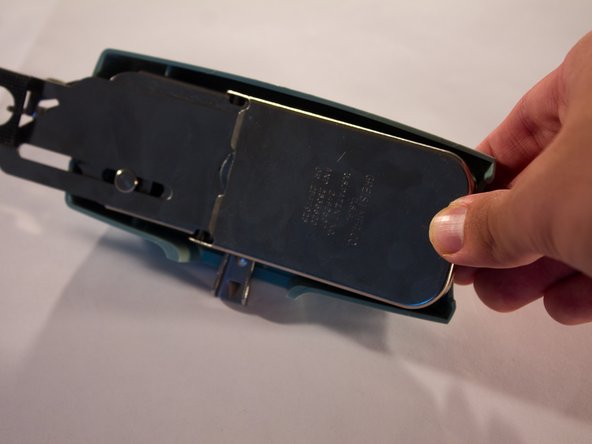
Place the template into The Buttonholer, and then close the retainer plate.
-


다른 한 분이 해당 안내서를 완성하였습니다.
팀

USF Tampa, Team 3-6, Brown Fall 2014 USF Tampa, Team 3-6, Brown Fall 2014 회원
USFT-BROWN-F14S3G6
5 회원들
안내서 8개 작성하였습니다