소개
The guide provides step-by-step instructions for replacing the LCD screen cover on the Griffin iFM 4027. Over time, the screen cover may become scratched, cracked, or loose, affecting the device's appearance and usability. Replacing it will help restore the device's look and protect the internal display. Before beginning, make sure the device is powered off and disconnected from any cables or accessories. Follow each step carefully to ensure a safe and successful replacement.
필요한 것
-
-
Lodge the tip of the plastic opening tool into the top arc where the side and main part of the device meet.
-
Push the plastic opening tool upward until the side panel detaches.
-
-
이 단계에 사용된 도구:iFixit Opening Tool$1.99
-
First, lodge the tip of the plastic iFixit opening tool into the top corner of the device.
-
Apply pressure upward with the iFixit Opening Tool. This should release the two panels away from each other.
-
-
-
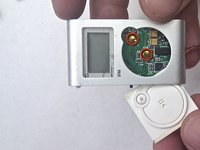
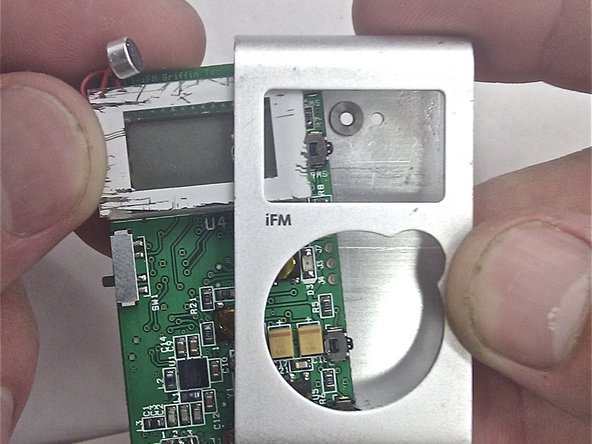
Use your fingers to push down on the center button and move it to the left, sliding it out from under the front panel.
-
Once removed, set the center button aside.
-
-
-
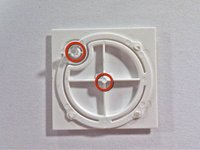
Notice in the attached image that the backside of the button has an elevated corner. This corner must be applying pressure on the golden plate seen in the picture to the right. The center pressure point of the button must also apply pressure to the golden plate in the middle. These plates are both circled in red in the picture to the left.
-
Carefully slide in the button, flat side first (the side not containing the high corner).
-
-
-
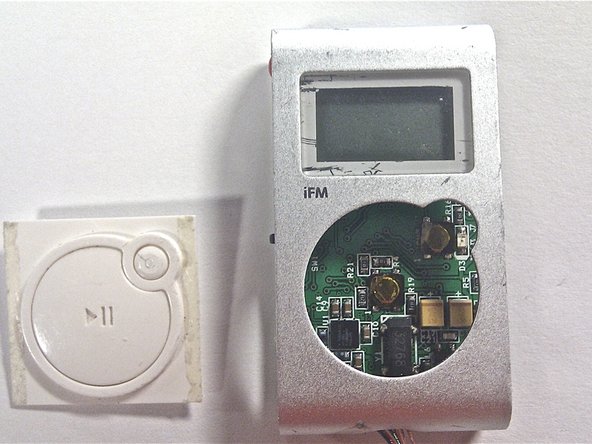
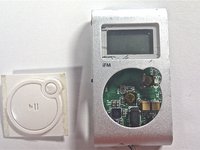
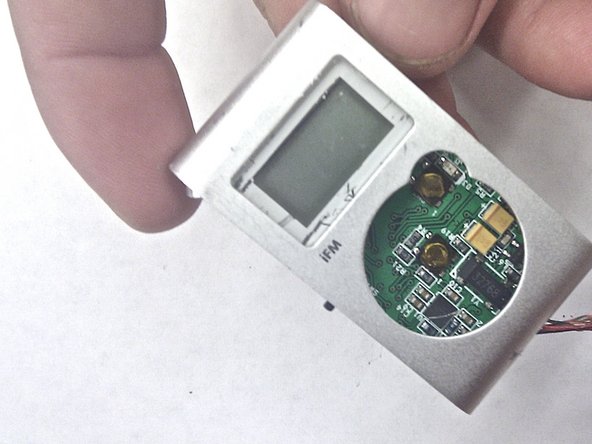
Carefully remove the circuit board and attached LCD component from the device by pulling it towards the open left side.
-
-
-
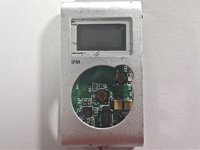
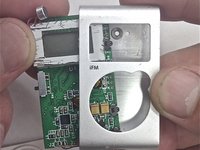
Place the screen cover on top of the LCD so it covers its entirety. Carefully slide the circuit board/LCD back into the device.
-


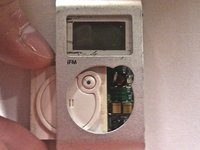


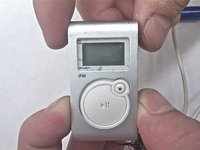


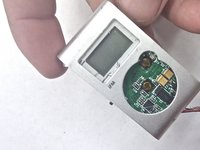
After installation, the device should look similar to that which is depicted in the cover image (top right of page).
팀

Clemson, Team 15-3, Benson Spring 2012 Clemson, Team 15-3, Benson Spring 2012 회원
CLEM-BENSON-S12S15G3
3 회원들
안내서 6개를 작성함