소개
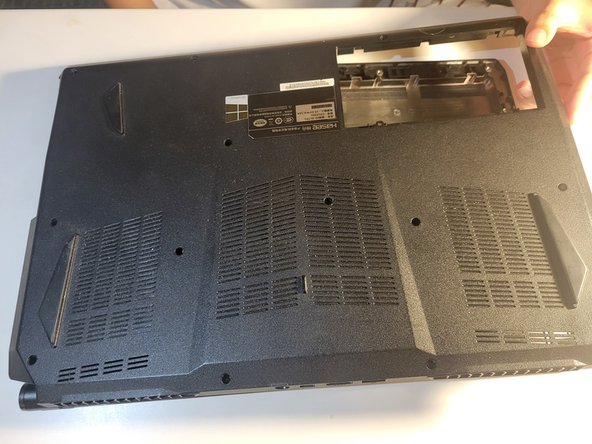
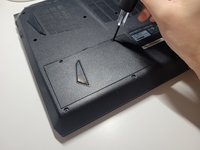
This guide demonstrates how to replace or upgrade the RAM in your HASEE Z6-SL7D1 laptop.
Firstly RAM, or random access memory, is a piece of hardware used for rapid data storage and access. With faulty or overworked RAM you might experience blue screens of death, freezes, reboots, or corrupted files. You might also notice that your computer is slower than usual, or that some applications or games don't run properly.
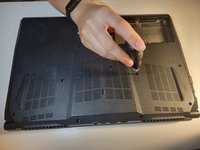
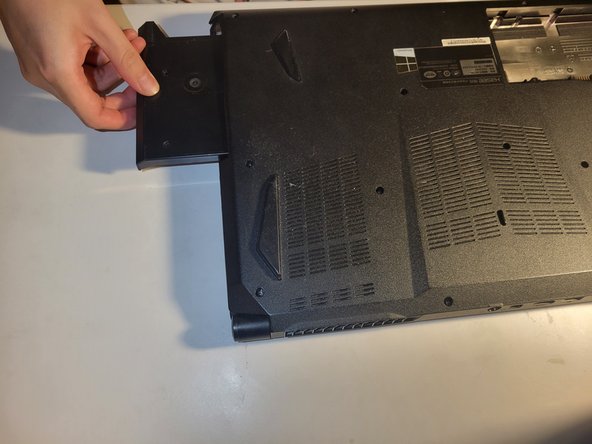
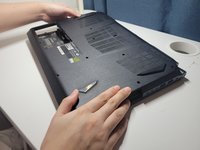
Before you begin this repair, shut down and disconnect your laptop from the charger.
필요한 것


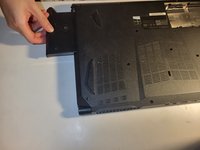


To reassemble your device, follow these instructions in reverse order.
To reassemble your device, follow these instructions in reverse order.
다른 2명이 해당 안내서를 완성하였습니다.
팀

York University, Team M-7, Allen Winter 2024 York University, Team M-7, Allen Winter 2024 회원
YORK-ALLEN-W24SMG7
3 회원들
안내서 2개를 작성함