주요 콘텐츠로 건너뛰기

HP 15-ac121dx Back Panel Replacement

필요한 것

  1. HP 15-ac121dx Back Panel Replacement, Battery: 1 단계, 이미지 1/1
    • Remove all external devices from the computer.

    • Remove the charging cord from the computer.

  2. HP 15-ac121dx Back Panel Replacement: 2 단계, 이미지 1/1
    • Turn off the computer by holding the power button.

  3. HP 15-ac121dx Back Panel Replacement: 3 단계, 이미지 1/2 HP 15-ac121dx Back Panel Replacement: 3 단계, 이미지 2/2
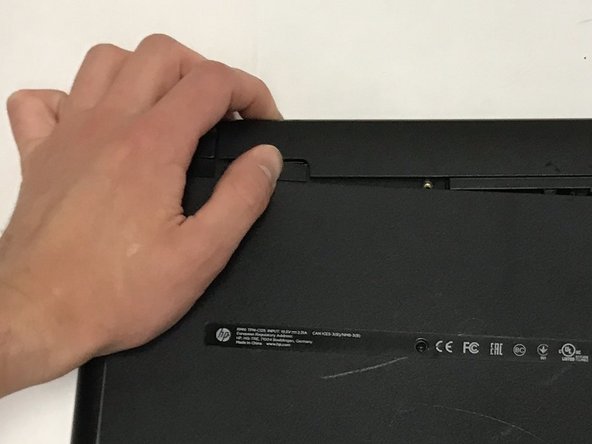
    • To remove the battery, slide the left slider on the back to the unlocked position.

  4. HP 15-ac121dx Back Panel Replacement: 4 단계, 이미지 1/2 HP 15-ac121dx Back Panel Replacement: 4 단계, 이미지 2/2
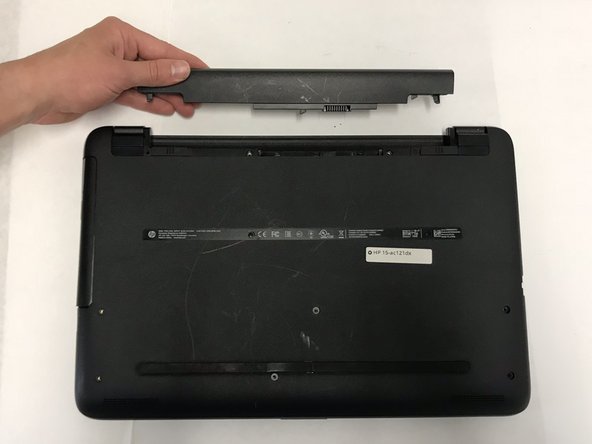
    • Push the right slider inwards.

    • Remove the battery out by pulling straight out and to the right.

  5. HP 15-ac121dx Back Panel Replacement, Back Panel: 5 단계, 이미지 1/2 HP 15-ac121dx Back Panel Replacement, Back Panel: 5 단계, 이미지 2/2
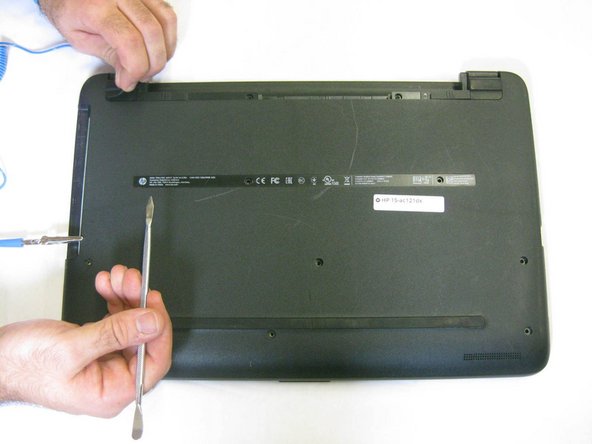
    • Place the laptop with the back panel facing up and the battery compartment facing away from you.

    • Using a spudger, carefully remove the rubber feet on both sides of the battery compartment.

  6. HP 15-ac121dx Back Panel Replacement: 6 단계, 이미지 1/1
    • Using a Phillips #000 screwdriver, remover the ten 7mm screws on the back panel.

    • Using the same screwdriver, remove the two 5mm Phillips #000 screws on both sides of the battery compartment.

  7. HP 15-ac121dx Back Panel Replacement: 7 단계, 이미지 1/1
    • With the same orientation as the previous step, locate the bottom left corner.

    • Using a plastic opening tool, carefully pry off and remove the back panel.

결론

To reassemble your device, follow these instructions in reverse order.

다른 2명이 해당 안내서를 완성하였습니다.

Daniel Adams

회원 가입일: 09/30/19

229 평판

안내서 2개 작성하였습니다

댓글 0개

댓글 쓰기

조회 통계:

24 시간 전: 2

7일 전: 4

30일 전: 8

전체 시간: 908