주요 콘텐츠로 건너뛰기

HP 15-d076nr RAM Replacement

필요한 것

  1. HP 15-d076nr RAM Replacement, RAM: 1 단계, 이미지 1/1
    • Orient the laptop upside down so that the back of the laptop, where the battery is located, faces away from you.

  2. HP 15-d076nr RAM Replacement: 2 단계, 이미지 1/1
    • Locate the small screw on the panel at the center of the laptop.

    • Loosen the small screw using a Philips # 1 screwdriver.

    • The screw does not come free from the panel. It only needs to be loosened enough so that the panel can be lifted/pried.

  3. HP 15-d076nr RAM Replacement: 3 단계, 이미지 1/2 HP 15-d076nr RAM Replacement: 3 단계, 이미지 2/2
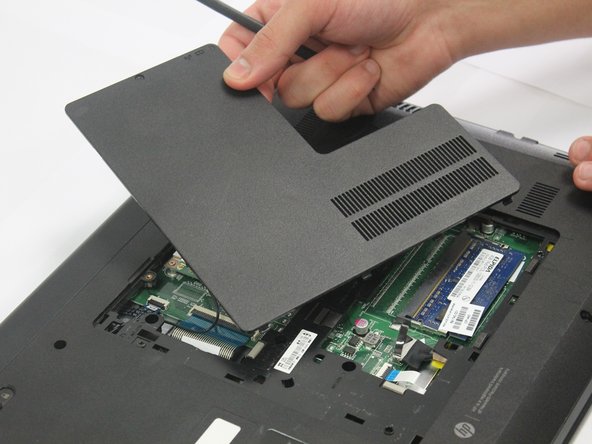
    • Carefully pry the middle panel up using a plastic spudger or other prying tool .

    • Pull the panel away from the laptop and set it off to the side.

  4. HP 15-d076nr RAM Replacement: 4 단계, 이미지 1/1
    • Locate the RAM in the exposed area.

  5. HP 15-d076nr RAM Replacement: 5 단계, 이미지 1/3 HP 15-d076nr RAM Replacement: 5 단계, 이미지 2/3 HP 15-d076nr RAM Replacement: 5 단계, 이미지 3/3
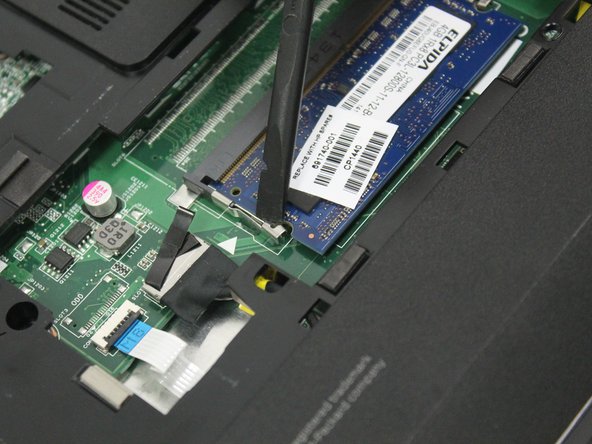
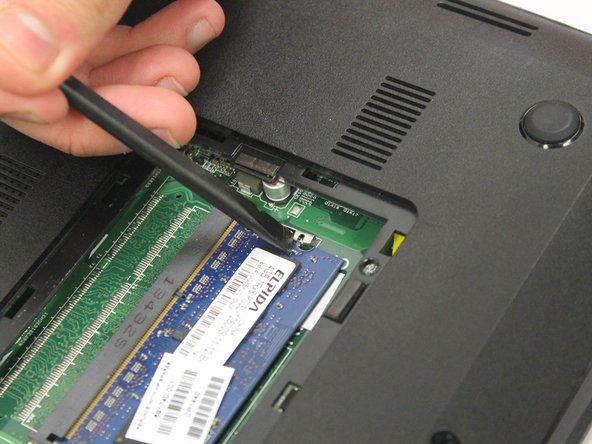
    • Locate the latches on the RAM.

    • Slide the latches away from the RAM using a plastic spudger.

    • The RAM might spring out.

  6. HP 15-d076nr RAM Replacement: 6 단계, 이미지 1/1
    • Remove the RAM.

결론

To reassemble your device, follow these instructions in reverse order.

Amy Weed

회원 가입일: 01/12/17

577 평판

안내서 5개 작성하였습니다

Oakland University, Team 2-2, Ruskiewicz Winter 2017 Oakland University, Team 2-2, Ruskiewicz Winter 2017 회원

OAK-RUSKIEWICZ-W17S2G2

4 회원들

안내서 7개 작성하였습니다

댓글 0개

댓글 쓰기

조회 통계:

24 시간 전: 2

7일 전: 3

30일 전: 3

전체 시간: 551