소개
If your HP 15-da0002dx laptop is running slowly, freezing, reboots, or brings up a blue screen, use this guide to replace the RAM. The purpose of the RAM is to run data and access the storage device.
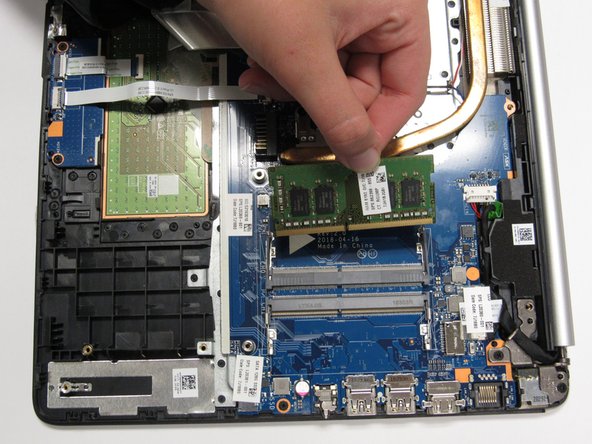
Before using this guide, always make sure the RAM being replaced is compatible with your motherboard. Power off the computer and wait for the components to cool. Working over a non-carpeted surface will reduce the risk of ESD damage (electrostatic discharge). A non-carpeted surface should not be able to conduct electricity and is connected to a grounded surface. Another way to reduce the risk of ESD damage is by using a plastic tool when removing the battery as plastic does not conduct electricity.
필요한 것


To reassemble your device, follow these instructions in reverse order.
To reassemble your device, follow these instructions in reverse order.
다른 5명이 해당 안내서를 완성하였습니다.
팀

University of Alabama, Team S2-G8, Bedsole Fall 2019 University of Alabama, Team S2-G8, Bedsole Fall 2019 회원
UA-BEDSOLE-F19S2G8
4 회원들
안내서 6개 작성하였습니다