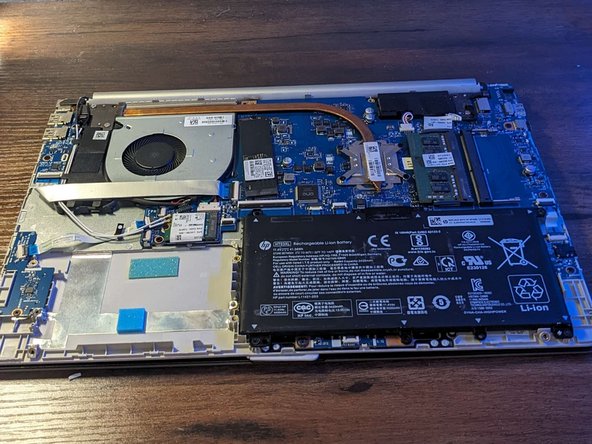
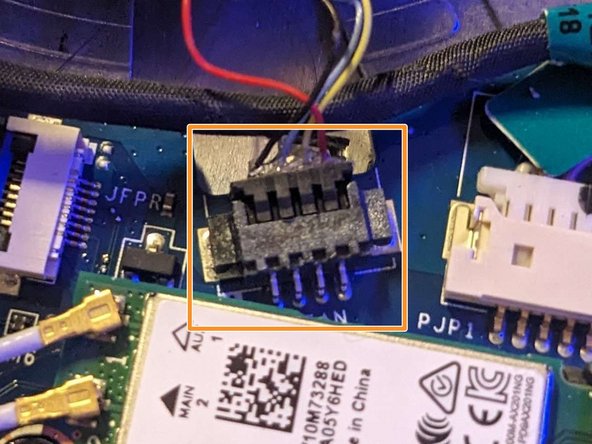
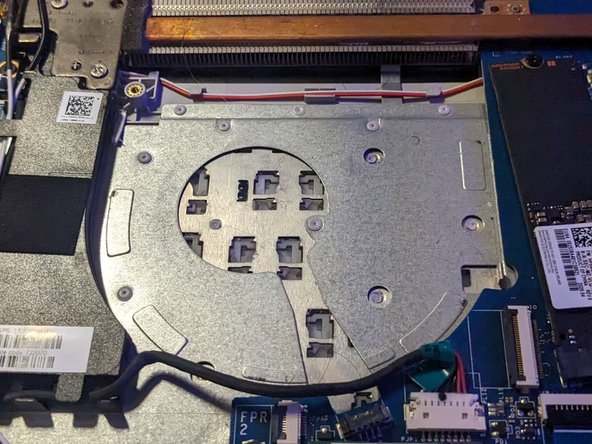
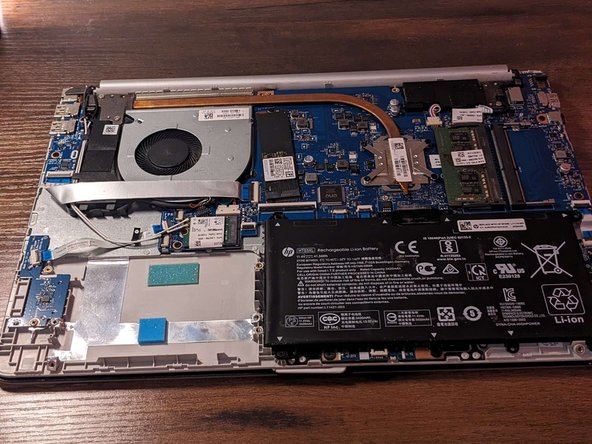
This guide will provide you step-by-step instructions to successfully replace your HP 15-dw2065st laptop's fan.
The fan is a vital part in maintaining your laptop's temperature. If the fan stops working, you will need to repair it fast to prevent other parts from malfunctioning or worse, breaking.
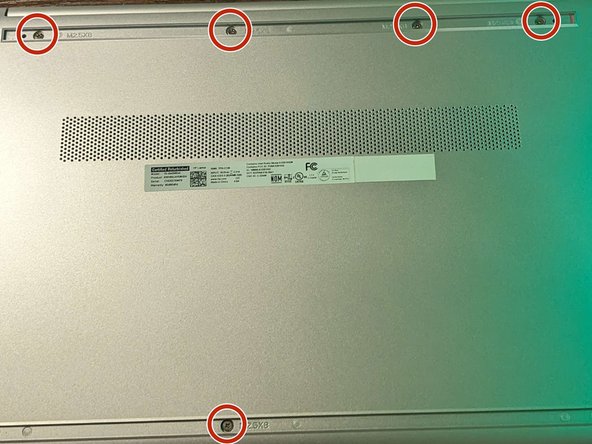
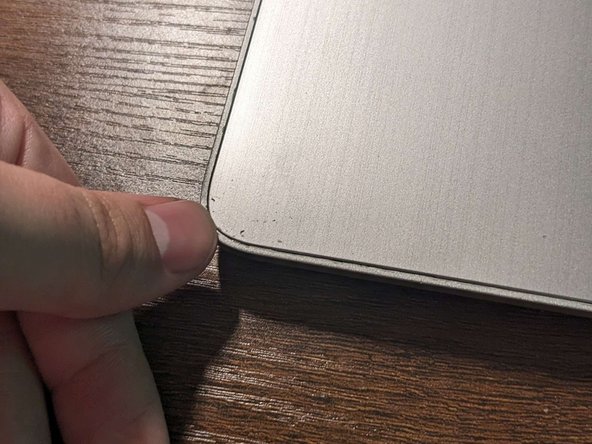
For your safety, please ensure that the laptop is completely powered off, unplugged, and that you have grounded any static on you before continuing.