소개
In this guide, we'll be going through the steps for replacing the HP 15-dy2024nr Wi-Fi card.
Issues that may cause your Wi-Fi card to be compromised:
- The card may be declining/getting old
- Damage might be caused under the cover (Water Damage or Hard Collision)
- The card may be overheated due to poor circulation (Fan potentially unresponsive)
You can confirm if the issue is your Wi-Fi card and not your service by using a well-known internet source and seeing if your internet frequently drops connections or cannot connect to any internet source.
필요한 것
-
-
Use a spudger to peel one corner of each of the rubber feet from the bottom of the laptop.
-
Gently peel the feet from the laptop using the spudger revealing the screws underneath.
-
-
-
-
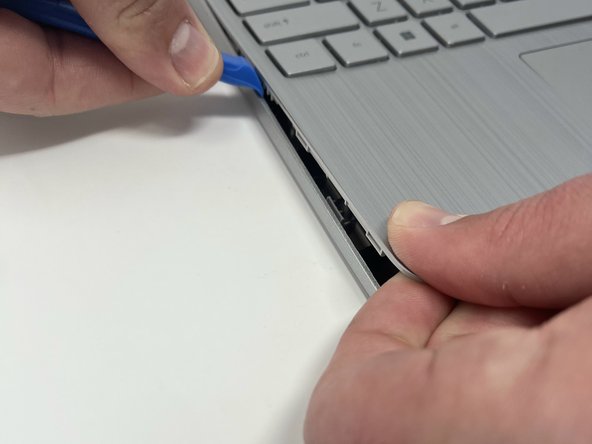
Insert an iFixit opening tool into the seam between the keyboard area and bottom cover.
-
Using another iFixit opening tool, slide along the seam to unhook the clips.
-
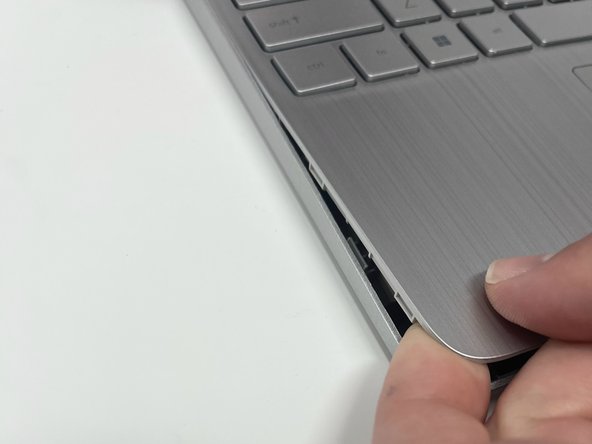
When the front of the laptop is open, you can use your finger to hold a corner open then slide an iFixit opening tool along the seam toward the back corner.
-
After the clips have been released, flip the laptop over and lift the cover.
-
-
-
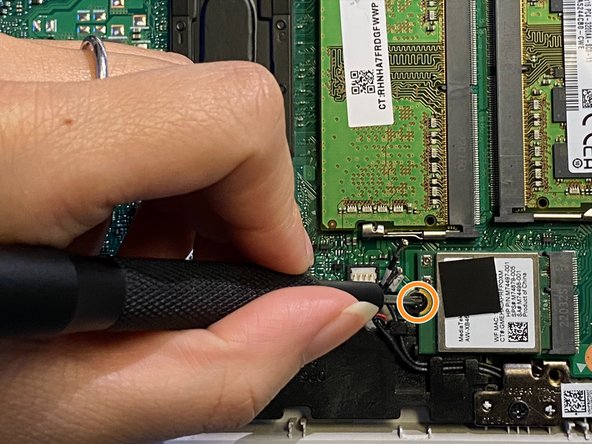
You'll find the Wi-Fi card in the top left corner of the laptop.
-
Use a Phillips #1 screwdriver to remove a single 2 mm screw from the Wi-Fi card.
-


To reassemble your device, follow these instructions in reverse order.
To reassemble your device, follow these instructions in reverse order.
다른 한 분이 해당 안내서를 완성하였습니다.

팀

University of North Texas, Team 5-5, Coppersmith Spring 2024 University of North Texas, Team 5-5, Coppersmith Spring 2024 회원
UNT-COPPERSMITH-S24S5G5
4 회원들
안내서 4개 작성하였습니다