주요 콘텐츠로 건너뛰기

HP 15-dy2702dx Battery Replacement

필요한 것

  1. HP 15-dy2702dx Battery Replacement, Lower Case: 1 단계, 이미지 1/1
    • Remove both of the rubber strips to uncover the hidden screws.

    • You can use a prying tool to help lift an end.

  2. HP 15-dy2702dx Battery Replacement: 2 단계, 이미지 1/1
    • Unscrew all 8 Phillips #0 screws on the bottom panel:

    • Two M2.5x6

    • Six M2x6

  3. HP 15-dy2702dx Battery Replacement: 3 단계, 이미지 1/2 HP 15-dy2702dx Battery Replacement: 3 단계, 이미지 2/2
    • Flip the laptop over and open the lid.

    • Separate the bottom panel from the main body by using the iFixit opening tool.

    • Ensure that the bottom panel is completely separated along the edges.

  4. HP 15-dy2702dx Battery Replacement: 4 단계, 이미지 1/2 HP 15-dy2702dx Battery Replacement: 4 단계, 이미지 2/2
    • If you can lift the laptop like shown in the first picture, the bottom panel is nearly separated.

    • Close the laptop to allow the back edges to fully separate

  5. HP 15-dy2702dx Battery Replacement: 5 단계, 이미지 1/3 HP 15-dy2702dx Battery Replacement: 5 단계, 이미지 2/3 HP 15-dy2702dx Battery Replacement: 5 단계, 이미지 3/3
    • Flip the laptop over and carefully remove the lower case.

  6. HP 15-dy2702dx Battery Replacement, Battery: 6 단계, 이미지 1/2 HP 15-dy2702dx Battery Replacement, Battery: 6 단계, 이미지 2/2
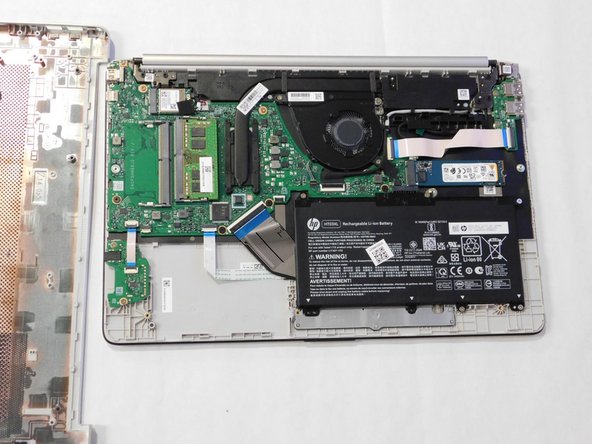
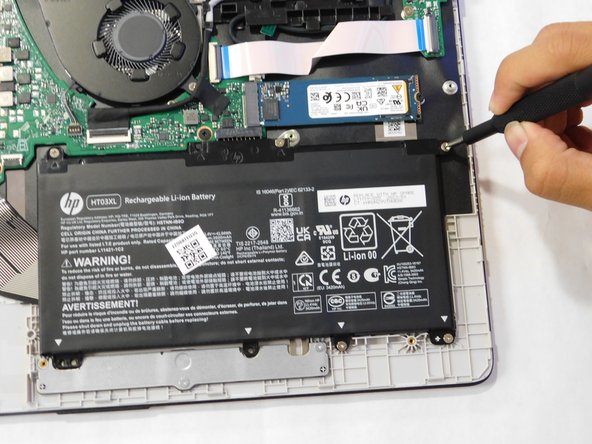
    • Remove the five M2x6 screws that secure the battery with a Phillips #0 screwdriver.

  7. HP 15-dy2702dx Battery Replacement: 7 단계, 이미지 1/3 HP 15-dy2702dx Battery Replacement: 7 단계, 이미지 2/3 HP 15-dy2702dx Battery Replacement: 7 단계, 이미지 3/3
    • Grab the sides of the battery and gently pull the battery until it disconnects from the connector on motherboard.

    • Lift the battery up and out.

결론

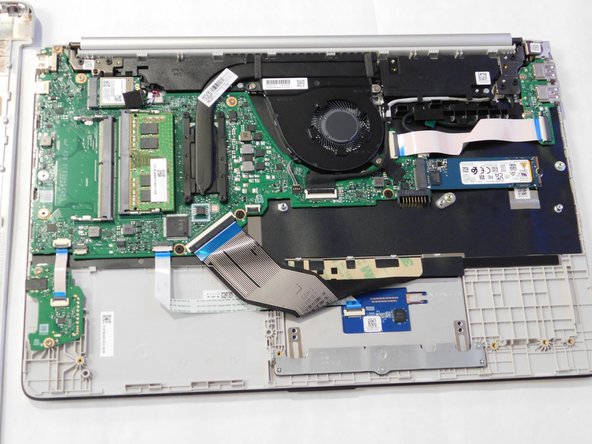
To reassemble your device, follow these instructions in reverse order.

September Oo

회원 가입일: 09/07/23

373 평판

안내서 4개 작성하였습니다

Gateway, Team 1-4, Pee Fall 2023 Gateway, Team 1-4, Pee Fall 2023 회원

GCC-PEE-F23S1G4

4 회원들

안내서 8개 작성하였습니다

댓글 0개

댓글 쓰기

조회 통계:

24 시간 전: 2

7일 전: 8

30일 전: 45

전체 시간: 219