소개
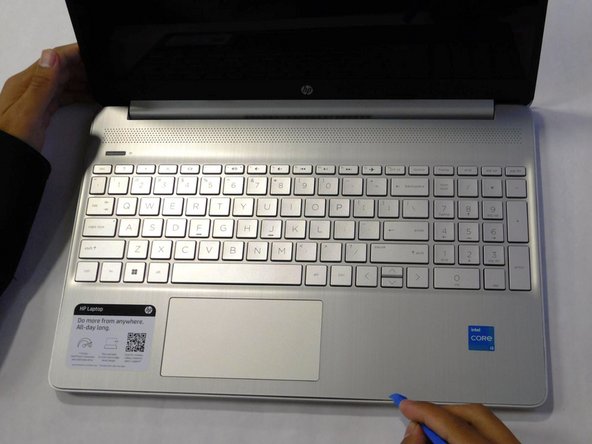
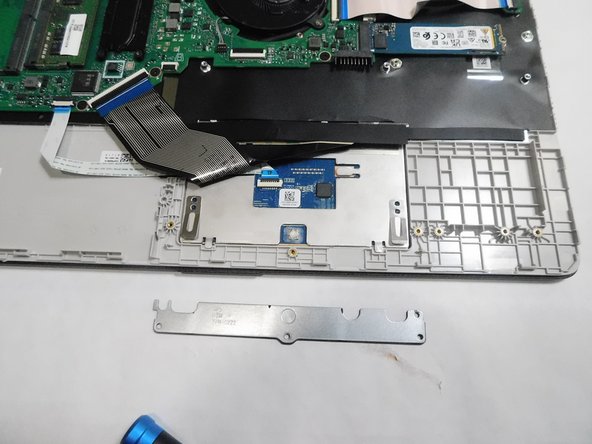
This is a guide that explains how to replace the trackpad for the HP 15-dy2072dx. The trackpad may need replacement in case it stops working, cracks, or wears out.
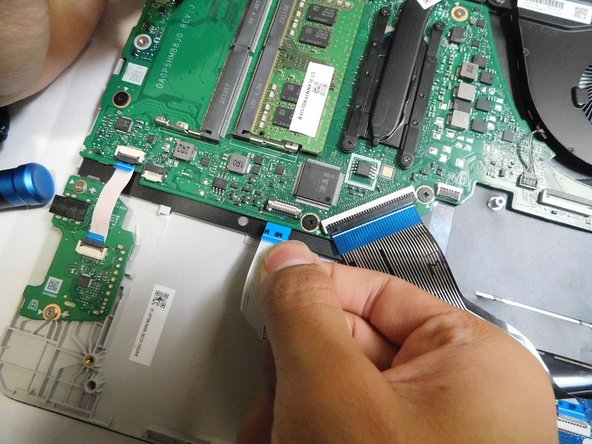
The trackpad is responsible for allowing users to move their pointer and click on items without the need for a external mouse. Trackpads are usually found on laptop to aid with portability.
필요한 것


거의 끝나갑니다!
To reassemble your device, follow these instructions in reverse order.
결론
To reassemble your device, follow these instructions in reverse order.
팀

Gateway, Team 1-4, Pee Fall 2023 Gateway, Team 1-4, Pee Fall 2023 회원
GCC-PEE-F23S1G4
4 회원들
안내서 8개 작성하였습니다