주요 콘텐츠로 건너뛰기

이 버전에는 잘못된 편집 사항이 있을 수 있습니다. 최신 확인된 스냅샷으로 전환하십시오.

필요한 것

  1. 이 단계는 번역되지 않았습니다. 번역을 도와주십시오

    : 1 단계, 이미지 1/1
    • Slide the latch towards the center of the laptop so the unlock emblem appears.

  2. 이 단계는 번역되지 않았습니다. 번역을 도와주십시오

    : 2 단계, 이미지 1/1
    • Place your finger on the left latch and slide it towards the center of the laptop.

  3. 이 단계는 번역되지 않았습니다. 번역을 도와주십시오

    : 3 단계, 이미지 1/1
    • Pull on the battery to remove.

  4. 이 단계는 번역되지 않았습니다. 번역을 도와주십시오

    : 4 단계, 이미지 1/1
    • Remove the two 5 mm screws with the Phillips #00 screwdriver.

  5. 이 단계는 번역되지 않았습니다. 번역을 도와주십시오

    : 5 단계, 이미지 1/1
    • Using either a credit card or flat spudger, wedge it between the palm rest and the keyboard.

  6. 이 단계는 번역되지 않았습니다. 번역을 도와주십시오

    : 6 단계, 이미지 1/1
    • Using the tool of your choice, gently pry up on the top of the keyboard.

  7. 이 단계는 번역되지 않았습니다. 번역을 도와주십시오

    : 7 단계, 이미지 1/1
    • Release the top of the keyboard.

  8. 이 단계는 번역되지 않았습니다. 번역을 도와주십시오

    : 8 단계, 이미지 1/1
    • Remove the ZIF connector that connects the laptop to the keyboard cable.

  9. 이 단계는 번역되지 않았습니다. 번역을 도와주십시오

    : 9 단계, 이미지 1/1
    • Using a Phillips #00 screwdriver, remove all the 5 millimeter screws located on the bottom of the laptop.

  10. 이 단계는 번역되지 않았습니다. 번역을 도와주십시오

    : 10 단계, 이미지 1/1
    • Using the spudger, remove the two rubber feet that are located near the battery.

  11. 이 단계는 번역되지 않았습니다. 번역을 도와주십시오

    : 11 단계, 이미지 1/1
    • Now remove the two Phillips screws that are located below the rubber feet.

  12. 이 단계는 번역되지 않았습니다. 번역을 도와주십시오

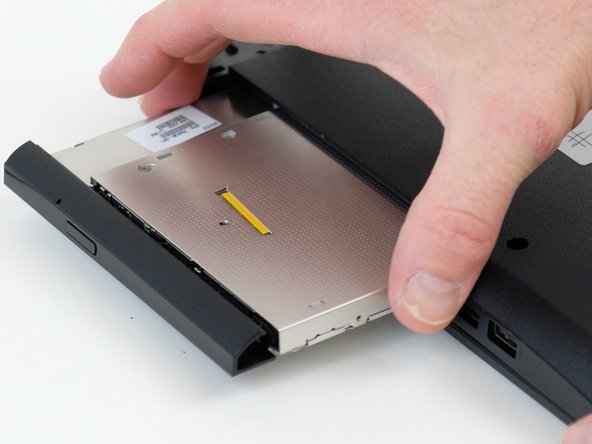
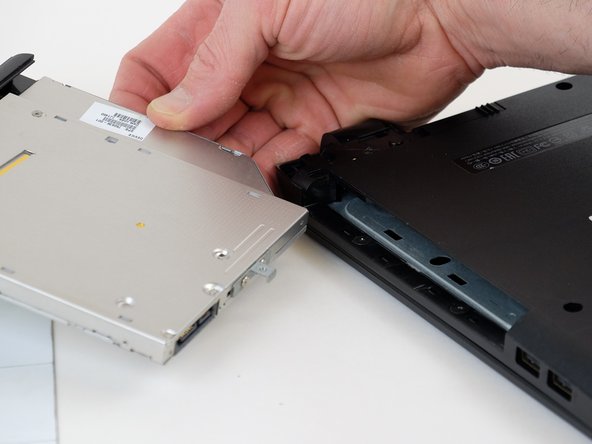
    : 12 단계, 이미지 1/3 : 12 단계, 이미지 2/3 : 12 단계, 이미지 3/3
    • Remove the optical drive by pulling it out by hand.

  13. 이 단계는 번역되지 않았습니다. 번역을 도와주십시오

    : 13 단계, 이미지 1/1
    • Remove the two Phillips screws inside the optical drive housing.

  14. 이 단계는 번역되지 않았습니다. 번역을 도와주십시오

    : 14 단계, 이미지 1/1
    • Disconnect the power button ribbon cable by lifting the connector.

  15. 이 단계는 번역되지 않았습니다. 번역을 도와주십시오

    : 15 단계, 이미지 1/1
    • Now disconnect the touch pad ribbon cable by lifting the connector.

  16. 이 단계는 번역되지 않았습니다. 번역을 도와주십시오

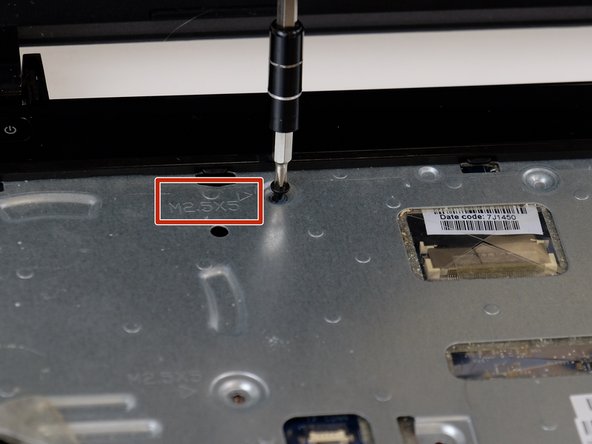
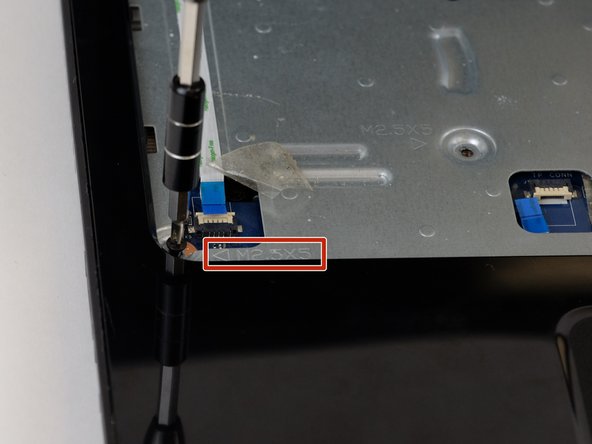
    : 16 단계, 이미지 1/3 : 16 단계, 이미지 2/3 : 16 단계, 이미지 3/3
    • Remove the screws indicated by an arrow stamped into the metal.

  17. 이 단계는 번역되지 않았습니다. 번역을 도와주십시오

    : 17 단계, 이미지 1/1
    • Insert the spudger between the palmrest and the laptop body.

  18. 이 단계는 번역되지 않았습니다. 번역을 도와주십시오

    : 18 단계, 이미지 1/1
    • Lift up on palm rest, while working the spudger around the perimeter.

  19. 이 단계는 번역되지 않았습니다. 번역을 도와주십시오

    : 19 단계, 이미지 1/2 : 19 단계, 이미지 2/2
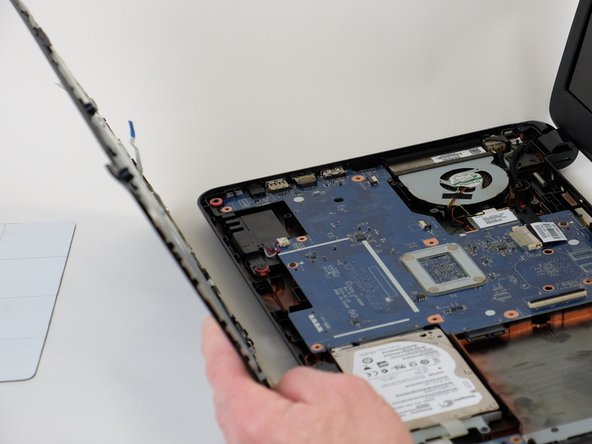
    • Remove palm rest and flip it over.

  20. 이 단계는 번역되지 않았습니다. 번역을 도와주십시오

    : 20 단계, 이미지 1/2 : 20 단계, 이미지 2/2
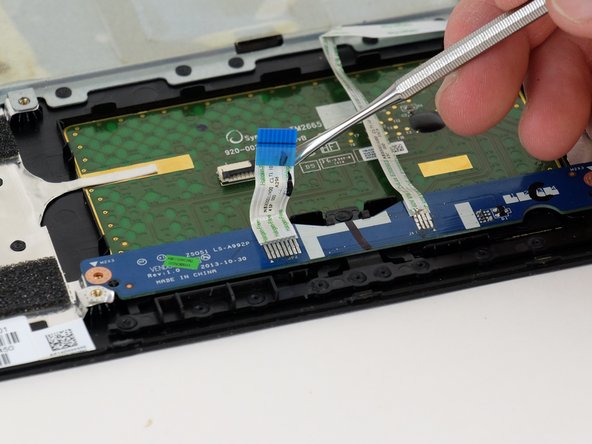
    • Release the cable connected to the button board.

  21. 이 단계는 번역되지 않았습니다. 번역을 도와주십시오

    : 21 단계, 이미지 1/2 : 21 단계, 이미지 2/2
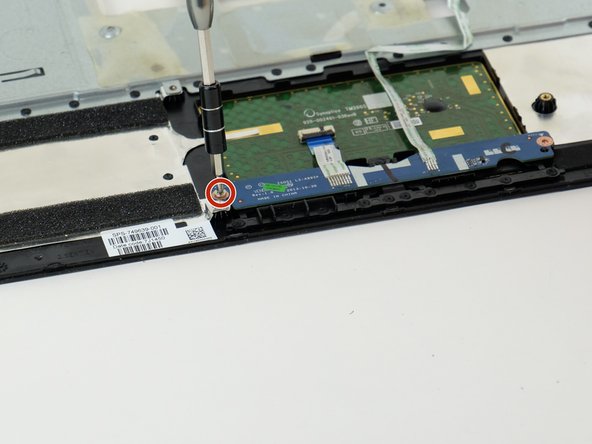
    • Remove the two Phillips screws securing the button board.

  22. 이 단계는 번역되지 않았습니다. 번역을 도와주십시오

    : 22 단계, 이미지 1/1
    • Remove button board.

결승점

다른 한 분이 해당 안내서를 완성하였습니다.

Christopher

회원 가입일: 10/02/18

1,162 평판

안내서 5개 작성하였습니다

댓글 0개

댓글 쓰기

조회 통계:

24 시간 전: 1

7일 전: 3

30일 전: 6

전체 시간: 411