주요 콘텐츠로 건너뛰기
수리 커뮤니티 가입 - 계정 만들기

HP 17-x116dx RAM Replacement

필요한 것

  1. HP 17-x116dx RAM Replacement, RAM: 1 단계, 이미지 2개 중 1개 HP 17-x116dx RAM Replacement, RAM: 1 단계, 이미지 2개 중 2개
    • Turn off your computer before starting, and remove the battery.

    • Locate all 8mm screws on the back of the computer and remove them with the Phillips #1 screwdriver.

  2. HP 17-x116dx RAM Replacement: 2 단계, 이미지 3개 중 1개 HP 17-x116dx RAM Replacement: 2 단계, 이미지 3개 중 2개 HP 17-x116dx RAM Replacement: 2 단계, 이미지 3개 중 3개
    • Remove the optical drive by pushing it in and then it will pop out.

  3. HP 17-x116dx RAM Replacement: 3 단계, 이미지 3개 중 1개 HP 17-x116dx RAM Replacement: 3 단계, 이미지 3개 중 2개 HP 17-x116dx RAM Replacement: 3 단계, 이미지 3개 중 3개
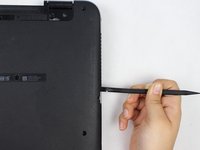
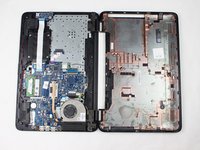
    • Use a spudger to remove the back panel.

  4. HP 17-x116dx RAM Replacement: 4 단계, 이미지 3개 중 1개 HP 17-x116dx RAM Replacement: 4 단계, 이미지 3개 중 2개 HP 17-x116dx RAM Replacement: 4 단계, 이미지 3개 중 3개
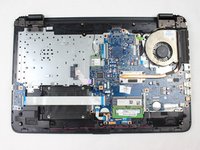
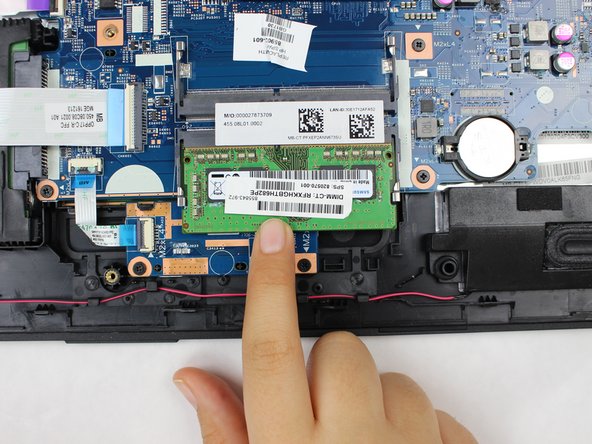
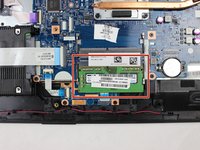
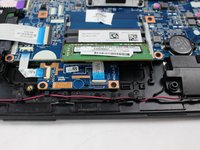
    • Once you remove the back panel, locate the RAM.

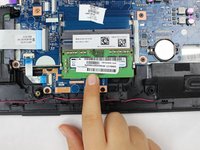
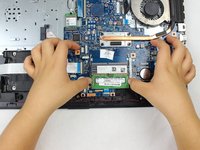
    • Use your fingernails to release the clips holding the memory by pulling them away from the RAM.

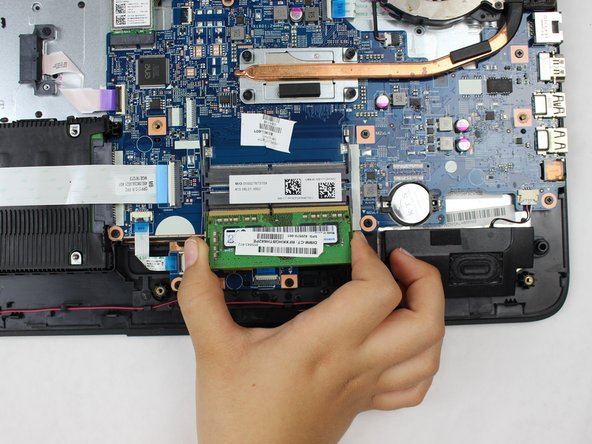
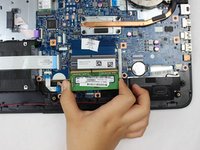
  5. HP 17-x116dx RAM Replacement: 5 단계, 이미지 2개 중 1개 HP 17-x116dx RAM Replacement: 5 단계, 이미지 2개 중 2개
    • The RAM will pop out, and you can remove it.

결론

To reassemble your device, follow these instructions in reverse order.

다른 4명이 해당 안내서를 완성하였습니다.

작성자

1다른 기여자 명과 함께

Sarah Coral

회원 가입일: 03/22/18

346 평판

안내서 2개를 작성함

0가이드 댓글

댓글 쓰기

조회 통계:

지난 24시간: 0

지난 7일: 9

지난 30일: 60

전체 시간: 2,871