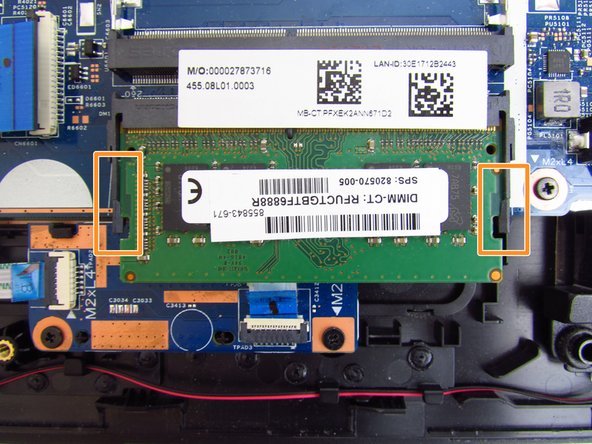
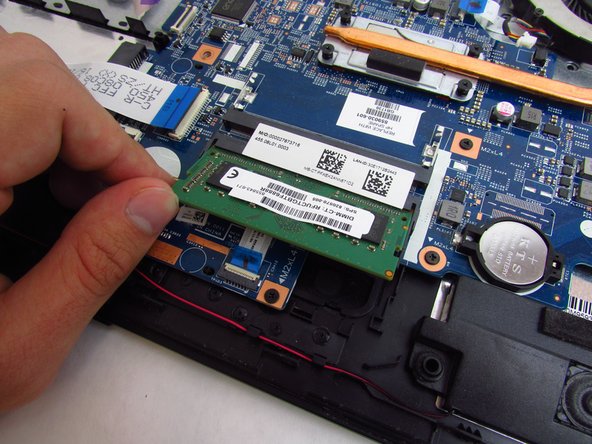
주요 콘텐츠로 건너뛰기

HP 17-x173dx RAM Replacement

필요한 것

  1. HP 17-x173dx RAM Replacement, Battery: 1 단계, 이미지 1/2 HP 17-x173dx RAM Replacement, Battery: 1 단계, 이미지 2/2
    • Begin by sliding the left tab to the unlock position

  2. HP 17-x173dx RAM Replacement: 2 단계, 이미지 1/1
    • Push each of the two tabs in the direction specified by the picture.

  3. HP 17-x173dx RAM Replacement: 3 단계, 이미지 1/3 HP 17-x173dx RAM Replacement: 3 단계, 이미지 2/3 HP 17-x173dx RAM Replacement: 3 단계, 이미지 3/3
    • Slide and hold the right tab to the left, while gently pushing out the battery with your thumbs

  4. HP 17-x173dx RAM Replacement, RAM: 4 단계, 이미지 1/1
    • Using the Phillips #0 screwdriver, remove fourteen 7 mm screws on the back of the device (two will be underneath where the battery was).

  5. HP 17-x173dx RAM Replacement: 5 단계, 이미지 1/3 HP 17-x173dx RAM Replacement: 5 단계, 이미지 2/3 HP 17-x173dx RAM Replacement: 5 단계, 이미지 3/3
    • Remove the Optical Disk Drive.

    • Use the spudger to lift the plastic backing, starting from the back right side, near the vent.

    • Remove the back of the device by continuing to lift the plastic around the entire perimeter of the device.

  6. HP 17-x173dx RAM Replacement: 6 단계, 이미지 1/3 HP 17-x173dx RAM Replacement: 6 단계, 이미지 2/3 HP 17-x173dx RAM Replacement: 6 단계, 이미지 3/3
    이 단계에 사용된 도구:
    Tweezers
    $4.99
    구매
    • Use a pair of tweezers or your fingernails to carefully pry the two metal retention clips out and away from the ram casing.

    • Then gently bend the plastic retainers away to free the ram stick.

  7. HP 17-x173dx RAM Replacement: 7 단계, 이미지 1/2 HP 17-x173dx RAM Replacement: 7 단계, 이미지 2/2
    • Lift the RAM stick away from the motherboard and remove it from the device.

    • Repeat this step for any extra sticks of RAM.

결론

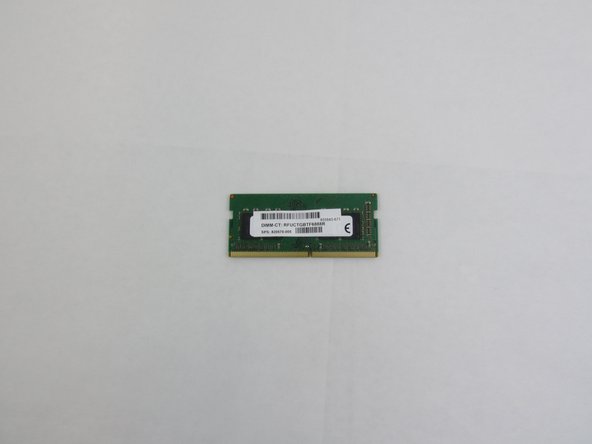
Install your replacement RAM and reassemble your device by following these instructions in reverse order.

Andrew Matievski

회원 가입일: 09/16/19

227 평판

안내서 1개 작성함

댓글 0개

댓글 쓰기

조회 통계:

24 시간 전: 0

7일 전: 2

30일 전: 15

전체 시간: 733