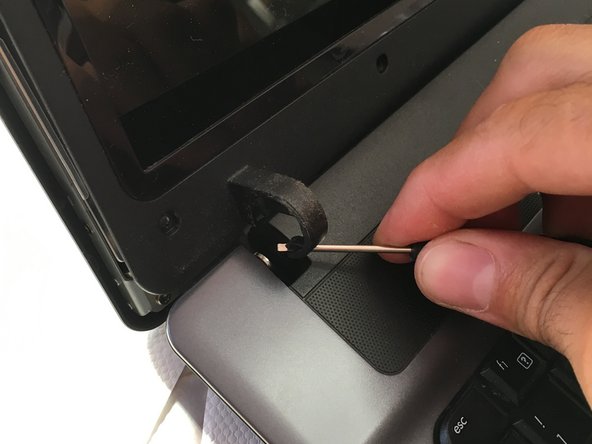
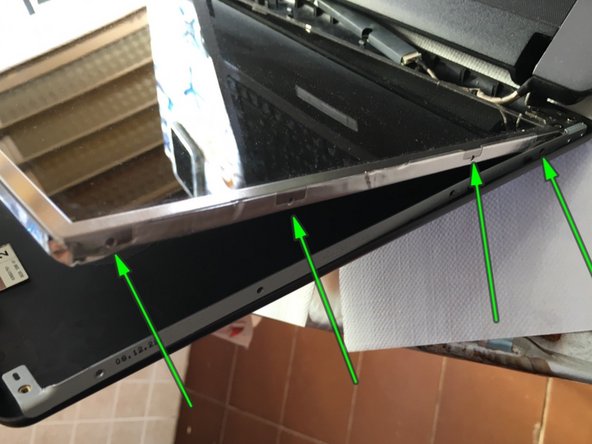
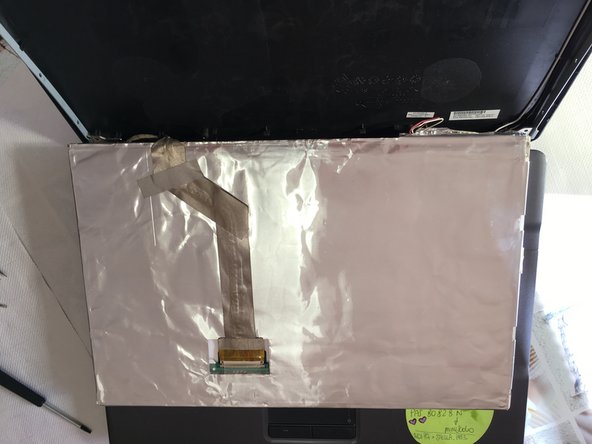
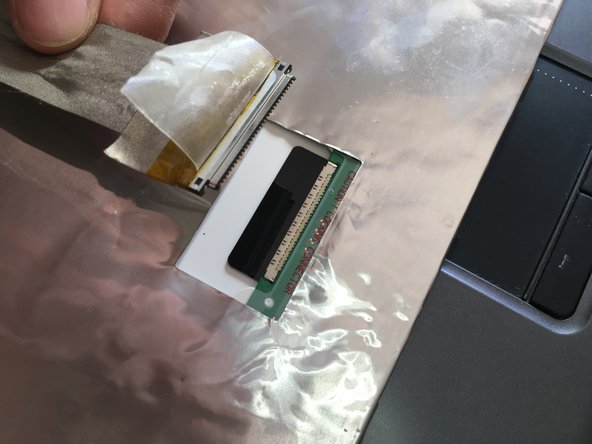
주요 콘텐츠로 건너뛰기

HP 550 notebook LCD display Replacement

필요한 것

  1. HP 550 notebook LCD display Replacement, LCD display: 1 단계, 이미지 1/1
    • Rimuovere batteria

  2. HP 550 notebook LCD display Replacement: 2 단계, 이미지 1/3 HP 550 notebook LCD display Replacement: 2 단계, 이미지 2/3 HP 550 notebook LCD display Replacement: 2 단계, 이미지 3/3
    • rimuovere gli 8 gommi e le viti sottostanti

  3. HP 550 notebook LCD display Replacement: 3 단계, 이미지 1/3 HP 550 notebook LCD display Replacement: 3 단계, 이미지 2/3 HP 550 notebook LCD display Replacement: 3 단계, 이미지 3/3
    • aiutarsi con uno strumento sottile per separare la cornice lcd

    • Sganciare la cover sulle 2 cerniere nel lato superiore

  4. HP 550 notebook LCD display Replacement: 4 단계, 이미지 1/3 HP 550 notebook LCD display Replacement: 4 단계, 이미지 2/3 HP 550 notebook LCD display Replacement: 4 단계, 이미지 3/3
    • Rimuovere cover lcd con delicatezza facendo attenzione ai fili e staccando eventuali adesivi se presenti

    • Rimuovere 4 viti fissaggio lcd da un lato e le 4 viti dall'altro

    • Forzare un po la cover posteriore per accedere all'ultima vite di entrambi i lati

  5. HP 550 notebook LCD display Replacement: 5 단계, 이미지 1/3 HP 550 notebook LCD display Replacement: 5 단계, 이미지 2/3 HP 550 notebook LCD display Replacement: 5 단계, 이미지 3/3
    • Sganciare connettore pannello lcd

    • Appoggiare delicatamente il pannello LCD sulla tastiera

    • Sganciare connettore video display

  6. HP 550 notebook LCD display Replacement: 6 단계, 이미지 1/1
    • Rimuovere pannello LCD e sostituire con il nuovo

결론

Per rimontare il dispositivo, segui queste istruzioni in ordine inverso.

다른 3명이 해당 안내서를 완성하였습니다.

Smilzo

회원 가입일: 11/09/13

11,276 평판

안내서 39개 작성하였습니다

댓글 2개

what are those two things on top labeled 1 and 2 in the last picture?

Vladut Prcsina - 답글

Non ho capito la domanda. Grazie

Smilzo -

댓글 쓰기

조회 통계:

24 시간 전: 0

7일 전: 10

30일 전: 33

전체 시간: 2,272