주요 콘텐츠로 건너뛰기

HP 7 PLUS 1301 Battery Replacement

필요한 것

  1. HP 7 PLUS 1301 Battery Replacement, Battery: 1 단계, 이미지 1/2 HP 7 PLUS 1301 Battery Replacement, Battery: 1 단계, 이미지 2/2
    • Make sure the device is off and not plugged in before starting.

    • Using the Torx T5 screwdriver, remove the 3mm screws on all 4 corners of the device.

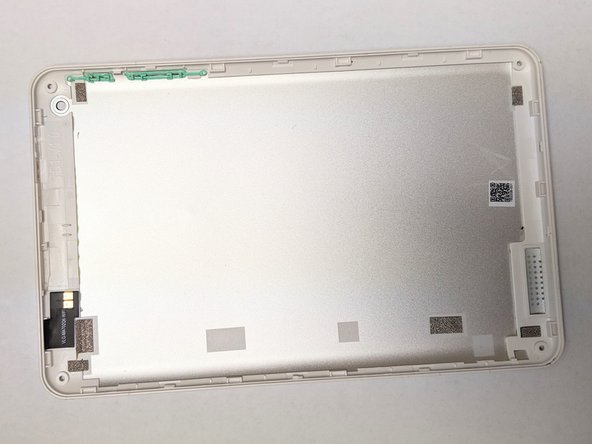
  2. HP 7 PLUS 1301 Battery Replacement: 2 단계, 이미지 1/2 HP 7 PLUS 1301 Battery Replacement: 2 단계, 이미지 2/2
    • Using the plastic opening tool, push in between the front, then slide it around.

    • Slide the plastic opening tool all the way around the tablet to separate the back cover.

    • Be careful when trying to remove the back as the screen can be damaged with excessive force.

  3. HP 7 PLUS 1301 Battery Replacement: 3 단계, 이미지 1/2 HP 7 PLUS 1301 Battery Replacement: 3 단계, 이미지 2/2
    • Continue sliding the plastic opening tool around the tablet until the cover fully separates from the device.

    • Remove the back cover.

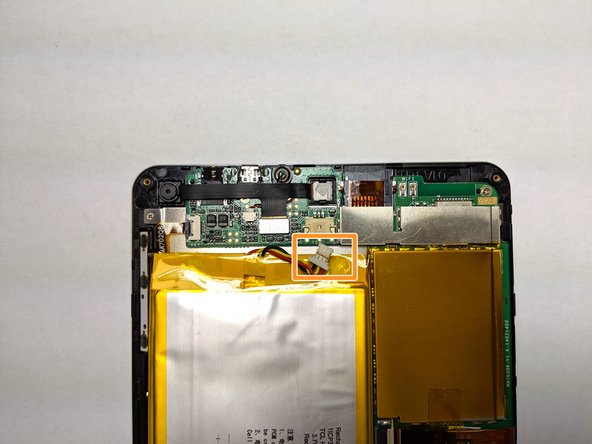
  4. HP 7 PLUS 1301 Battery Replacement: 4 단계, 이미지 1/2 HP 7 PLUS 1301 Battery Replacement: 4 단계, 이미지 2/2
    • Push out the connector to disconnect the battery.

    • Move the battery connector clear of the connector socket.

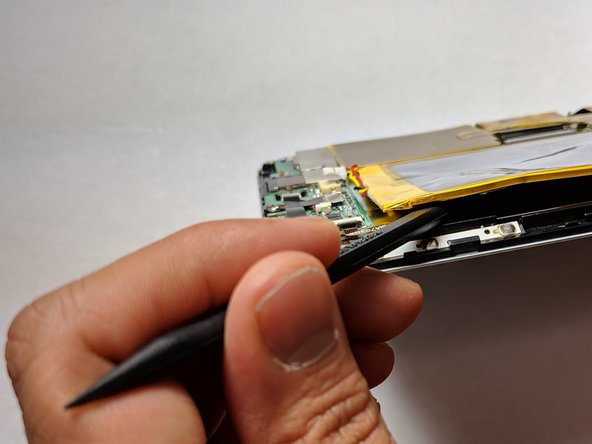
  5. HP 7 PLUS 1301 Battery Replacement: 5 단계, 이미지 1/1
    • Carefully remove the battery by sliding a plastic spudger under the battery. Use an adhesive remover if available under the battery to make it easier for the battery to come off.

결론

To reassemble your device, follow these instructions in reverse order.

다른 한 분이 해당 안내서를 완성하였습니다.

Adanna Ilori

회원 가입일: 02/05/19

301 평판

안내서 2개 작성하였습니다

UC Davis, Team S20-G6, Lore Winter 2019 UC Davis, Team S20-G6, Lore Winter 2019 회원

UCD-LORE-W19S20G6

3 회원들

안내서 4개 작성하였습니다

댓글 0개

댓글 쓰기

조회 통계:

24 시간 전: 0

7일 전: 2

30일 전: 5

전체 시간: 727