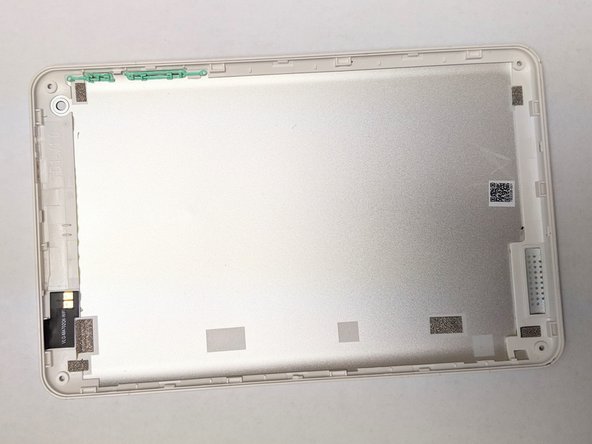
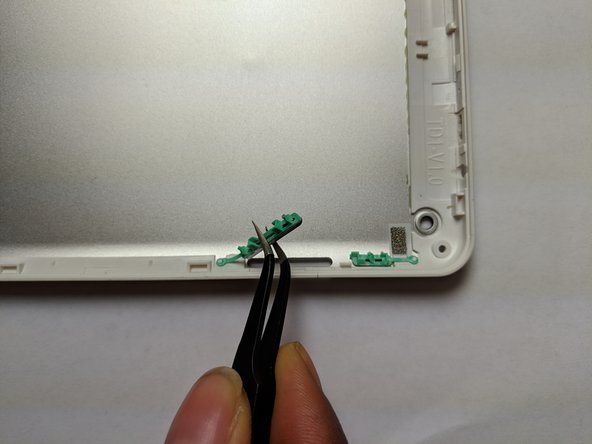
주요 콘텐츠로 건너뛰기

HP 7 PLUS 1301 Volume / Power Button Replacement

필요한 것

  1. HP 7 PLUS 1301 Volume / Power Button  Replacement, Volume / Power Button: 1 단계, 이미지 1/2 HP 7 PLUS 1301 Volume / Power Button  Replacement, Volume / Power Button: 1 단계, 이미지 2/2
    • Make sure the device is off and not plugged in before starting.

    • Use the T5 Torx screwdriver and remove the T5x3mm screws on all four corners of the device.

  2. HP 7 PLUS 1301 Volume / Power Button  Replacement: 2 단계, 이미지 1/2 HP 7 PLUS 1301 Volume / Power Button  Replacement: 2 단계, 이미지 2/2
    • Using the plastic opening tool, push in between the front, then slide it around.

    • Slide the plastic opening tool all the way around the tablet to separate the back cover.

    • Be careful when trying to remove the back as the screen can be damaged with excessive force.

  3. HP 7 PLUS 1301 Volume / Power Button  Replacement: 3 단계, 이미지 1/2 HP 7 PLUS 1301 Volume / Power Button  Replacement: 3 단계, 이미지 2/2
    • Continue sliding the plastic opening tool around the tablet until the cover fully separates from the device.

    • Remove the back cover.

  4. HP 7 PLUS 1301 Volume / Power Button  Replacement: 4 단계, 이미지 1/1
    • The power and volume buttons are on the side of the device. Locate these buttons to begin the replacement process.

  5. HP 7 PLUS 1301 Volume / Power Button  Replacement: 5 단계, 이미지 1/2 HP 7 PLUS 1301 Volume / Power Button  Replacement: 5 단계, 이미지 2/2
    • Gently push out the power and volume buttons with tweezers.

결론

To reassemble your device, follow these instructions in reverse order.

다른 한 분이 해당 안내서를 완성하였습니다.

Adanna Ilori

회원 가입일: 02/05/19

301 평판

안내서 2개 작성하였습니다

UC Davis, Team S20-G6, Lore Winter 2019 UC Davis, Team S20-G6, Lore Winter 2019 회원

UCD-LORE-W19S20G6

3 회원들

안내서 4개 작성하였습니다

댓글 0개

댓글 쓰기

조회 통계:

24 시간 전: 0

7일 전: 0

30일 전: 3

전체 시간: 223